Sangoma Vega 60G - Gateway Quick Start Guide
- Hardware installation (15 pages) ,
- Quick start manual (2 pages)
Advertisement
Introduction
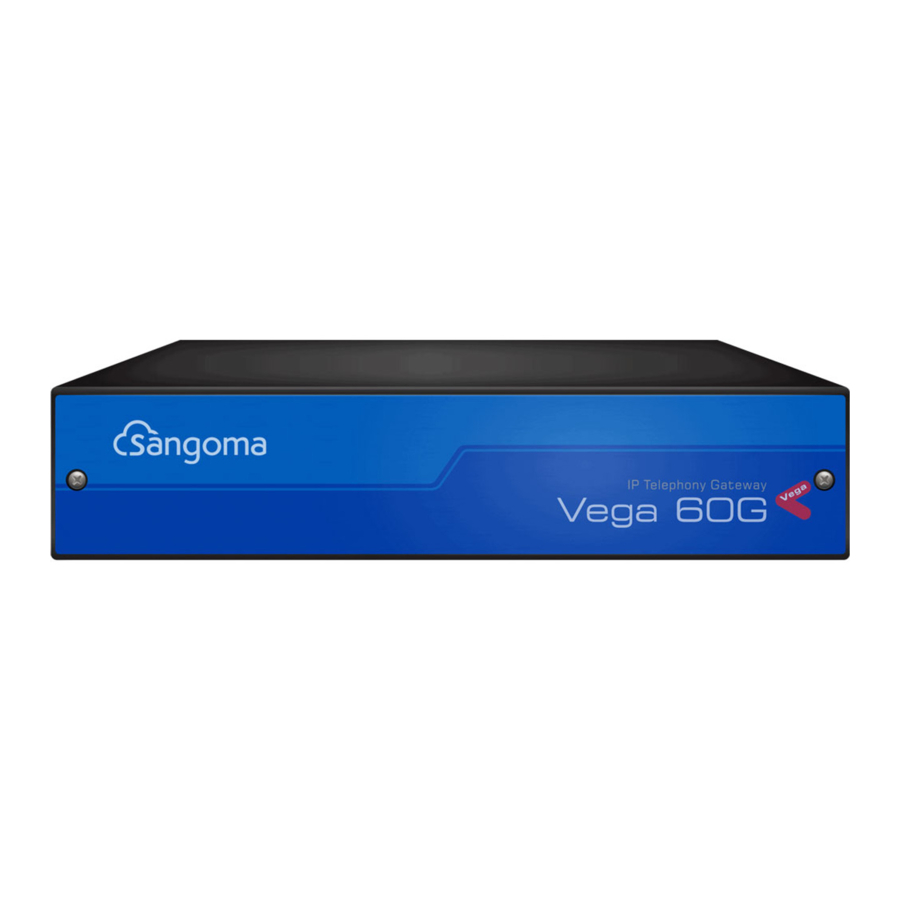
Congratulations on your purchase of a Vega 60G Voice Over IP gateway. This Quick Start Guide will assist you through the process of configuring your new gateway.
For further details on configuration parameters and custom routing options please visit our online self- help website: wiki.sangoma.com
What's in the Box
Included with packaging of your Vega 60G are the following items:

Before You Start
We advise that before connecting and using your Vega 60G for the first time, visit wiki.sangoma.com and read the 'Safety and Compliance Information' document which contains important details that you should be aware of.
Connecting Your Vega 60G
Connect your Vega 60G using its telephony, Earth point, power and LAN connections.


The Earth point on your Vega must be connected to a suitable earth. It serves a dual role as a safety Earth and it also stops noise on telephone lines in electrically noisy conditions.
The model of Vega gateway that you have purchased determines the interfaces that you will see on the rear of your gateway.
The telephone interface types are as follows:
- FXS interfaces are the ports into which you plug telephones.
- FXO interfaces are the ports that connect to the Public Telephone Network (PSTN) or a PBX extension interface.
- BRI interfaces can be con gured to connect to the Public Telephone Network (ISDN2), to a PBX or to Basic Rate ISDN handsets.
Getting an IP Address
The Vega 60G uses DHCP to find an IP address for LAN. Find the IP address by either of these two methods:
- Refer to your DHCP records with the MAC address of the Vega, which can be found underneath the barcode on the rear of the Vega gateway (i.e. 00505.....).
- Connect the supplied console cable to the console port found on the rear of the Vega gateway and connect to a terminal application on a computer, using standard details. Log in with user: admin, pass: admin. Type: show banner to display the IP Address.
If no IP address is assigned or you wish to assign a static IP address, follow step 2 above and then refer to wiki.sangoma.com for documentation on how to set a static IP address from console.
Logging into the Vega
Enter the IP address of your Vega 60G into the address line of your web browser and press enter.
The Vega will present you with a login screen

Default username and password:
Username: admin
Password: admin
Note: It is recommended to change default password
Configuring Your Vega

Configure your Vega gateway using the Quick Config wizard, located on the left menu within the Webgui (See diagram 1).
Quick Config is a wizard which is designed to completely configure your Vega. If you require advanced configuration you may navigate to any of the menu items located under Expert Config (See diagram 2).
Configure the remaining settings, typically the values will be provided by your VoIP service provider or system administrator. All IP address entries may be provided as dotted decimal values (a.b.c.d) or as DNS names (e.g. SIP.sangoma.com). Configure the codec lineup for this installation in preference order (See diagram 3).
NOTE: Quick Config applies changes to Expert Config in many areas. This means if you have made any manual configuration adjustments within the Expert Config section(s), DO NOT re-enter Quick Config as all advanced (non-Quick Config) changes will be overwritten with what is configured in Quick Config.
Select Quick Config. If a warning message appears informing you that that there is already configuration applied, you can remove the existing settings and start from the beginning by selecting 'Continue' then ticking the 'New Install?' option. This will ensure that any old, unwanted configuration is removed as you submit your new settings. Do not tick this option if you are simply amending existing config.
Basic config
Start by selecting the basic config tab.
If this a new installation, ensure that the 'New Install?' option is ticked.
Select the country and then choose which emergency numbers are appropriate for the location of the Vega.
Now select the LAN settings and then the codecs to use for VoIP calls (See diagram 3).
VoIP
REGISTRATION MODE:
Depending on the installation, if registration is required, it can be configured as one registration per gateway or as one registration per FXS port.
OUTBOUND PROXY:
Choose whether calls should be sent direct to the service provider or through an outbound proxy.
Note: The fields available to configure on the remainder of this tab are affected by the values chosen in the above two settings.
FXS
Note: This section only applies to Vega 60G models with FXS Ports.
Enable and disable the interfaces using the check boxes seen within the section. Configure the telephone number(s) to route to each interface.
Telephone connection: If you have telephones connected, typically you will have a single number associated with each interface.
Analog trunk connections: If the interfaces are connected to the analog trunk interfaces of a PBX then typically each interface will have a number range that needs to be routed to each interface.
The list of telephone numbers is a comma separated or space separated list of telephone numbers to be routed to that destination.

For advanced regular expression configuration please visit wiki.sangoma.com
FXO
Note: This section only applies to the Vega 60G models with FXO Ports
Set up the telephone numbers to route to each FXO interface, using comma or space separated lists of telephone numbers and regular expressions if ranges are required.
Inbound calls on an FXO interface receive a ringing voltage on its interface; the incoming call does not supply any dialed number information to the Vega. The Vega therefore requires a telephone number to be configured to forward these incoming telephony calls to. In the 'Incoming Forward' field enter the telephone number that calls received on this telephone interface should be forwarded to.
If the Vega is powered down the first two FXS interfaces fallback to a hardwired connection through to the two FXO interfaces. This allows calls to be made through the first two FXS interfaces even when the Vega is unable to actively process calls.
BRI
Note: This section only applies to the Vega 60G models with BRI Ports
Start by configuring the Port Setting section. As these values relate to the physical interface connectivity, once you have set these values you should never have to return to reconfigure them.
Line type should be set to be the same as the line type setting on the device(s) that the Vega interface is connected to.
Select NT (Network) on each Vega interface that is connected to a PBX interface which is configured as TE (Terminal Equipment). Ensure NT is not ticked if the interface is connected to the ISDN network (which is NT) or is connected to an NT interface on the PBX.
If power to the line is required, select Phantom power. Note that Phantom power is only supplied on lines configured as NT.
Now configure the "Telephone Connections" details.
Backing Up the Configuration
To create a backup of all your configuration navigate to Expert Config > System, then in the Configuration section select the Download button and save the file config.txt.
To restore your complete configuration simply select the Upload button to restore and select your config.txt file.

Documents / Resources
References
Download manual
Here you can download full pdf version of manual, it may contain additional safety instructions, warranty information, FCC rules, etc.
Advertisement


Need help?
Do you have a question about the Vega 60G and is the answer not in the manual?
Questions and answers