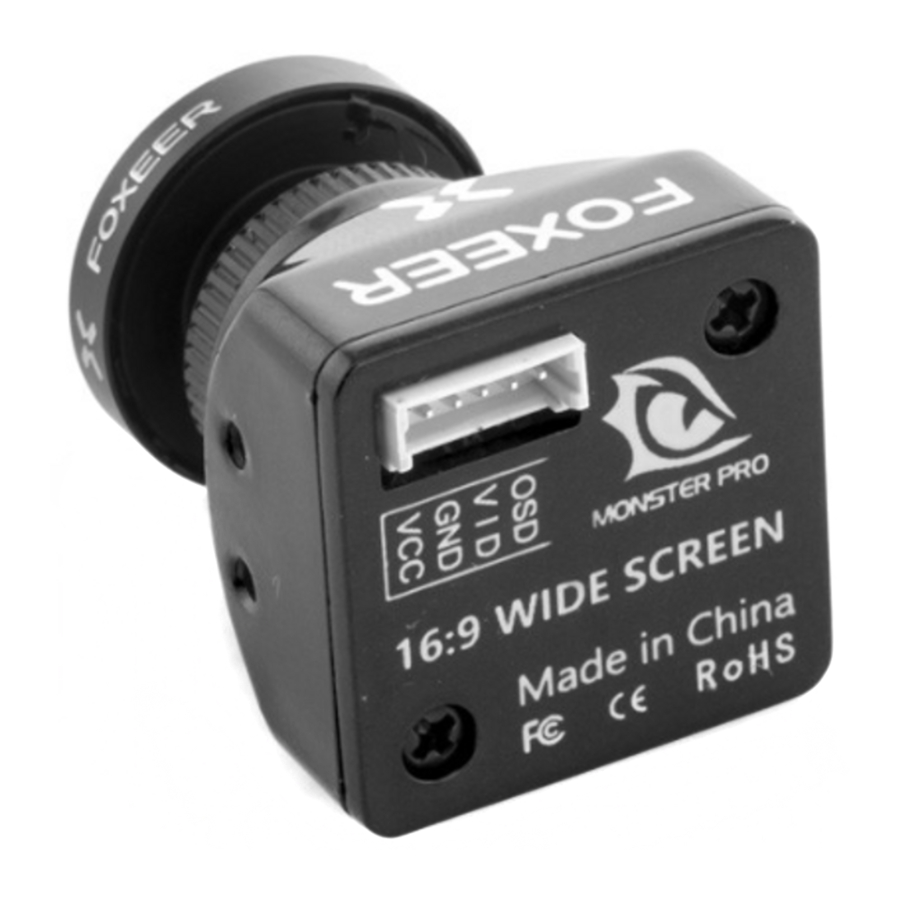
FOXEER Monster - 1200TVL 16:9 Widescreen Camera Manual
- Instruction manual (2 pages)
Advertisement

Read the ENTIRE instruction manual to become familiar with the features of the product before operating. Failure to operate the product correctly can result in damage to the product, personal property and cause serious injury.
 Age Recommendation:
Not for children under 14 years. This is not a toy.
NOTICE: This product is only intended for use with unmanned, hobby-grade, remote-controlled vehicles and aircraft. FOXEER disclaims all liability outside of the intended purpose and will not provide warranty service related thereto.
SUPPORT: Visit www.foxeer.com/support to get more information.
CAMERA-OSD SWITCH CONNECTION


If you are using ESC's with active braking, we recommend powering the camera system through a BEC or voltage regulator.
CAMERA-VIDEO TRANSMITTER CONNECTION
To connect the camera directly to the video transmitter, plug the 4 pin wiring harness from the video transmitter into the camera leave the OSD pin open.
OSD MENU
MENU: Push MENU (center button) to go to the main menu.
UP/DOWN: Move up and down through the menu.
LEFT/RIGHT: Modify the menu parameters.
EXPOSURE
Move the cursor to "EXPOSURE", press the LEFT/RIGHT button to select "STD" or "BLC" mode.

STD
Press the MENU to set camera brightness. It has "LOW", "MIDDLE", "HIGH" three modes for choice.

BLC
Press the MENU to set camera intensity. It has "LOW", "MIDDLE", "HIGH" three modes for choice.

SHUTTER MODE
Move the cursor to "SHUTTER MODE", press the LEFT/RIGHT to select "AUTO" or "MANUAL". Camera normally works on "AUTO" mode.

AUTO
"SLOWSHUTTER" has several options: AUTO, 1X, 2X, 3X, 4X, 5X, 6X, 7X, 8X, 9X.
Higher "SLOWSHUTTER" value, brighter image at night, but heavier ghost effect.

MANUAL
"SHUTTER SPEED" can select from 1/50 to 1/100000.

AGC
"AGC" can adjust the peak value, the bigger value, the brighter image, cause bigger noise, there are "ON" or "OFF" optional by LEFT/RIGHT according to actual needs.

AWB
It can restore the authenticity of the color when it is affected by the temperature change. The user can choose different white balance mode accordingly, "ATW1", "ATW2", "ATW3".

IMAGE ADJ
When the IMAGE is displayed on the screen, it allows you to do settings of image function and details.

- "SHARPNESS" is used to adjust overall image sharpness, can set from 0-100, the higher value, the sharper image.
- "HDNR" is used to adjust overall image noise, which can set from 0-100.
- "3DNR" can adjust the level of noise reduction, the bigger value, the higher the noise reduction level, but cause the heavier ghost effect.
- "CONTRAST" is the area ratio of the brightest screen and darkest areas, it can set from 0-100.
- "SATURATION" is used to adjust bright degree of color. It can set from 0-100, the higher value, the deeper image color.
PRESS "NEXT" to enter next page.
- This page have three options, "R GAIN", "G GAIN", "B GAIN". The user can adjust the value to change color, also can set different color value according to camera environment.


DAYNIGHT
Return to main page, press "NEXT" button to enter next page.
"DAYNIGHT" has four modes, "EXT", "COLOR", "BW", "AUTO GEN". It is synchronous with infrared lamp's opening and closing time.

"EXT" mode can choose from 0/100 to 100/100. In "COLOR" mode, image will always be color. In "BW" mode, image will always be black and white. "AUTO GEN" can control the camera output color or black and white image according to the strength of the light, can set daynight delay as picture below.

SYSTEM
"SYSTEM" contains 5 parameters.

- "LANG" comes with "Chinese" "Japanese" "English" three languages for user of different nationalities. User can select the language by LEFT/RIGHT.
- "TV SYSTEM" comes with "PAL" or "NTSC" two modes for user of different nationalities.
BAD PIXEL
"BAD PIXEL" is for bad pixel repair. USER can choose "ON" or "OFF" mode.
![]()
PRIVACY MASK
User can adjust the size, position, color, transparency of the chosen area.

HLC
In "HLC" menu, press LEFT/RIGHT key to select "ON" or "OFF".

SAVE
When the user finish setting and want to save it, please choose "SAVE" and press "EXIT" to exit the OSD menu, the setting will be saved in FLASH and will not loose when the power supply is off or the system is restarted.

EXIT
Press "EXIT" to exit the OSD menu.


Documents / ResourcesDownload manual
Here you can download full pdf version of manual, it may contain additional safety instructions, warranty information, FCC rules, etc.
Download FOXEER Monster - 1200TVL 16:9 Widescreen Camera Manual
Advertisement


Need help?
Do you have a question about the Monster and is the answer not in the manual?
Questions and answers