Table of Contents
Advertisement
ALL phases of this installation must comply with NATIONAL, STATE AND LOCAL CODES
IMPORTANT - This Document is customer property and is to remain with this unit. Please return to service informa-
tion pack upon completion of work.
These instructions do not cover all variations in systems or provide for every possible contingency to be met in connection with
the installation. Should further information be desired or should particular problems arise which are not covered sufficiently for the
purchaser's purposes, the matter should be referred to your installing dealer or local distributor.
Note: The manufacturer recommends installing only approved matched indoor and outdoor systems. Some of the benefits of
installing approved matched indoor and outdoor split systems are maximum efficiency, optimum performance and the best overall
system reliability.
Note: R-454B refrigerant is an "A2L" refrigerant meaning: A = non-toxic, 2 = flammable, L = low burning velocity.
The term "A2L" is used throughout this document.
Table of Contents
Section 1. Safety ..................................................................................... 2
Section 2. Unit Location Considerations.............................................. 3
Section 3. Unit Preparation .................................................................... 4
Section 4. Setting the Unit ..................................................................... 4
Section 5. Refrigerant Line Considerations ......................................... 4
Section 6. Refrigerant Line Routing ..................................................... 5
Section 7. Refrigerant Line Brazing ...................................................... 7
Section 8. Refrigerant Line Leak Check ............................................... 8
Section 9. Evacuation ............................................................................. 8
Section 10. Service Valves ..................................................................... 8
Section 11. Electrical - Low Voltage ..................................................... 9
Section 12. Electrical - High Voltage .................................................. 11
Section 13. Start Up .............................................................................. 11
Section 14. System Charge Adjustment ............................................. 12
Section 15. Checkout Procedures ....................................................... 16
Section 16. Refrigeration Circuits........................................................18
Section 17. Wiring Diagrams................................................................20
Section 18. Pressure Curves................................................................23
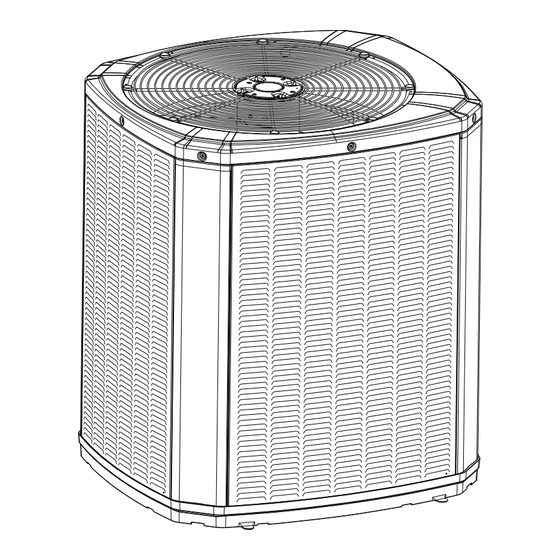
Installation and Operation Manual
Condensing Units
5TTR4018 - 060
18-AC128D1-1B-EN
Advertisement
Table of Contents


Need help?
Do you have a question about the 5TTR4018A and is the answer not in the manual?
Questions and answers
What is the SEER rating for 5TTR4048A1000B
how long can the 3" flue be and how much dose a elbow deduct from the max length