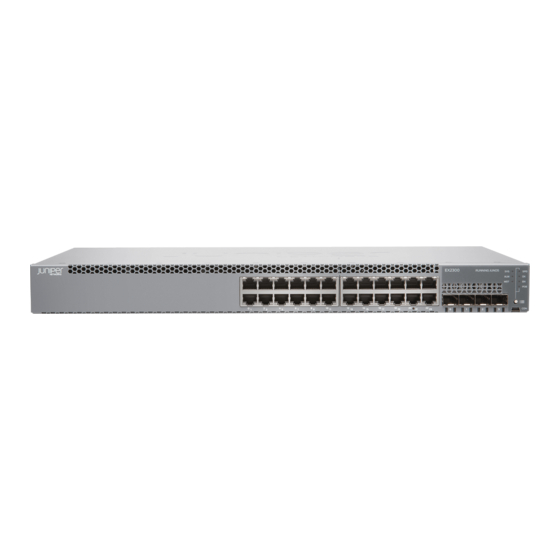
Juniper EX2300 Quick Start Manual
Hide thumbs
Also See for EX2300:
- Hardware manual (314 pages) ,
- Quick start manual (8 pages) ,
- Quick start (2 pages)
Table of Contents
Advertisement
Quick Links
Advertisement
Table of Contents

Related Manuals for Juniper EX2300


Summary of Contents for Juniper EX2300
- Page 1 EX2300 Quick Start Published RELEASE 2023-10-29...
-
Page 2: Table Of Contents
Table of Contents Step 1: Begin Meet the EX2300 Line of Ethernet Switches | 1 Install the EX2300 in a Rack | 3 What’s in the Box? | 3 What Else Do I Need? | 3 Rack It! | 4... -
Page 3: Step 1: Begin
In this guide, we provide a simple, three-step path, to quickly get you up and running with your new EX2300. We’ve simplified and shortened the installation and configuration steps, and included how-to videos. You’ll learn how to install an AC-powered EX2300 in a rack, power it up, and configure basic settings. - Page 4 All switches except the EX2300-C-12T, EX2300-24T, and EX2300-48T support Power over Ethernet (PoE) and Power over Ethernet Plus (PoE+) for powering attached network devices. NOTE: There’s a separate Day One+ guide for the 12-port EX2300-C switch models. See EX2300-C on the Day One+ webpage.
-
Page 5: Install The Ex2300 In A Rack
What Else Do I Need? | 3 You can install the EX2300 switch on a desk or table, on a wall, or in a two-post or four-post rack. The accessory kit that ships in the box has the brackets you need to install the EX2300 switch in a two-post rack. -
Page 6: Rack It
EX2300 switch to sit in the rack. 4. Lift the EX2300 switch and position it in the rack. Line up the bottom hole in each mounting bracket with a hole in each rack rail, making sure the EX2300 switch is level. -
Page 7: Power On
5. While you’re holding the EX2300 switch in place, have someone insert and tighten the rack mount screws to secure the mounting brackets to the rack rails. Make sure to tighten the screws in the two bottom holes first and then tighten the screws in the two top holes. -
Page 8: Step 2: Up And Running
8. Verify that the AC OK LED above the power inlet is steadily lit. The EX2300 switch powers up as soon you connect it to the AC power source. When the SYS LED on the front panel is steadily green, the switch is ready to use. -
Page 9: Plug And Play
• Link Layer Discovery Protocol (LLDP) • Link Layer Discovery Protocol Media Endpoint Discovery (LLDP-MED) These settings are loaded as soon as you power on the EX2300 switch. If you want to see what’s in the factory-default configuration file for your EX2300 switch, see EX2300 Switch Default Configuration. - Page 10 • Stop bits—1 • DCD state—Disregard Connect the console port on the EX2300 switch to a laptop or desktop PC using the Ethernet cable and the RJ-45 to DB-9 serial port adapter (not provided). If your laptop or desktop PC doesn't have a serial port, use a serial-to-USB adapter (not provided).
- Page 11 DHCP setting for the management interface. {master:0}[edit] root# delete interfaces vme unit 0 family inet dhcp root# set interfaces vme unit 0 family inet address address/prefix-length NOTE: The management port vme (labeled MGMT) is on the front panel of the EX2300 switch.
- Page 12 11. Configure the default gateway for the management network. {master:0}[edit] next-hop address root# set routing-options static route 0/0 12. Configure the SSH service. By default the root user cannot login remotely. In this step you enable the SSH service and also enable root login via SSH. {master:0}[edit] root# set system services ssh root-login allow 13.
-
Page 13: Step 3: Keep Going
Configure Ethernet Interfaces Configuring Gigabit Ethernet Interfaces (J-Web Procedure) Configure Layer 3 Protocols Configuring Static Routing (J-Web Procedure) Administer the EX2300 switch J-Web Platform Package User Guide for EX Series Switches See, automate, and protect your network Visit the Security Design Center... -
Page 14: General Information
QFX switches are configured with the same Junos commands. General Information If you want to Then See all documentation available for the EX2300 routers Visit the EX2300 page in the Juniper Tech Library Find more in-depth information about installing and... - Page 15 Networks, Inc. in the United States and other countries. All other trademarks, service marks, registered marks, or registered service marks are the property of their respective owners. Juniper Networks assumes no responsibility for any inaccuracies in this document. Juniper Networks reserves the right to change, modify, transfer, or otherwise revise this publication without notice.
Need help?
Do you have a question about the EX2300 and is the answer not in the manual?
Questions and answers