Table of Contents
Advertisement
Quick Links
Advertisement
Table of Contents

Related Manuals for Gaggenau AW 480


Summary of Contents for Gaggenau AW 480
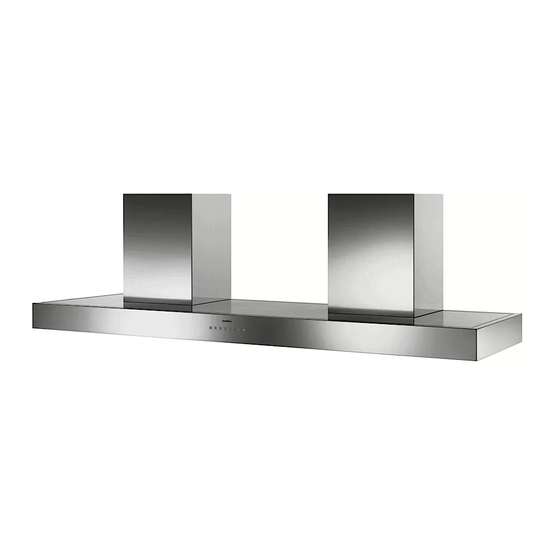
- Page 1 Gaggenau Operating Instructions Wall ventilation hood AW 480...
-
Page 3: Table Of Contents
Contents Safety notes Operating for the first time About use Features of your new appliance Wall ventilation hood AW 480 Control panel Accessories Special accessories Accessories for installation Operation Light Fan levels Special functions Intensive time Delayed shut-off Interval ventilation... -
Page 4: Safety Notes
Safety notes Damaged appliances must not be operated. Do not clean the appliance with a steam cleaning apparatus or with water pressure because this The appliance must only be connected by an poses a risk of short-circuits. authorised specialist, paying attention to the relevant regulations of the power supply Isolate the appliance from the mains during every companies and the regional construction... -
Page 5: Operating For The First Time
If the problem has nothing to do with the power supply, please contact your Conscientiously read through the operating and specialist dealer or your local Gaggenau after-sales assembly instructions before operating the service. appliance for the first time. -
Page 6: Features Of Your New Appliance
Features of your new appliance Wall ventilation hood AW 480 Ventilation duct Control panel Lighting Grease filters Control panel Grease filter saturation display Lighting Delayed shut-off Extraction level intensive Extraction level 3 Extraction level 2 Extraction level 1 Motor off... -
Page 7: Accessories
Accessories Special accessories You can order the following special accessories: • AA 480-180: Activated carbon filter Accessories for installation You can order the following accessories for installation: Installation accessories for exhaust air mode: • AD 480-012 for ceiling heights of 2.30 – 2.70 m •... -
Page 8: Operation
Operation After they have been pressed, all functions selection keys except 0 (“Motor off”) are backlit in green. Light The lighting can be switched on or off, regardless of whether the wall extractor is in operation, by pressing the key. When you briefly press the key, the lighting is increased up to the maximum level. - Page 9 If you press the Int key while the hood is running at fan level 1, 2 or 3, the electronic control will switch back automatically to the previously selected fan level after 5 minutes. If you would like to end the intensive level before the five minutes have elapsed, press the 0 key (“Motor off”) or select a different level.
-
Page 10: Special Functions
Special functions Intensive time You can set the intensive level running time to 3, 5 or 10 minutes by simultaneously pressing the Int key and the 1, 2 or 3 key and you can store this setting. When delivered, the appliance is set to five minutes, i.e. -
Page 11: Cleaning And Care
Cleaning and care Cleaning the grease filters The grease filter saturation display F flashes after an operating time of 30 hours to you indicate to you that you should clean the grease filter. The grease filters can of course be cleaned at any time, even if the grease filter saturation display has not started to flash. -
Page 12: Circulating Air Mode
Circulating air mode The activated charcoal filter eliminates kitchen smells in the circulating air mode. In normal use (1 to 2 hours daily), the activated charcoal filter must be replaced approximately once a year. If no activated charcoal filter is installed, kitchen smells will not be eliminated. -
Page 13: Maintenance
If the power supply is in proper working order, but the appliance is nevertheless not functioning, then please contact your specialist dealer or Gaggenau after-sales service. Specify the appliance type (see rating plate). Repairs must only be carried out by authorised specialists, thus ensuring the safety of the appliance. -
Page 14: Lamp Replacement
Lamp replacement Caution: disconnect the power supply before replacing lamps (switch off the fuse)! Caution: lamps may still be hot shortly after use! Risk of burns. Detach the ring from the lamp cover. Note: make sure that the glass will not fall out. Pull out the lamp.
Need help?
Do you have a question about the AW 480 and is the answer not in the manual?
Questions and answers