Advertisement
Introduction. . . . . . . . . . . . . . . . . . 2
Important Safety Instructions . . . . . . . . 3
Cooking Recommendations . . . . . . . . 10
Before Setting Surface Controls . . . . . 13
Setting Surface Controls. . . . . . . . . . 16
Frigidaire.com USA 1-800-374-4432
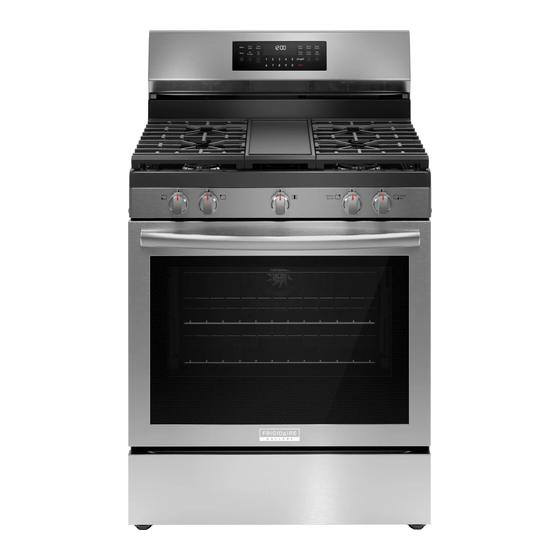
RANGE
use
Before Setting Oven Controls. . . . . . . 18
Setting Oven Controls . . . . . . . . . . . 19
Care and Cleaning . . . . . . . . . . . . . 44
Before You Call . . . . . . . . . . . . . . . 50
Warranty . . . . . . . . . . . . . . . . . . 54
GAS
&
care
A27171402_A_en (Aug 2023)
Frigidaire.ca Canada 1-800-265-8352
Advertisement
Table of Contents


Need help?
Do you have a question about the GCRG3060BF and is the answer not in the manual?
Questions and answers