Sign In
Upload
Download
Table of Contents
Contents
Add to my manuals
Delete from my manuals
Share
URL of this page:
HTML Link:
Bookmark this page
Add
Manual will be automatically added to "My Manuals"
Print this page
×
Bookmark added
×
Added to my manuals
Manuals
Brands
Tait Manuals
Two-Way Radio
TP3350 DMR
User manual
Tait TP3350 DMR User Manual
Conventional portable radios
Hide thumbs
1
2
Table Of Contents
3
4
5
6
7
8
9
10
11
12
13
14
15
16
17
18
19
20
21
22
23
24
25
26
27
28
29
30
31
32
33
34
35
36
37
38
39
40
41
42
43
44
45
46
47
48
49
50
51
52
53
54
55
56
57
58
59
60
61
62
63
64
65
66
67
68
69
70
71
72
73
74
page
of
74
Go
/
74
Contents
Table of Contents
Troubleshooting
Bookmarks
Table of Contents
Table of Contents
For Your Safety
Menu Map
About this Guide
Safety Warnings Used in this Guide
Related Documentation
Before Using Your Radio
Package Contents
For Your Safety - Battery Warning
Attaching Labels to the Radio or Battery
Charging the Battery before First Use
Attaching the Battery
Removing the Battery
Attaching the Antenna
Removing the Antenna
Replacing the Belt Clip
Attaching an Audio Accessory
Getting Started
About Your DMR Digital Radio
About the Radio Controls
Understanding the Radio Display
Understanding the Radio Indicators
Using Function Keys to Access Frequently Used Features
Navigating the Radio's Menus
Operation
Turning the Radio on and off
Adjusting the Speaker Volume
Connecting to a Bluetooth ® Device (TP3350 Only)
Answering a Call Alert
Selecting a Zone
Selecting a Channel
Changing a Channel
Making a Group Call
Making a Private Call
Turning Scanning on and off
Making a Call Alert
Sending a Quick Text Message
Sending an Emergency Alarm
Turning Location Information on and off (TP3350 Only)
Charging and Caring for Batteries
About the Chargers
6-Way Charger Safety Information
Before Using the Charger
Charging Temperatures
Leaving the Battery on Charge
Receiving Calls While Charging
Low Battery Warning
Charging a Battery for the First Time
Charging a Battery
LED Behavior
Removing the Battery from the Charger
Maintaining Battery Life and Performance
Storing Batteries
Disposing of Batteries
Troubleshooting
About Troubleshooting
When Your Radio Won't Turn on
Identifying the Radio's Audible Tones
Viewing Radio Information
General Care
Tait Software Licence Agreement
Simplified Declaration of Conformity
Advertisement
Quick Links
Download this manual
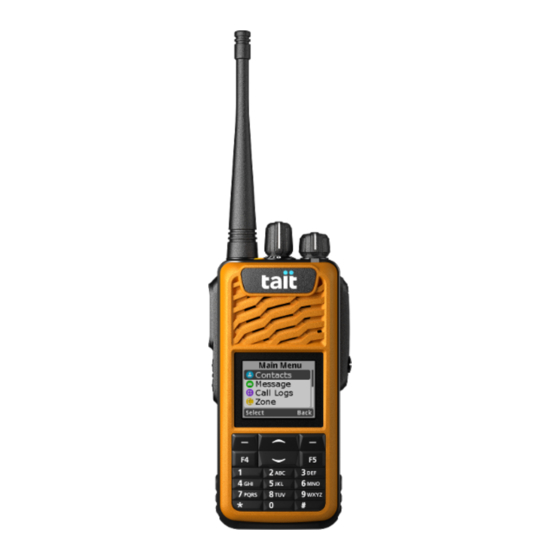
TP3300/TP3350 DMR
Conventional Portable Radios
User's Guide
MPE-00001-04 · Issue 4 · April 2021
Table of
Contents
Previous
Page
Next
Page
1
2
3
4
5
Advertisement
Table of Contents
Troubleshooting
Troubleshooting
61
About troubleshooting
62
Need help?
Do you have a question about the TP3350 DMR and is the answer not in the manual?
Ask a question
Questions and answers
Related Manuals for Tait TP3350 DMR
Two-Way Radio Tait TP7110 User Manual
Conventional radio (2 pages)
Two-Way Radio Tait TP8000 Series Battery Charging Manual
(75 pages)
Two-Way Radio Tait TP9000 Quick Start Manual
(16 pages)
Two-Way Radio Tait T 9100 Series Quick Start Manual
(10 pages)
Two-Way Radio Tait TP3300 User Manual
Dmr conventional and analog portable radios (73 pages)
Two-Way Radio Tait TP9310 User Manual
Dmr conventional and analog portable radios (72 pages)
Two-Way Radio Tait TP2210-B1 Instruction Manual
Dmr two way radio (15 pages)
Two-Way Radio Tait TP9460 Quick Start Manual
(10 pages)
Two-Way Radio Tait TP3000 Series Quick Start Manual
(15 pages)
Two-Way Radio Tait TP3300 DMR User Manual
Conventional portable radios (74 pages)
Two-Way Radio Tait TP2210-H7 Instruction Manual
Dmr two way radio (16 pages)
Two-Way Radio Tait TM8100 User Manual
(136 pages)
Two-Way Radio Tait TM8100 User Manual
(106 pages)
Two-Way Radio Tait TM8110 Operator's Manual
Tm8000 mobiles (44 pages)
Two-Way Radio Tait T525 Manual
(79 pages)
Two-Way Radio Tait T2000 II Series Service Manual
(150 pages)
This manual is also suitable for:
Tp3300 dmr
Table of Contents
Print
Rename the bookmark
Delete bookmark?
Delete from my manuals?
Login
Sign In
OR
Sign in with Facebook
Sign in with Google
Upload manual
Upload from disk
Upload from URL


Need help?
Do you have a question about the TP3350 DMR and is the answer not in the manual?
Questions and answers