Advertisement
Advertisement
Table of Contents

Summary of Contents for Studiologic SL-1100
-
Page 2: Quick Reference
MIDI data on channels one through four. 4) Apply power to the SL-1100, then apply power to all other MIDI devices in the system. To change SL-1100 presets, make sure that the unit is in Perform Mode (there should be no blinking lights on the front panel). -
Page 3: Basic Information
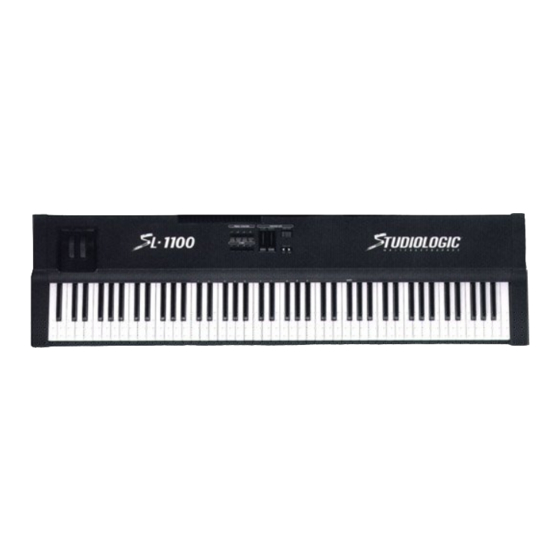
- Power Requirements: 9VDC at 200mA (center contact positive). BASIC INFORMATION The SL-1100 serves as the master controller for any group of MIDI instruments and accessories. A MIDI input is provided which allows flexibility in multi-keyboard setups. Data from this input is merged into the two MIDI outputs. - Page 4 The thirty-two SL-11-00 internal presets may be loaded from an external computer or storage device. The output of the storage device must be connected to the MIDI input of the SL-1100. If the SL-1100 receives the correct system-exclusive identifier, the preset data will be loaded into memory.
-
Page 5: Operation
Piano sound is switched off, and a solo instrument sound is switched on using Zone switch 2. The same result could be achieved by switching to a different SL-1100 preset, but it is more efficient to use the zone switches for basic sound switching. - Page 6 EDIT MODE To create or change a SL-1100 preset, it is necessary to enter Edit Mode. Most of the parameters in the preset are associated with one of the four keyboard zones. The procedure for changing . any of these zone parameters is as follows: 1) Enter Edit Mode by pressing and holding one of the four ZONE switches.
- Page 7 Most sound modules can produce a wide range of instrument sounds, and each sound requires an appropriate keyboard playing technique. The Velocity parameter of the SL-1100 is used to adjust the keyboard dynamic sensitivity for the best response or "feel" for a given instrument sound.
- Page 8 Control Slider The left slider on the SL-1100 front panel can be programmed to issue any MIDI control change message. To set the controller number, press and hold a ZONE switch. Press the FUNCTION 4 switch twice, then release both switches. Use the DATA slider to set the controller number (if no controller is desired, adjust the slider to display a dash"-").
- Page 9 SAVE function. Connect one of the SL-1100 MIDI outputs to the MIDI input of the storage device." Press and hold any zone switch. To send sys-ex memory data, press the SAVE switch. After sys-ex has been transmitted, the unit will return to perform mode.


Need help?
Do you have a question about the SL-1100 and is the answer not in the manual?
Questions and answers