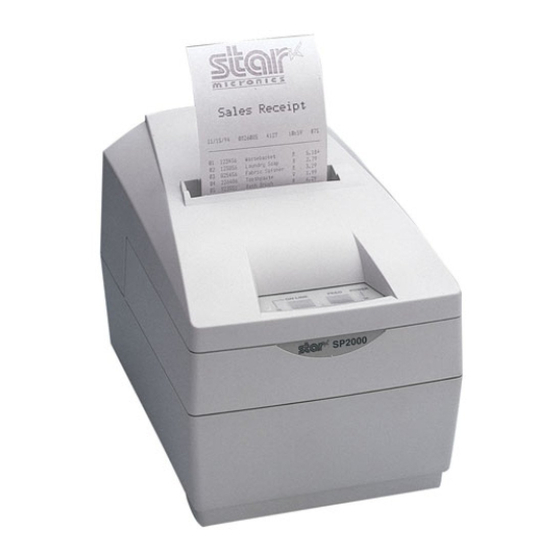
Star Micronics SP2000 Install Manual
Attaching the wall mounting bracket
Hide thumbs
Also See for SP2000:
- User manual (170 pages) ,
- Programmer's manual (81 pages) ,
- Specifications (1 page)
Advertisement
Quick Links
Download this manual
See also:
User Manual
Attaching the Wall Mounting Bracket of SP2000
1. Unpacking :
Confirm that all accessories are included.
4mm screws(4) Not Supplied
Users must prepare 4mm sc-
rews for bracket.
2. Attaching procedure :
Note1)
Unplug the power plug from the outlet.
Note2)
Select a position that is not subjected to me-
chanical shocks or exposed to moisture. Also,
confirm that the wall is wide enough for at-
tachment.
2-1 How to attach the bracket
1
If attachment on the wall is not possible, fas-
ten a board, having the minimum dimensions
of 120mm 170mm 5mm, to the wall.
2
Apply the bracket and mark the positions of
the screw holes.
3
Drill screw holes in the marked positions.
4
Firmly tighten and fix the bracket to the wall
with screws. Attach and fix the bracket with
the four 4mm screws.
Use screws having sufficient length to secure
the bracket.
2-2 How to attach the holder plate and ground wire
1
Firmly tighten the five accessory screws M3
in the direction shown in the figure to attach
the holder plate onto the printer.
Tightening torque : 9N . m ± 0.1N . m
2
Firmly tighten the flanged accessory screw
M3 5 and the accessory screw M3 10 to at-
tach the ground wire to the printer.
2-3 Setting the roll paper holder
1
Remove the printer cover.
2
Position the holder with the slot and tighten
the accessory screw M2 to attach the holder
onto the printer.
3
Firmly tighten the two accessory screws M3
to attach the roll paper holder onto the printer.
2-4 Setting the printer
Slide the printer main unit downward from the
top of the bracket so that the holder plate guides
it to a secure position.
2-5 Setting the roll paper
Move the roll paper holder in the direction of
the arrow, and insert the roll so that the holes
in the core align with the axes of the roll paper
holder. Release the roll paper holder to secure
the roll paper.
M3 10 screws (5)
M3
8 screws (2)
Roll paper holder
M3
5 screw
M2
10 screw
Ground wire
Holder
Bracket
fig.1 Attaching the bracket
Screw with flange
Roll paper holder
Holder
fig.3 Setting the roll paper holder
Roll paper
fig.5 Setting the roll paper
Holder plate
Wall material
Ground wire
fig.2 Attaching the holder plate
and ground wire
Slot
fig.4 Setting the printer
80871120WB-2000
Bracket
Holder plate
Advertisement


Need help?
Do you have a question about the SP2000 and is the answer not in the manual?
Questions and answers