Table of Contents
Advertisement
Quick Links
Advertisement
Table of Contents

Related Manuals for Kinetik Wellbeing WBP2


Summary of Contents for Kinetik Wellbeing WBP2
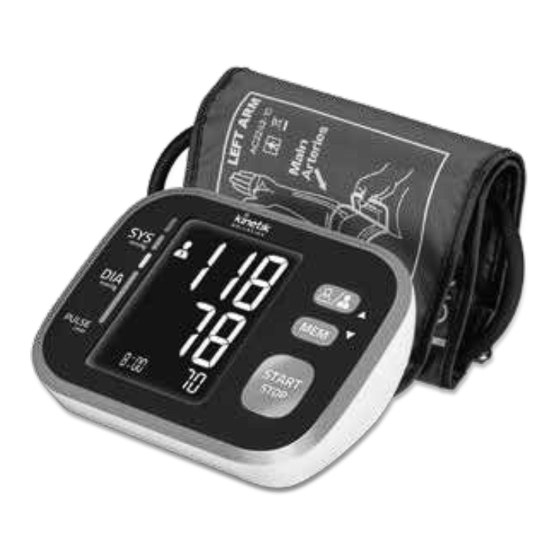
- Page 1 Blood Pressure Monitor Instruction Manual WBP2...
-
Page 2: Table Of Contents
TABLE OF CONTENTS INTRODUCTION............... 2 - 8 Support General Description Indications for Use... -
Page 3: Introduction
The monitor features blood pressure measurement, pulse rate measurement and the result storage. The design provides you with three years warranty. Readings taken by the WBP2 are equivalent to those obtained by a trained If you have a question, have a look at our Troubleshooting page! observer using the cuff and stethoscope auscultation method. -
Page 4: Safety Information
INTRODUCTION INTRODUCTION CAUTION Safety Information * Don't kink the connection tube during use, otherwise, the cuff pressure may continuously increase The signs below might be in the user manual, labeling or other component. which can prevent blood flow and result in harmful injury to the PATIENT. They are the requirement of standard and using. - Page 5 INTRODUCTION INTRODUCTION CAUTION LCD display signal * If you experience discomfort during a measurement, such as pain in the arm or other complaints, press the START/STOP button to release the air immediately from the cuff. Loosen the cuff and remove it from your arm.
-
Page 6: Lcd Display Signal
BATTERY COMPARTMENT Replace the batteries whenever the below happens List shows 2. Cuff (Type BF applied part) 1. Blood Pressure Monitor (WBP2) The display is dim (22cm~42cm) The display does not light up. (Please use Kinetik authorized cuff. The size... -
Page 7: Setting Date, Time
BEFORE YOU START BEFORE YOU START 3. Press “ ” button to confirm [YEAR]. Then the monitor Setting Date and Time. enter into [MONTH] and [DAY] setting. It is important to set the clock before using your blood pressure monitor, so that a time stamp can be assigned to each record that is stored in the memory. -
Page 8: Select The User Id
BEFORE YOU START BEFORE YOU START 5. Repeat steps 2 and 3 to set the [HOUR] and [MINUTE]. Select the User ID Before you start the measurement, please select the desired user ID first. 1. When the blood pressure monitor is off, press “ ”... -
Page 9: Taking A Measurement
TAKING A MEASUREMENT TAKING A MEASUREMENT Start the Measurement Tie the cuff When the monitor is off, press “ ” button to turn on the monitor, and it will finish the whole measurement. 1. Remove all Jewellery, such as watches and (Take user 1 for example.) bracelets from your left arm. -
Page 10: Data Management
DATA MANAGEMENT DATA MANAGEMENT Recall the Records Delete the Records 1. When the monitor is off, please press “ ” button to show the If you did not get the correct measurement, you can delete the average value of the latest three records. If the records are less than 3 groups, it will display the latest record instead. -
Page 11: Information For User
DATA MANAGEMENT INFORMATION FOR USER Tips for Measurement 1. Hold pressing both “ ” button and “ ” botton Measurements may be inaccurate if taken in the following for 3 second when the monitor circumstances. is in the memory recall mode, the “dEL y + U5 Er”... -
Page 12: About Blood Pressure
ABOUT BLOOD PRESSURE ABOUT BLOOD PRESSURE What are systolic pressure and diastolic pressure? Why does my blood pressure When ventricles contract and pump blood out of Systolic Diastolic fluctuate throughout the day? the heart, the blood pressure reaches its maximum blood entering blood discharging vein... -
Page 13: Troubleshooting
TROUBLE SHOOTING SPECIFICATIONS This section includes a list of error messages and frequently Battery powered mode: 6VDC 4×AA batteries asked questions for problems you may encounter with your blood Power supply AC adaptor powered mode: 6V 1A (not included) pressure monitor. If the products not operating as you think it (Please only use the recommended AC adaptor model). -
Page 14: Authorised Components
AUTHORISED COMPONENTS COMPLIED STANDARDS LIST AND EMC GUIDANCE Authorised Components Complied Standards List 1. please use the Kinetik authorised adapter. (not included) EN ISO 14971:2012 / ISO 14971:2007 Medical devices - Risk management Application of risk management to medical devices EN ISO 15223-1:2016 / ISO 15223-1:2016 Medical devices. -
Page 15: Emc Guidance
100 kHz repetition frequency 100 kHz repetition frequency cables and external antennas) should be used no closer than 30 cm (12 inches) to any part of the equipment WBP2, including cables specified by the manufacturer. Otherwise, Surge ±0.5 kV, ±1 kV differential mode ±0.5 kV, ±1 kV differential mode... - Page 16 DECT; LTE Band 1, 1970 4,25; UMTS 2450 2400- Bluetooth, Pulse 2570 WLAN, modulation 802.11 217 Hz b/g/n, RFID 2450, LTE Band 7 5240 5100- WLAN Pulse 5800 802.11 modulation 217 Hz 5500 5785 0197 Kinetik WBP2 NZ IB(EN) 20210720...
Need help?
Do you have a question about the WBP2 and is the answer not in the manual?
Questions and answers