Table of Contents
Advertisement
Quick Links
Please give us a chance to make it right and do better !
Contact our friendly customer service department for help first.
Replacements for missing or damaged parts will be shipped ASAP !
US office: Fontana
UK office: Ipswich
Contact Us !
Do NOT return this item.
AU office: Truganina
US:cs.us@costway.com
UK:cs.uk@costway.com
AU:cs.au@costway.com
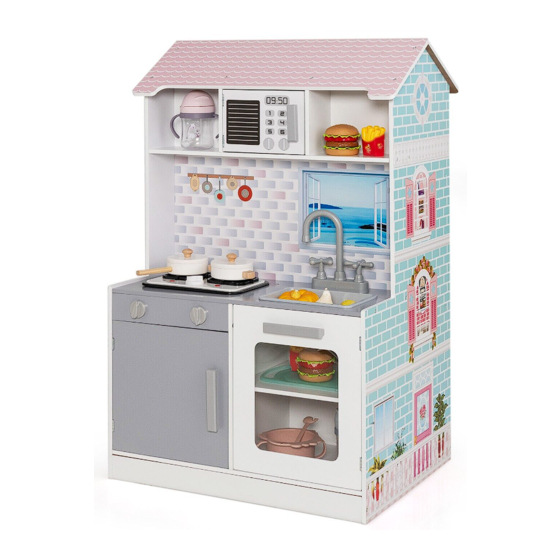
Kid's Kitchen Playset
THIS INSTRUCTION BOOKLET CONTAINS IMPORTANT SAFETY INFORMATION. PLEASE READ AND KEEP FOR FUTURE REFERENCE.
USER'S MANUAL
TP10024
Advertisement
Table of Contents

Subscribe to Our Youtube Channel
Related Manuals for Costway TP10024


Summary of Contents for Costway TP10024
- Page 1 US office: Fontana UK office: Ipswich AU office: Truganina USER’S MANUAL Contact Us ! Kid's Kitchen Playset TP10024 Do NOT return this item. US:cs.us@costway.com UK:cs.uk@costway.com AU:cs.au@costway.com THIS INSTRUCTION BOOKLET CONTAINS IMPORTANT SAFETY INFORMATION. PLEASE READ AND KEEP FOR FUTURE REFERENCE.
- Page 2 Before You Start Please read all instructions carefully and keep it for future reference. General Security Warning Caution: The Product is not suitable for the children under 3 years Danger: Keep all small parts and packaging materials for this product away from babies and children, otherwise they may pose a choking hazard.
- Page 3 STEP 3: Assemble No.1 and No.2 STEP 4: Assemble No.5 to No.2 to No.21 with screws C. with screws C, then assemble No.3 to No.2 with screws D. STEP 1: Insert nuts I to No.1,2, 5, 8, 11, 13, 14 and No.25. Assemble parts F to No.5 with screws B.
- Page 4 STEP 7: Assemble No.12 to No.11 STEP 8: Insert No.10 to No.11,14 STEP 11: Assemble No.25 to STEP 12: Assemble No.13 to No.7 with screws D, then assemble and No.21. No.5,7 and No.21 with screws C. and No.21 with screws C. No.14 to No.12 with screws D, to No.21 with screws C.
- Page 5 STEP 15: Insert No.15 to No.13, STEP 16: Assemble No.19 to STEP 19: Assemble No.24 to STEP 20: Assemble No.22 to No.7 and No.21. No.17,18 and NO.7,21 with No.21 with screws B. No.17 and No.23 to No.7 with screws D. screws B.
Need help?
Do you have a question about the TP10024 and is the answer not in the manual?
Questions and answers