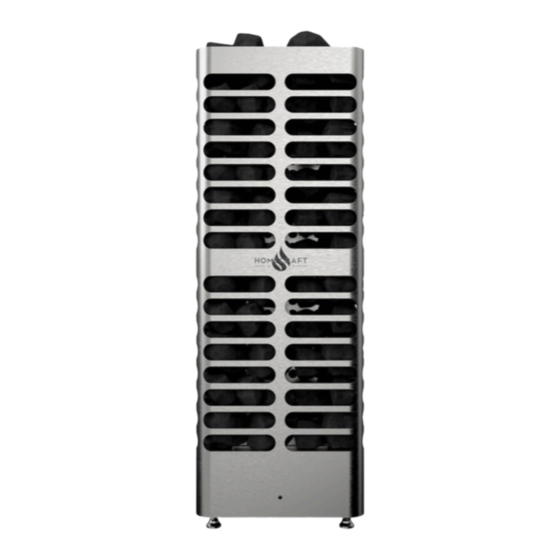
Summary of Contents for Homecraft Revive
- Page 1 Installation & Safety Manual Page 1 Sauna Installation & User Manual Revive: Body, Soul & Spirit 6 kw 7.5 kw 9 kw 240v & 208v www.homecraftsaunas.com info@homecraftsaunas.com...
- Page 2 Installation & Safety Manual Page 2 Table of Contents Electric Sauna heater 6kw, 7.5kw, 9kw Page 1. Front Page Page 2. Table of Contents Page 3. Safety & Warnings Page 4. Heater & Electrical Specs Page 5. Safety to combustible Specs Page 6.
- Page 3 Warning: The use of alcohol, drugs, or medication is capable of greatly in- creasing the risk of fatal hyperthermia CAUTION: For supply connections, use 14 The safety to combustibles for the Revive Sauna heater (6kw, 7.5kw, 9kw) is AWG or larger wires suitable for at least 105°C .”...
- Page 4 Installation & Safety Manual Page 4 Revive Sauna Heater Specs: Revive Sauna Heater 240v Electrical specs Revive Sauna Heater 208v Electrical specs...
- Page 5 Installation & Safety Manual Page 5 Revive Safety clearances to Combustible materials Minimum height of the sauna ceil- ing is 6’5’’. CAUTION: Avoid fire, Do Not Place Combustible Material on sauna heater / ATTENTION: Evitez les Incedies, Ne Placez Aucne Matiere...
- Page 6 •Homecraft Vented Doors come with an exhaust vent installed whereas the Homecraft win- dow door and full window door do not have a vent installed in the door. Homecraft manufac- tured doors are intentionally provided with a gap for airflow under the door.
- Page 7 • Sauna rocks should be piled sparsely in order to enhance ventilation between the stones. Do not bend the heating elements together or against the frame. • Using rocks not sourced or provided by Homecraft Saunas will void the warranty of the Sauna heater •...
- Page 8 •The sauna heater needs to be fixed directly onto the floor, wall or to the sauna bench module by using suitable anchors provided by Homecraft. •Walls or ceilings must not be clad with fibre reinforced plaster board or other light-weight cladding, because they may cause a fire hazard.
-
Page 9: Heating The Sauna
(see fig- ure 1) Step 5: Do not hide or bury the sensor behind a cover other than the one supplied by Homecraft. Incorrect installation of the sensor will negatively impact the heater operation, cause nuisance high limit tripping (safety device in the heater), and compromise personal and fire safety. - Page 10 Connecting the Sauna heater to the mains Note: The Homecraft Sauna heater must be in- stalled by a qualified electrician and in compli- ance with current or local regulations. All...
- Page 11 Relay Control Box to the Digital Sauna Con- trol so be sure to keep within this distance. Digital Control for a Homecraft Sauna Heater A Digital wall-mount Sauna Control panel is precise and offers features for the safe operation of your sauna heater.
-
Page 12: Warranty Terms
Installation & Safety Manual Page 12 The typical sauna control consists of the following components: 1. A "Relay Control Box" containing a 24volt Class 2 Transformer and relays, and a magnetic contactor that is prewired. 2. A digital "Wall Control Panel" that mounts to a 2-gang electrical box (supplied by owner) by which you set your time and temperature C.


Need help?
Do you have a question about the Revive and is the answer not in the manual?
Questions and answers