Advertisement
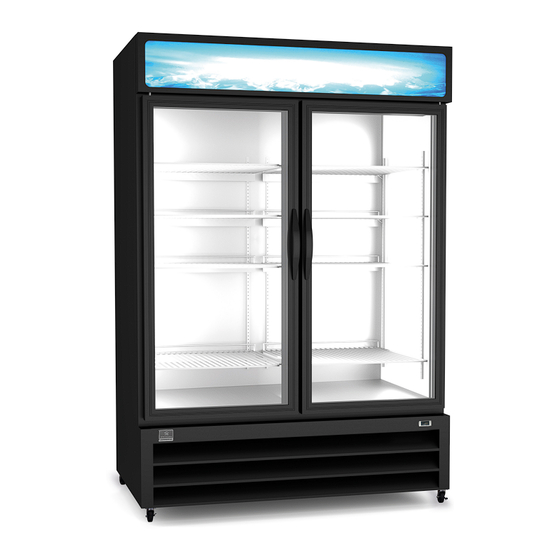
Glass Door Merchandiser
Refrigerator and Freezer
Service, Installation and Care Manual
Please read this manual completely before attempting to install or operate this equipment.
Notify carrier of damage! Inspect all components immediately.
IMPORTANT INFORMATION
READ BEFORE USE
PLEASE SAVE THESE INSTRUCTIONS!
Advertisement
Table of Contents


Need help?
Do you have a question about the KCHGM12R and is the answer not in the manual?
Questions and answers