Table of Contents
Advertisement
Quick Links
Advertisement
Table of Contents

Summary of Contents for ADX FIREPOWER ADV. 24
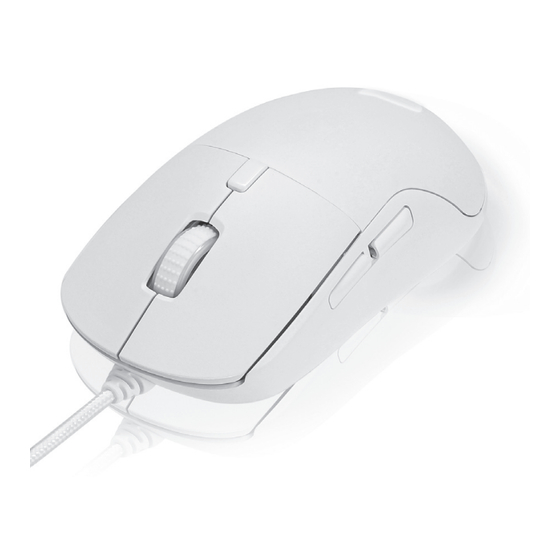
- Page 1 FIREPOWER ADV. 24 RGB GAMING MOUSE INSTRUCTION MANUAL ADXM1224...
-
Page 2: Table Of Contents
Contents Safety Warnings ................. 3 Product Overview ................4 Detachable Buttons ................5 Mouse DPI Settings ................5 RGB Light Settings ................6 Software Installation ................. 6 User Interface ..................6 User Interface- Customise ..............7 User Interface- Light ................7 User Interface - Performance ............ -
Page 3: Safety Warnings
Safety Warnings • Read all the instructions carefully before using the unit and keep them for future reference. • Retain the manual. If you pass the unit onto a third party, make sure to include this manual. Never point the optical sensor towards the face, particularly the eyes, to avoid possible injury. -
Page 4: Product Overview
Thank you for purchasing your new product. We recommend that you spend some time reading this instruction manual in order that you fully understand all the operational features it offers. You will also find some hints and tips to help you resolve any issues. Read all the safety instructions carefully before use and keep this instruction manual for future reference. -
Page 5: Detachable Buttons
Detachable Buttons The forward (L2, R2) and backward (L1, R1) buttons are detachable from the unit. Replace the respective buttons back if they are separated from the unit. While placing the buttons back to the mouse, make sure that each button (L1, L2, R1, R2) is returned to its corresponding slot. -
Page 6: Rgb Light Settings
(under ADX HUB 2) 3. Run the software (ADX HUB 2 Setup.exe) installer. 4. Follow the installation instruction to complete the installation. 5. Choose ADX HUB 2.exe from the desktop to start the software. User Interface 1. Choose ADX HUB.exe from the desktop to launch the software. -
Page 7: User Interface- Customise
User Interface- Customise 1. Select Customise to enter the setting page. 2. Set your preference of the mouse buttons in the Key Function menu. 3. You may save your own preference in the Profile menu. 4. Select “Apply“ to implement your settings, or “Reset“... -
Page 8: User Interface - Performance
User Interface - Performance 1. Select Performance to enter the setting page. Select the DPI from • Level 1 to Level 6, and then set it from 800 to 12000. Select the Response • Rate between 125 Hz, 250 Hz, 500 Hz and 1000 Hz. 2. -
Page 9: User Interface - Light Effect
User Interface - Light Effect If one more ADX gaming device is connected, you may synchronize their light effect. 1. Select Light Effect, and the devices you want to apply the light effect. 2. Select your preferred Lighting Settings (Mode, Brightness and Speed) and Color Mode (Customise or Stream). -
Page 10: Hints And Tips
Hints and Tips • Make sure the USB plug is fully plugged into a USB port and the computer is on or try to use a different USB port. • If the mouse is moving erratically, change the working surface which the mouse is operating on. - Page 11 Visit Partmaster.co.uk today for the easiest way to buy electrical spares and accessories. With over 1 million spares and accessories available we can deliver direct to your door the very next day. Visit www.partmaster. co.uk or call 0344 800 3456 (UK customers only). Calls charged at National Rate.


Need help?
Do you have a question about the FIREPOWER ADV. 24 and is the answer not in the manual?
Questions and answers