Advertisement
Quick Links
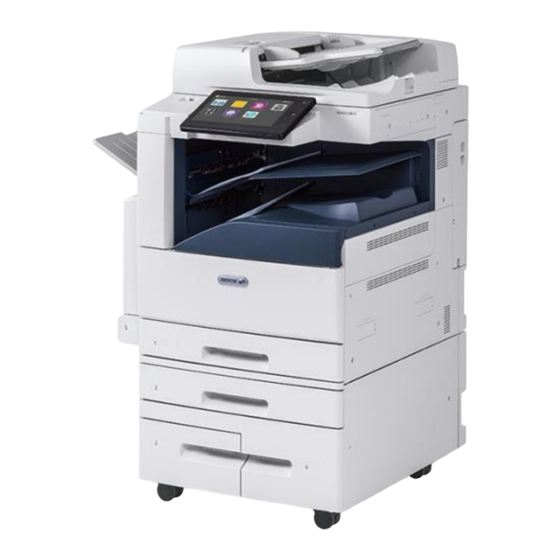
Copying/Printing/Scanning/Faxing on the Xerox AltaLink B8000 Series
To Clear Settings to default: Touch the Reset Button on the Home Screen
Load originals Face-Up.
Log In Button
Xerox Administrator
Creates a duplicate of
access.
an original document.
USB Buttons
Prints a PDF/Tif/Jpeg
from a USB drive.
Scans a document
directly to a USB drive.
This icon indicates swiping up or down
anywhere on the touchscreen
to navigate options.
Copy Button
Workflow Scanning
Scans a document to a
preconfigured location.
ID Card Copy Button
Prints the front and back of
a drivers license/check onto
the front side of the paper.
Button
Scans a document
to an email address.
Jobs Button
Lists all processing, held,
completed and secure print jobs.
This is where you delete a job.
Page 1
Email Button
Fax Button
Sends a scanned
document via a
fax number.
Pause Button
Use this button to pause the
current job. The job pauses with
the option to resume printing or
delete the job.
Power Button
When the printer is powered on,
pressing this button displays a
menu on the control panel. From
this menu, you can choose to
enter Sleep mode, restart, or
power off the printer.
Reset Button
Clears all temporary settings in
all apps back to default.
Home Button
Lists all features enabled on the
device.
*
Some apps may not be available.
Device Button
Allows you to view current Supply
levels as well as the Billing usage.
Advertisement

Related Manuals for Xerox AltaLink B8000 Series


Summary of Contents for Xerox AltaLink B8000 Series
- Page 1 Copying/Printing/Scanning/Faxing on the Xerox AltaLink B8000 Series To Clear Settings to default: Touch the Reset Button on the Home Screen Load originals Face-Up. This icon indicates swiping up or down anywhere on the touchscreen to navigate options. Log In Button...
- Page 2 (your unique Service ID will be needed for every call into Amcom.) Recycling Supplies *Dependent upon current finishing configuration. For more information on the Xerox® Recycling program, go to www.xerox.com/gwa Deleting a Copy/Print/Scan/Fax Job 1. At the printer control panel, press the Home button.
- Page 3 3. Doors A and B 4. Door C 5. Duplex Automatic Document Feeder 6. Document Output Tray 7. Finisher Areas 8. Paper Trays 1-4 Multiple Sheets Pulled Together For more in-depth information visit the official Xerox User Guide at: http://download.support.xerox.com/pub/docs/ALB80XX/userdocs/any-os/en_GB/AltaLink_B80xx_ug_en-us.pdf Page 3...
- Page 4 Bypass Tray / Manual Feed and Loading Paper Trays 1. Open the required paper tray. • If necessary, move the paper edge guides further out to load the new paper. To adjust the guides, pinch the guide lever on each guide and slide them to the new position. To secure the guides in position, release the levers. •...
- Page 5 4. Wipe the white underside of the document cover until it is clean and dry. 5. Close the document cover. Note: For best results, use Xerox® Glass Cleaner to remove marks and streaks 1. To avoid activating buttons and menus when cleaning the printer, press the Power/Wake button, then touch Sleep.
-
Page 6: Making A Copy
Making a Copy Swipe the Automatic Load originals Background Face-Up. Suppression button when copying colored paper for a clean white background. Swipe the Sample Job to allow a test print of a Saves frequently used copy job to inspect copy settings. before printing multiple copies. - Page 7 Common Copy Features Reduce/Enlarge For non-standard reduction or enlargement you can select a ration between 25% and 400% if you are copying from the document glass or 25% to 200% if using the Document Feeder. When using the glass, position the document along the top of the glass in the upper left corner where the black arrow is located.
- Page 8 Booklet Creation: Prints two pages on each side of the paper. The printer reorders and reorients the pages so that they are in the correct order and orientation when folded. If more finishing options are available, the pages can be stapled and folded to create a booklet.
- Page 9 Special Pages: Controls how Special Pages are applied to your copy sets. • Covers can be blank or contain images. They can also be printed on different paper than the rest of your job. • Chapter Starts ensure a chapter begins on the right or left side of the page, with a blank page inserted if needed.
-
Page 10: Sending A Fax
Sending a Fax Press Send to send the fax. Load originals Face-Up. Swipe the Build Job button for jobs that include a variety of originals, or for scanning multiple-page jobs from the document glass. The job is scanned in segments. After all the Touch Reset to clear segments are scanned, all settings back to... - Page 11 Adding Fax/Email Addresses Adding or Editing Contacts in the Address Book at the Control Panel Note: Before you can use this feature, the system administrator must enable Create/Edit Contact from Touch Screen for All Users. Otherwise only admin can manage the addressbook(s). 1.
-
Page 12: Id Card Copy
ID Card Copy Place original Face-Down on the glass. Touch Reset to clear all settings back to default. Copying an ID Card: To copy an ID card: 1. At the printer control panel, press the Home button. 2. To clear previous App settings, touch Reset. 3. - Page 13 Email Scanning Press Send after all required settings have been selected and you are ready to send the scan. Changing the subject will change the attachment name to match. Swipe Blank Page Removal to configure the printer to ignore blank pages throughout the document.
- Page 14 Tip! Use the Build Job feature to combine an assorted group of originals for assembly into a single scan job. Example, scanning originals using the glass and the document feeder into a single scan job. Or scanning multiple originals from the glass into one complete file, eliminating the need to merge single page scans into one larger file.
-
Page 15: Workflow Scanning
Workflow Scanning Press Scan after all required settings have been selected and your ready to send the scan. Swipe Blank Page Removal to configure the printer to ignore blank pages throughout the document. Swipe the Build Job button for jobs that include a variety of originals, or for scanning multiple-page jobs from the document glass. - Page 16 Print From and Scan To USB Insert USB Drive and respond to the prompts on the touchscreen. Only Prints and Scans as: PDF, Jpeg, and Tiff files. The USB option will not recognize Microsoft Word, PowerPoint, Publisher, Excel documents or mobile device printing.
- Page 17 Job Status button, selecting job(s) needing printed and typing in code created. Sample Set: This option enables you to send a multiple-set job to the Xerox system, print one copy of the document, and hold the remaining sets in the Xerox system print queue until after you proofread the sample. User must release job at the copier by pressing the Job Status button, selecting job(s), touch Release or Delete.
- Page 18 Secure Print- Secure print to the Xerox printer from a PC With this feature you can send a document to the printer 1. Click File. from your computer, and then go to the printer and release 2. Click Print. the document, so others cannot view the document before 3.
- Page 19 *Print on Alternate Paper The ability to select a different paper tray or size loaded in the device rather than originally specified . This feature also scales and centers the image if the tray selected is different than the original size requested. If “Resources Required to Print”...
- Page 20 Tray 5-Loading Labels, Letterhead, Envelopes Loading Labels/Letterhead: 1. Open tray 5 by rotating it outward. 2. Load labels in the tray face down with the top edge towards the front of the tray. Load letterhead face up with the top towards the front of the device. 3.
Need help?
Do you have a question about the AltaLink B8000 Series and is the answer not in the manual?
Questions and answers