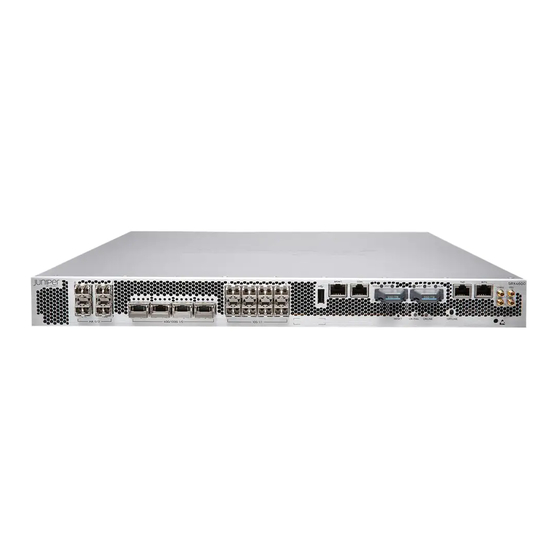
Juniper SRX4600 Quick Start Manual
Hide thumbs
Also See for SRX4600:
- Quick start (3 pages) ,
- Hardware manual (210 pages) ,
- Manual (15 pages)
Advertisement
Quick Links
Quick Start
SRX4600 Quick Start
IN THIS GUIDE
Step 1: Begin | 1
Step 2: Up and Running | 5
step-3-keep-going | 8
Step 1: Begin
IN THIS SECTION
Mount the SRX4600 | 2
Connect the SRX4600 to Ground | 3
Connect Power to the SRX4600 | 3
To mount, connect power to, and perform initial configuration on the Juniper Networks® SRX4600 Firewall, you need:
• Electrostatic discharge (ESD) grounding strap (not provided)
• Four-post rack-mounting kit (provided)
• Twelve screws to secure the mounting rails and mounting blades to the chassis (provided)
• Eight screws to secure the chassis to the rack (not provided)
• Screwdriver appropriate for your rack-mounting screws (not provided)
Advertisement

Subscribe to Our Youtube Channel
Summary of Contents for Juniper SRX4600
- Page 1 Connect the SRX4600 to Ground | 3 Connect Power to the SRX4600 | 3 To mount, connect power to, and perform initial configuration on the Juniper Networks® SRX4600 Firewall, you need: • Electrostatic discharge (ESD) grounding strap (not provided) • Four-post rack-mounting kit (provided) •...
- Page 2 Mount the SRX4600 You can mount an SRX4600 Firewall in a 19-inch four-post rack configuration. An AC device weighs approximately 38 lb (17.23 kg) and a DC device weighs approximately 40 lb (18.14 kg). Two persons are required for mounting the device.
- Page 3 5. Dress the grounding cable and ensure that it does not touch or block access to other device components and that it does not drape where people could trip over it. Connect Power to the SRX4600 IN THIS SECTION Connect Power to an AC-powered SRX4600 | 4 Connect Power to a DC-powered SRX4600 | 4...
- Page 4 NOTE: Check if the power supplies AC or DC are fully inserted into the chassis. Connect Power to an AC-powered SRX4600 To connect power to an AC-powered Firewall: NOTE: An AC-powered device gets additional grounding when you connect the power supply in the device to a grounded AC power outlet by using the power cord.
-
Page 5: Step 2: Up And Running
b. The cable with very low resistance (indicating a closed circuit) to chassis ground is positive (+) and is installed on the RTN (return) DC power input terminal. 3. Remove the protective cover from the DC power input terminal block. Save this cover for future use. 4. - Page 6 To connect and configure the Firewall from the console: Connect the console port (CON), located on the front panel of the SRX4600 to a laptop or PC by using the provided RJ-45 cable and RJ-45 to DB-9 serial port adapter (not provided).
- Page 7 password New password: password Retype new password: Commit the configuration to activate it on the device: [edit] root@# commit Log in as the administrative user you configured in Step 6. (Optional) Configure the name of the device. If the name includes spaces, enclose the name in quotation marks (“ ”): [edit] host-name admin@# set system host-name...
-
Page 8: What's Next
step-3-keep-going IN THIS SECTION What's Next | 8 General Information | 9 Learn With Videos | 9 Congratulations! You’ve completed the initial steps to get your ACX7024 up and running. Let’s keep going and learn more about what you can do with the ACX7024. What's Next Now that you've done the initial configuration, here are some things you might want to do next. -
Page 9: General Information
Juniper Learning Portal Juniper Juniper Networks, the Juniper Networks logo, Juniper, and Junos are registered trademarks of Juniper Networks, Inc. in the United States and other countries. All other trademarks, service marks, registered marks, or registered service marks are the property of their respective owners.


Need help?
Do you have a question about the SRX4600 and is the answer not in the manual?
Questions and answers