Sign In
Upload
Download
Table of Contents
Contents
Add to my manuals
Delete from my manuals
Share
URL of this page:
HTML Link:
Bookmark this page
Add
Manual will be automatically added to "My Manuals"
Print this page
×
Bookmark added
×
Added to my manuals
Manuals
Brands
Sharp Manuals
Dryer
KD-HT9JP-G
Operation manual
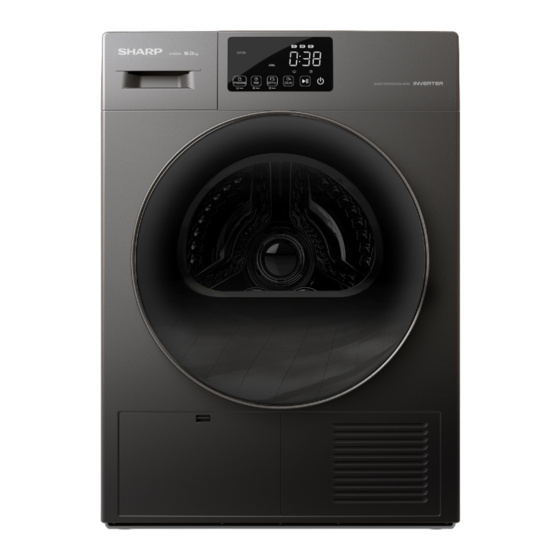
Sharp KD-HT9JP-G Operation Manual
Heat pump dryer
Hide thumbs
1
Table Of Contents
2
3
4
5
6
7
8
9
10
11
12
13
14
15
16
17
18
19
20
21
22
23
24
25
26
page
of
26
Go
/
26
Contents
Table of Contents
Troubleshooting
Bookmarks
Table of Contents
Table of Contents
Safety Precautions
Pre-Installation Considerations
Installing Clothes Dryer
Change the Direction of the Door
Adjust Horizontal Foot
Connecting Drain Hose
Use a Clothes Dryer
Name of each Part
Pre-Use Confirmation
Use Steps
Instructions for Use
Maintenance of Clothes Dryer
Cleaning of Clothes Dryer
Empty Water Container
Clean the Filter
Clean Heat Exchanger
Cooling Air Inlet Cleaning
Humidity Sensor
Door Cleaning
Freezing Treatment in Winter
Specification
Troubleshooting
Error Code
Troubleshooting
Advertisement
Quick Links
1
Pre-Installation Considerations
2
Connecting Drain Hose
3
Name of each Part
4
Use a Clothes Dryer
5
Use Steps
6
Instructions for Use
7
Specification
8
Error Code
Download this manual
Operation Manual
Heat Pump Dryer
KD-HT9JP-G
KD-HT10JP-G
Please read this manual carefully before operating the machine.
Table of
Contents
Previous
Page
Next
Page
1
2
3
4
5
Advertisement
Table of Contents
Troubleshooting
Troubleshooting
23
Troubleshooting
24
Need help?
Do you have a question about the KD-HT9JP-G and is the answer not in the manual?
Ask a question
Questions and answers
Related Manuals for Sharp KD-HT9JP-G
Dryer Sharp KD-HT10JP-G Operation Manual
Heat pump dryer (26 pages)
Dryer Sharp KD-HD9S7GW-W User Manual
(31 pages)
Dryer Sharp KD-HHH9S8GW3-EE User Manual
(102 pages)
Dryer Sharp KD-HD9S7GW-B User Manual
(31 pages)
Dryer Sharp KD-HHH8S8GW3-EE User Manual
(35 pages)
Dryer Sharp KD-HHH9S8GW3-PL User Manual
(35 pages)
Dryer Sharp KD-HHH8S8GW3-DE User Manual
(35 pages)
Dryer Sharp KD-HHH9S8GW3-FR User Manual
(35 pages)
Dryer Sharp KD-HHH8S8GW3-PL User Manual
(35 pages)
Dryer Sharp KD-HHH8S8GW3-IT User Manual
(35 pages)
Dryer Sharp KD-HHB7S8PW3-DE User Manual
(35 pages)
Dryer Sharp KD-HHH7S8GW3-PL User Manual
(35 pages)
Dryer Sharp Home Appliances KD-HHH8S8EW3-FR User Manual
(35 pages)
Dryer Sharp KD-HCB8S7PW9-DE User Manual
(33 pages)
Dryer Sharp KD-HHH0S7EW2-FR User Manual
(35 pages)
Dryer Sharp KD-HD8S-W User Manual
(37 pages)
This manual is also suitable for:
Kd-ht10jp-g
Table of Contents
Print
Rename the bookmark
Delete bookmark?
Delete from my manuals?
Login
Sign In
OR
Sign in with Facebook
Sign in with Google
Upload manual
Upload from disk
Upload from URL


Need help?
Do you have a question about the KD-HT9JP-G and is the answer not in the manual?
Questions and answers