Table of Contents
Advertisement
Quick Links
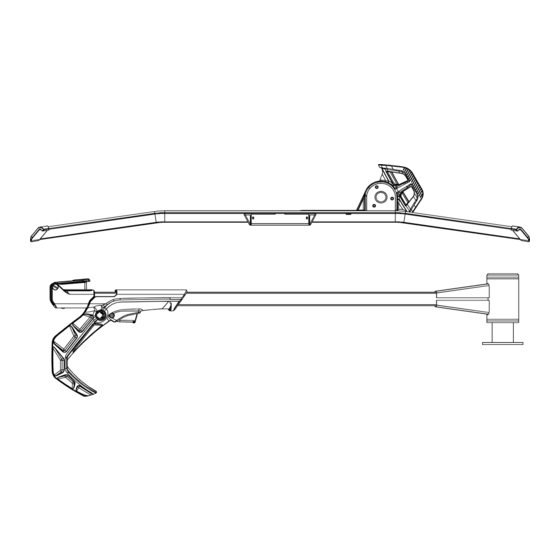
MHS UNO Tray
Assembly Instructions | Instrucciones de montaje | Instructions d'assemblage
WHAT'S IN THE BOX
LETTER
QTY PART DESCRIPTION
A
1
MHS UNO tray
B
1
MHS UNO wheel hook arm
C
3
M6 (12mm) socket head screw
D
3
M6 (14mm) flathead screw
E
1
Lock core cap
F
4
M8 (16mm) socket head screw
G
1
Rear wheel strap carriage
H
1
Carriage T-joint
I
2
M4 (6mm) flathead screw
A
B
E
L
N
P
Tools Needed (Not included):
Flathead Screwdriver
#4641
LETTER
QTY PART DESCRIPTION
J
1
K
1
L
1
M
1
N
1
O
1
P
1
Q
1
J
C
F
D
M
K
G
O
MHS clasp hardware kit
T-nut
Security bolt
Clasp pin
5mm hex key (Clasp bolts – F)
4mm hex key (Pivot Housing – C & D)
2.5mm hex key (rear wheel tray - I)
T40 torx key (L)
I
H
Q
FOLLOW INSTRUCTIONS
SARIS FIT GUIDE
https://saris.com/pages/hitch-fit-guide
ASSEMBLY/INSTALLATION VIDEO
https://saris.com/pages/videos
REGISTER YOUR PRODUCT
https://saris.com/pages/product-registration
LOT CODE
Advertisement
Table of Contents

Related Manuals for Saris MHS UNO


Summary of Contents for Saris MHS UNO
- Page 1 WHAT’S IN THE BOX LETTER QTY PART DESCRIPTION LETTER QTY PART DESCRIPTION MHS UNO tray MHS clasp hardware kit MHS UNO wheel hook arm T-nut FOLLOW INSTRUCTIONS M6 (12mm) socket head screw Security bolt M6 (14mm) flathead screw Clasp pin Lock core cap 5mm hex key (Clasp bolts –...
- Page 2 Recommended Installation: MHS UNO trays can be configured with wheel hook arm on either side of the tray and can be oriented on MHS Bases facing either way. Goal is to alternate bike directions to maximize space for your combination of bikes. Below is an example configuration using a MHS 2+1 base.
- Page 3 DO NOT SCALE DRAWING METRIC: THE INFORMATION CONTAINED IN THIS DRAWING IS THE SOLE CONFIDENTIAL PROPERTY OF APPROVALS DATE SARIS CYCLING GROUP ANY REPRODUCTION IN PART OR WHOLE WITHOUT THE WRITTEN PERMISSION OF SARIS CYCLING GROUP IS PROHIBITED. X mm FINISH: DRAWN TITLE: .X mm...
- Page 4 BIKE LOADING/UNLOADING HOOK BUTTON RELEASE HOOK ARM POSITIONS Hook Button Stowed Press the lever on top of the wheel hook to activate the pivot arm. Loading | Unloading Pull the arm over the front wheel until pivot locks into place. SECURE FRONT WHEEL Lever Bike Loaded...
- Page 5 OFFICIAL WARRANTY TERMS: Saris Equipment LLC warrants our product to the original consumer to be free from defects in materials and workmanship. Please retain your sales slip for your records, as proof of purchase will be required. WARRANTY TERM: Note: No damage to mounting surfaces is covered.
Need help?
Do you have a question about the MHS UNO and is the answer not in the manual?
Questions and answers