Advertisement
Quick Links
Rain+Birdt
CP/CPF Series Valve Installation
and Operation
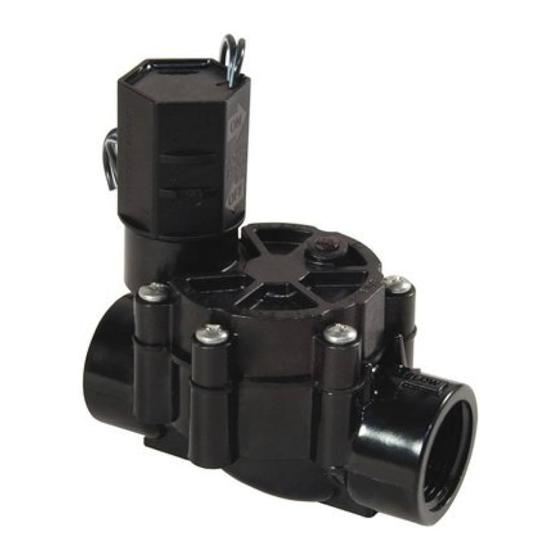
OUTLET
BODY
Before Installation
l
l
Install master valves, pressure regulators and back-
flow preventers as needed.
l
l
A pressure regulator is required if water pressure
exceeds 150 PSI (recommended over 80 PSI).
l
l
Inline valves require a separate backflow preventer
in the main line. Check local building codes.
l
l
Flush the system thoroughly until water runs clear.
l
l
Shut off the main water supply.
Connect Valve to Pipes
A
Apply PTFE thread-seal tape to the male threads
on the adapters, screw into the valve and
hand-tighten (do not use PVC glue or pipe dope
on adapter threads).
B
Apply primer and then PVC cement to the ends
of the pipe and inside the adapters per manu-
facturer's instructions.
SOLENOID
FLOW CONTROL
(select models)
BLEED
SCREW
INLET
C
Ensure the valve arrows face in the direction of
water flow, and push valve onto inlet and outlet
pipes until secure. Follow PVC cement instruc-
tions for cure time.
TO LANDSCAPE
Connect Valve Wires
b
l
NOTE: Use watertight connectors and direct
burial wire for all connections.
A
Connect one solenoid wire to a common wire
(usually white). All valves can share the same
common wire.
B
Connect the second solenoid wire to a power
wire (usually colored).
1
1
1
WATER SOURCE
2
2
Advertisement

Summary of Contents for Rain Bird CPF Series
- Page 1 Ensure the valve arrows face in the direction of water flow, and push valve onto inlet and outlet pipes until secure. Follow PVC cement instruc- Rain+Birdt tions for cure time. CP/CPF Series Valve Installation and Operation SOLENOID FLOW CONTROL (select models)
- Page 2 3/4" CP-075 1" CP-100 Flow Rate - GPM Looking for dependable watering & irrigation products? Rely on Rain Bird for quality and long-lasting products.


