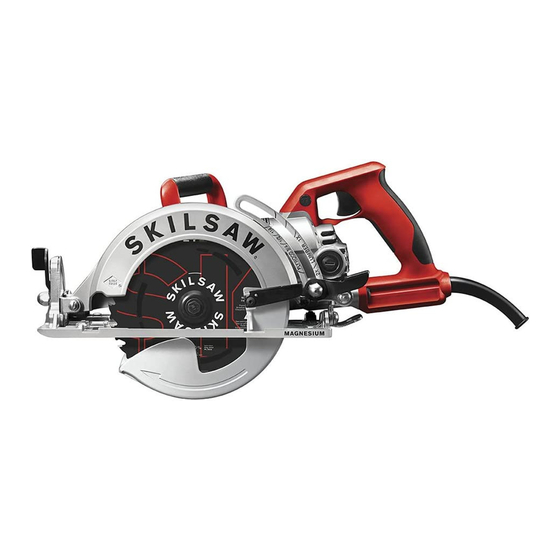
Summary of Contents for skilsaw SPT77WML
- Page 1 IMPORT NT: Read Before Using Operating/Safety Instructions SPT77WM SPT77WML For English Version See page 2...
- Page 2 General Power Tool Safety Warnings Read all safety warnings and all instructions. Failure to follow the warnings W RNING and instructions may result in electric shock, fire and/or serious injury. SAVE ALL WARNINGS AND INSTRUCTIONS FOR FUTURE REFERENCE The term “power tool” in the warnings refers to your mains-operated (corded) power tool or battery-operated (cordless) power tool.
- Page 3 Disconnect the plug from the power source Keep cutting tools sharp and clean. Properly and/or the battery pack from the power tool maintained cutting tools with sharp cutting before making any adjustments, changing edges are less likely to bind and are easier to accessories, or storing power tools.
- Page 4 This circular saw should not be mounted to Do not use dull or damaged blades. a table and converted to a table saw. Unsharpened or improperly set blades Circular saws are not designed or intended to produce narrow kerf causing excessive friction, be used as table saws.
- Page 5 accidentally dropped, lower guard may be Always observe that the lower guard is bent. Raise the lower guard only with the lower covering the blade before placing saw guard lift lever and make sure it moves freely down on bench or floor. An unprotected, and does not touch the blade or any other part, coasting blade will cause the saw to walk in all angles and depths of cut.
- Page 6 Symbols IMPORTANT: Some of the following symbols may be used on your tool. Please study them and learn their meaning. Proper interpretation of these symbols will allow you to operate the tool better and safer. Symbol Name Designation/Explanation Volts Voltage (potential) Amperes Current Hertz...
- Page 7 Symbols (continued) IMPORTANT: Some of the following symbols may be used on your tool. Please study them and learn their meaning. Proper interpretation of these symbols will allow you to operate the tool better and safer. This symbol designates that this tool is listed by Underwriters Laboratories. This symbol designates that this component is recognized by Underwriters Laboratories.
- Page 8 Functional Description and Specifications Disconnect the plug from the power source before making any W RNING assembly, adjustments or changing accessories. Such preventive safety measures reduce the risk of starting the tool accidentally. Circular Saws TRIGGER SWITCH FIG. 1 C LIBR TED DEPTH BR CKET Calibrated For Standard Lumber Sizes UXILI RY H NDLE UPPER GU RD...
- Page 9 Assembly ATTACHING THE BLADE 5. Reinstall OUTER WASHER. First tighten Disconnect the plug from BLADE STUD finger tight, then TIGHTEN W RNING the power source before BLADE STUD 1/8 TURN (45˚) WITH THE making any assembly, adjustments or WRENCH PROVIDED. changing accessories.
- Page 10 Operating Instructions DEPTH ADjUSTMENT DEPTH DJUSTMENT LEVER Disconnect plug from power source. Loosen FIG. 3 the depth adjustment lever located between the guard and handle of saw. Hold the foot down with one hand and raise or lower saw by the handle.
- Page 11 MAXIMUM DEPTH OF CUT STABILITY depth of cut is reached then raise the set ADjUSTMENT screw until it just engages the motor housing Note; Feature is set during assembly. (Fig 7). Adjustment may be required due to wear and FIG. 7 tear on the tool.
- Page 12 SWITCH released, be aware of the necessary time it When starting the tool, takes for the blade to come to a complete W RNING hold it with both hands. stop during coast down. Do not allow the The torque from the motor can cause the tool saw to brush against your leg or side, to twist.
- Page 13 CUTTING LARGE SHEETS Large sheets and long boards sag or bend, FIG. 11 depending on support. If you attempt to cut without leveling and properly supporting the piece, the blade will tend to bind, causing KICK- BACK and extra load on the motor (Fig. 11). Support the panel or board close to the cut, as shown in (Fig.
- Page 14 Maintenance To avoid accidents always disconnect the tool from the power supply W RNING before cleaning or performing any maintenance. Service CARBON BRUSHES The brushes and commutator in your tool have Preventive maintenance W RNING been engineered for many hours of performed by unauthorized dependable service.
- Page 15 Unless you are experienced in sharpening blades, we recommend you do not try. TWIST LOCK CONNECTOR INSTRUCTIONS FOR MODEL SPT77WML-72 ONLY 20 AMP, 125 VOLT “TWIST LOCK” The Model SPT77WML-72 is equipped with a FIG. 16 “Twist Lock” male connector as shown (Fig. 16).
- Page 16 Trouble Shooting Read instruction manual first! Remove plug from the power source before W RNING making adjustments or assembling the blade. TROUBLE: SAW WILL NOT START PROBLEM 1. Power cord is not plugged in. 2. Power source fuse or circuit breaker tripped. 3.


Need help?
Do you have a question about the SPT77WML and is the answer not in the manual?
Questions and answers