Advertisement
Quick Links
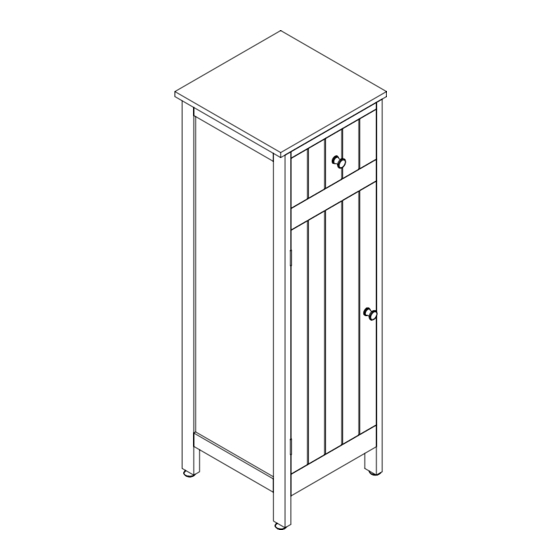
New Boston Mid Unit
Assembly Instructions -
Dimensions
Width - 36.5cm
Depth - 36.5cm
Height - 114cm
Important -
Please read these instructions fully before starting assembly
If you need help or have damaged or missing parts, call the Customer Helpline: 08456 400800
Please keep for future reference
832 / 9460
Issue 2 -21/04/11
Advertisement

Related Manuals for Justwise New Boston 832 / 9460


Summary of Contents for Justwise New Boston 832 / 9460
- Page 1 New Boston Mid Unit Assembly Instructions - Please keep for future reference 832 / 9460 Dimensions Width - 36.5cm Depth - 36.5cm Height - 114cm Important - Please read these instructions fully before starting assembly If you need help or have damaged or missing parts, call the Customer Helpline: 08456 400800 Issue 2 -21/04/11...
-
Page 2: Wall Fixing
Safety and Care Advice Important - Please read these instructions fully before starting assembly Do not use this item if any To ensure an easier assembly, Keep these instructions for components are missing or we strongly advise that all fittings future use. -
Page 3: Components - Parts
Components - Parts If you have damaged or missing components, call the Customer Helpline: 08456 400800 Please check you have all the parts listed below Front panel Back panel Side panel x 2 (33.4 x 111.5cm) (33.4 x 111.5cm) (28.7 x 950cm) FRONT FRONT Top panel x 1... - Page 4 Components - Fittings Please check you have all the fittings listed below Note: The quantities below are the correct amount to complete the assembly. In some cases more fittings may be supplied than are required. Wood dowel x 16 30mm Screw x 12 Adjustable feet x 4 15mm Screw x 4 Metal dowel x 2...
- Page 5 Assembly Instructions Step 1 Preparing srtetchers Fit wood dowels into the holes in both ends of stretchers Fit wood dowels into the holes in the end of drawer side panels Step 2 Attaching stretchers Lay back panel flat Groove onto the floor with the to face fixing holes facing up.
- Page 6 Assembly Instructions Step 3 Attaching top and bottom panels Assemble top panel FRONT back panel using screws Note: The front of the top panel has been labelled for easier identification. Assemble bottom panel to back panel using screws Bottom Step 4 Fitting side panels Carefully slide side panels into the grooves in...
- Page 7 Assembly Instructions Step 5 Attaching front panel With help, carefully lower front panel down into position. Note: Ensure all wood dowels are aligned and ensure side panels fit inside the grooves in front panel Secure front panel using screws , through top panel and bottom panel...
- Page 8 Assembly Instructions Step 7 Attaching drawer Assemble drawer sides and drawer back together using screws Align grooves Note: Ensure the grooves in all 3 panels are aligned at the bottom. Slide drawer base into the grooves as shown. Screw metal dowels into drawer front panel as shown.
- Page 9 Assembly Instructions Step 8 Locating drawer With help, stand the unit upright. Warning: The unit is heavy! Lift with care. Carefully slide the drawer onto runners as shown. Attach door handle to the upper and lower doors using screws...
- Page 10 Assembly Instructions Step 9 Fitting shelves a: Fit shelf support pins at the desired height. b:Locate shelves onto the support pins. Note: The front edges of shelves have been labelled for easier identification. Labelled underneath...
- Page 11 Note: Screws are not supplied. Assembly is complete. If you need help or have damaged or missing parts, call the Customer Helpline: 08456 400800 Justwise Group LTD., 6 The Shires, Shire Hill Industrial Estate, Saffron Walden Essex. CB11 3AP...
Need help?
Do you have a question about the New Boston 832 / 9460 and is the answer not in the manual?
Questions and answers