
Subscribe to Our Youtube Channel
Related Manuals for Sanyo CWM-470


Summary of Contents for Sanyo CWM-470
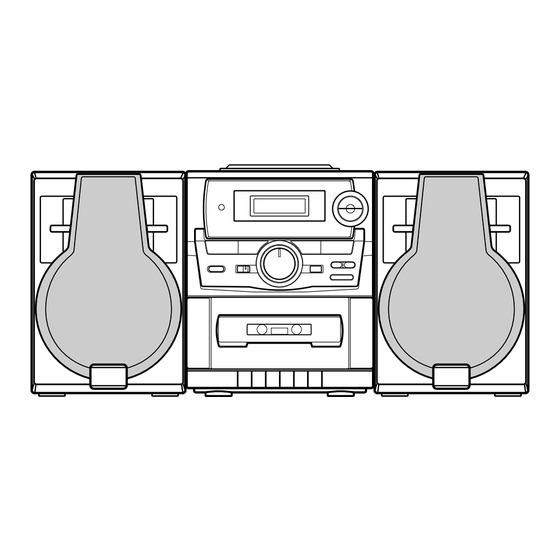
- Page 1 INSTRUCTION MANUAL CWM-470 CD Portable AM/FM Stereo Radio Cassette Recorder 1AD6P1P1712-- CWM-470, Issue Number 1 English 28/11/2002, 16:28 CWM-460/US...
-
Page 2: Limited Warranty
SANYO product against defects in materials and workmanship for the periods of LABOR and PARTS specified above. SANYO will repair or replace (at its option) the product and any of its parts which fail to conform to this warranty with new or refurbished products or parts. The warranty period commences on the date the product was first purchased at retail from a Wal-Mart Store. -
Page 3: Safety Certification
RISK OF ELECTRIC SHOCK CAUTION: TO PREVENT THE RISK OF ELECTRIC SHOCK, DO NOT REMOVE COVER (OR BACK). NO USER-SERVICEABLE PARTS INSIDE. REFER SERVICING TO QUALIFIED SERVICE PERSONNEL. This symbol indicates that dangerous voltage consti- tuting a risk of electric shock is present within this unit. -
Page 4: Fcc Information
(1) This device may not cause harmful interference, and (2) this device must accept any interference received, including interference that may cause undesired operation. CAUTION: Changes or modifications not expressly approved by Sanyo may void the user’s authority to operate this equipment. NOTE: This equipment has been tested and found to comply with the limits for a Class B digital device, pursuant to Part 15 of the FCC Rules. -
Page 5: Speaker System Connections
SPEAKER SYSTEM CONNECTIONS To detach the speaker enclosures To attach the speaker enclosures -E4- 28/11/2002, 16:28 CWM-460/US... - Page 6 AC power operation Take out the cord and connect it. 120V AC, 60Hz NOTE: • This unit is equipped with a polarized plug. If you have difficulty in inserting the plug, turn it over and reinsert it. • When the AC power cord is connected to the unit, the installed batteries will be automatically disconnected.
-
Page 7: Power Supply
Battery power operation Install batteries. Observe + and – signs. 8 “D” size batteries (not supplied) Replace lid. CWM-460/US POWER SUPPLY CAUTION: WHEN INSTALLING THE BATTERIES To prevent leakage from the batteries, which is corrosive and can cause personal injury and damage to the unit, observe the following precautions: 1. -
Page 8: Inserting Batteries
REMOTE CONTROL NOTE: The buttons on the remote control perform simi- lar functions to similarly marked buttons on the front of the unit. Controls 1. Number buttons (1-9, 0) 2. Radio band button (BAND) 3. Repeat/FM mode button (REPEAT/FM MODE) 4. -
Page 9: Turning The Power On And Off
GENERAL OPERATION Turning the power on and off 1. Set to the desired function, and the power turns on. 2. To turn the power off. Set [FUNCTION] to [OFF](TAPE). Adjusting the volume Bass expander system Press [BASSXPANDER] to enhance the bass sound. -
Page 10: Compact Disc Operation
COMPACT DISC OPERATION Set to [CD]. Push down. Label facing up Push down. Total track number Total playing time CWM-460/US CD PLAY Press [PLAY/PAUSE]. The current track number Playback indicator Elapsed time for the current track To control the sound. Press [STOP/CLEAR]. - Page 11 NOTES: • If the disc is loaded with the label facing downward, or if a badly scratched disc is loaded, or if no disc is loaded, “Cd” appears. If this occurs, load the disc correctly with the label facing upward, or replace the damaged disc.
- Page 12 Press and hold down during playback. Press and release repeatedly. CWM-460/US PAUSE MODE 1. Press [PLAY/PAUSE] during play. Play will temporarily stop. “a” blinks. 2. Press [PLAY/PAUSE] again to resume play. Search (forward/reverse) 1. If [SKIP/SEARCH] h or g is pressed during play, the player search at high speed in the forward or reverse direction while the button is being pressed.
-
Page 13: Clearing The Program
PROGRAMMED PLAY TO PROGRAM 1 2,4 Press [STOP/CLEAR]. Press [MEMORY]. Press [SKIP/SEARCH] g or h. Press [MEMORY]. “MEM” remains lit. CWM-460/US With programmed play, up to 20 tracks on a disc can be memorized and played in any order. Repeat 3 and 4 to memorize additional tracks. -
Page 14: Repeat Play
REPEAT PLAY REPEAT Press [REPEAT/FM MODE] before or during play. The player will play all the tracks or all the programmed tracks repeatedly. “REP” appears. MEMORY REPEAT /FM MODE TO CANCEL REPEAT PLAY To cancel repeat play, press [REPEAT/FM MODE] again. “REP” disappears. MEMORY REPEAT /FM MODE... -
Page 15: Radio Operation
RADIO OPERATION FRQUENCY UP/DOWN TUNING Set to [RADIO]. Press [BAND] to select AM or FM. BAND Tune in a station. Automatic tuning Press [TUNING] t or u for at least 1 second to tune in a station. The unit will scan up or down the band and select the next receivable station. - Page 16 MANUAL PRESET TUNING TO PROGRAM Tune in a station. S e e “ F R E Q U E N C Y U P / D O W N TUNING”. Press [MEMORY]. W h i l e “ M E M ” b l i n k i n g , [PRESET] to select the channel number.
- Page 17 LISTENING TO PRESET STATIONS USING [PRESET] Press [BAND] to select AM or FM. BAND Press [PRESET] briefly. The number buttons on the remote control can also be used. PRESET CWM-460/US PRESET SCAN TUNING Press [BAND] to select AM or FM. BAND Press and hold down [PRESET] for at least 1...
- Page 18 CASSETTE TAPE OPERATION PLAYBACK Set to [TAPE]. Press [STOP/EJECT]. Insert a cassette. Press [PLAY] to begin playback. • “TAPE” appears. CWM-460/US To control the sound. Press [STOP/EJECT] once to stop the tape. Press again to remove the cassette. Pause Press [PAUSE] to temporarily stop playback or recording.
- Page 19 RECORDING RECORDING THE BUILT-IN RADIO Press [STOP/EJECT]. Insert a cassette. Select “RADIO” func- tion. Press [BAND] to select AM or FM. BAND Tune in a station. Press [REC]. CWM-460/US Automatic Level Control (ALC) recording The ALC circuit adjusts the recording input level automatically.
-
Page 20: Recording From Acompact Disc
RECORDING FROM A COMPACT DISC Press [STOP/EJECT]. Insert a cassette. Set to [CD]. Label facing up Press [REC]. CWM-460/US Safeguards against accidental erasure To protect side A, break out tab (1). To protect side B, break out tab (2). NOTE: A cassette with erase guard tabs removed cannot be erased or used for recording and [REC] cannot be depressed. -
Page 21: Remote Control Operation
REMOTE CONTROL OPERATION NOTE: The buttons on the remote control perform similar functions to similarly marked buttons on the front panel. CD player section (In CD function mode) Start play Temporarily stop play Select the desired track Search Skip MEMORY v Programmed play Repeat play Stop... -
Page 22: Maintenance
If trouble occurs ... To avoid the hazard of electric shock and dam- age to the unit, have the unit bench tested by an authorized SANYO service station. Do not re- move the unit from its cabinet to attempt repairs yourself. -
Page 23: Troubleshooting Guide
The guard tabs have been re- moved from the cassette. Flickering “ST”. Weak signal. SERVICING: Should this product require service, refer to the SANYO audio limited warranty. CWM-460/US POSSIBLE CAUSE CORRECTIVE ACTION Insert the power plug into the AC outlet. (See page E5.) R e p l a c e t h e m w i t h n e w batteries. - Page 24 SANYO Electric Co., Ltd. Printed in China -E23- 28/11/2002, 16:29 CWM-460/US...
Need help?
Do you have a question about the CWM-470 and is the answer not in the manual?
Questions and answers