Advertisement
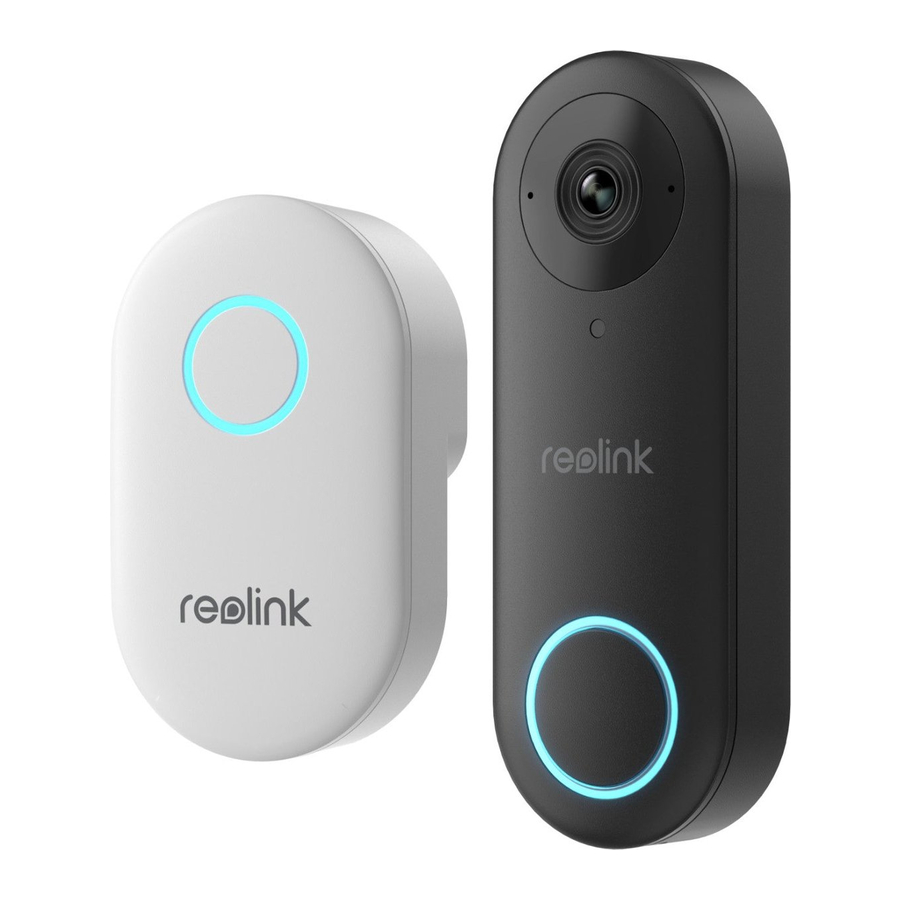
What's in the Box

NOTE: The Reolink Video Doorbell PoE doesn't come with a power adapter and power extension cable.
Doorbell Introduction
Video Doorbell PoE

Video Doorbell WiFi

Set up the Doorbell
Set up the Doorbell on Phone
*The Reolink Video Doorbell PoE is taken as an example.

Step 1 Scan to download the RST Reolink App from the App Store or Google Play Store.


Step 2 Power on the video doorbell with an Ethernet cable.
NOTE: If you're using the Reolink Video Doorbell WiFi, you need to connect it to the power adapter or your existing doorbell wiring to power it on.

Step 3 Launch the Reolink App. Click the "![]() " button in the top right corner and scan the QR code on the doorbell to add it.
" button in the top right corner and scan the QR code on the doorbell to add it.
Step 4 Follow the onscreen instructions to finish the initial setup.
Set up the Doorbell on PC (Optional)
Step 1 Download and install the Reolink Client. Go to https://reolink.com > Support > App & Client
Step 2 Power on the video doorbell with an Ethernet cable.
Step 3 Launch the Reolink Client. Click the "![]() " button and input the UID number of the doorbell to add it.
" button and input the UID number of the doorbell to add it.
Step 4 Follow the onscreen instructions to finish the initial setup.
Set up the Chime

Step 1 Plug in the Chime and press the button on your doorbell.
Step 2 Follow the onscreen instructions to finish the initial setup.
Install the Doorbell
*The Reolink Video Doorbell PoE is taken as an example.

Step 1 Put the mounting hole template on the wall and drill holes as shown.
Step 2 Install the mounting plate using the screws provided through the two holes.

Step 3 Run the Ethernet cable through the mounting plate and attach the doorbell to the plate.
NOTE: If you're using the Reolink Video Doorbell WiFi, you need to run the power wires through the mounting plate.
If you need to adjust the angle of the doorbell, you can use the wedge provided.

Step 1 Put the mounting hole template on the wall and drill holes as shown.
Step 2 Install the wedge using the screws provided through the two holes.
Step 3 Screw the mounting plate to the wedge.
Step 4 Run the Ethernet cable through the wedge and mounting plate, and attach the doorbell to the plate.
Specification
Hardware Features
Field of View: 140° Horizontal, 98° Vertical, 190° Diagonal
Infrared LED: 2pcs/850nm
Dimension: 133 x 48 x 23mm
Weight: 96g

Documents / Resources
References
Download manual
Here you can download full pdf version of manual, it may contain additional safety instructions, warranty information, FCC rules, etc.
Download Reolink Video Doorbell WiFi / PoE - Smart 2K+ Wired PoE Video Manual
Advertisement


Need help?
Do you have a question about the Video Doorbell WiFi and is the answer not in the manual?
Questions and answers