Advertisement
Quick Links
Advertisement

Subscribe to Our Youtube Channel
Related Manuals for AllerAir AIRMEDIC PRO 5 Series


Summary of Contents for AllerAir AIRMEDIC PRO 5 Series
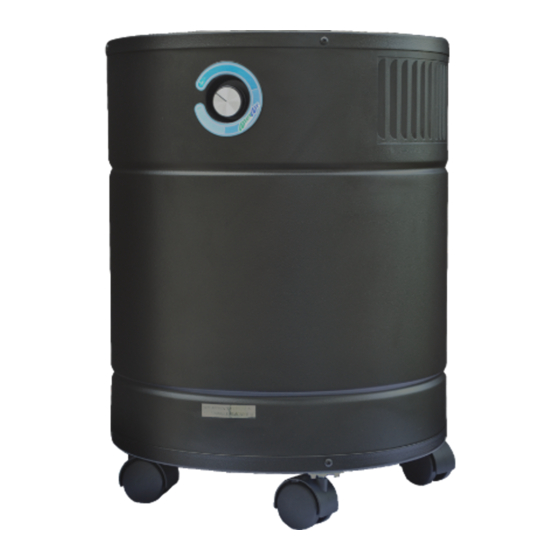
- Page 1 AIRMEDIC PRO 5/6 SERIES USER MANUAL Changing lives through cleaner air (Since 1996).
- Page 2 “ You are moments away from fresher, cleaner indoor air. Your new AllerAir unit will combat many of the chemicals, gases, odors and dust particles responsible for poor indoor air quality (IAQ). Poor IAQ may cause or worsen allergies, asthma, multi- ple chemical sensitivity (MCS) and sick building syndrome.
- Page 3 To ensure you have the proper levels of air turnover please contact AllerAir with volume of your indoor space. Improvement in indoor air quality by using AllerAir units depends to a significant degree on circumstantial factors which are out of the control of the manufacturer or distributors.
- Page 4 AirMedic Pro 5/6 Pleated HEPA Filter 2.5” Activated Carbon Filter Pre-Filter AirMedic Pro 5/6 Plus/HD/Ultra SuperHEPA Filter Wrap 3” / 3.5” / 5” Activated Carbon Filter Pre-Filter...
- Page 5 * Recommended to change with the Carbon filter ** Every application is different when it comes to maintenance. For best performance change every 1-2 years. Carbon shelf life is up to 5 years. TO ORDER : CALL ALLERAIR TOLL-FREE 1-888-852-8247 EMAIL US AT: SALES@ALLERAIR.COM...
- Page 6 AirMedic Pro 5/6 HEPA & Carbon filter Replacement STEP 1 STEP 2 Make sure the unit is Turned and the Using a #2 Philips screwdriver, remove the unit is unplugged. Place the unit upside four screws that hold the base onto the unit. down, so that the wheels face up.
- Page 7 STEP 8 STEP 7 Place the base back, making sure the arrow Put back the gasket removed in STEP 4. on the sticker lines up with the unit’s rear seam. STEP 9 STEP 10 Using a #2 Philips screwdriver, install the four Flip the unit back in its upright position.
- Page 8 AirMedic Pro 5/6 PLus/HD/Ultra SuperHEPA filter Replacement NOTE: SuperHEPA is pre-installed by Allerair when you place purchase both Carobon and SupeHEPA together. STEP 1 STEP 2 Follow steps 1-4 from [AirMedic Pro 5/6 HEPA Remove the old SuperHEPA by unwrapping &...
- Page 9 ING DIRECLTY AT LIGHT. POWEROFF BEFORE OPENING UNIT. Tips Replacing the filters will extend the life of your AllerAir unit. Be sure to follow the Replace- ment Filter Guide on page 5 to replace your filters. Place the unit near the source of the Contaminants.
-
Page 10: Warranty
All exchanged or returned products must have a RA (Return Authorization) number, which must be clearly listed on the outside of the box or on the return label, otherwise the shipment will be refused by AllerAir and returned to the customer. - Page 11 CORD UNDER FURNITURE OR APPLIANCES. ARRANGE CORD AWAY FROM TRAFFIC AREA AND WHERE IT WILL NOT BE TRIPPED OVER” SAVE THESE INSTRUCTIONS FOR FUTURE REFERENCE. For more information please visit our website www.Allerair.com or call us Toll-free at 1-888-852-8247 you can also email us at Info@allerair.com...
- Page 12 NOTES: MODEL NO # SERIAL MO # www.Allerair.com 1-888-852-8247...
Need help?
Do you have a question about the AIRMEDIC PRO 5 Series and is the answer not in the manual?
Questions and answers