Advertisement
Quick Links
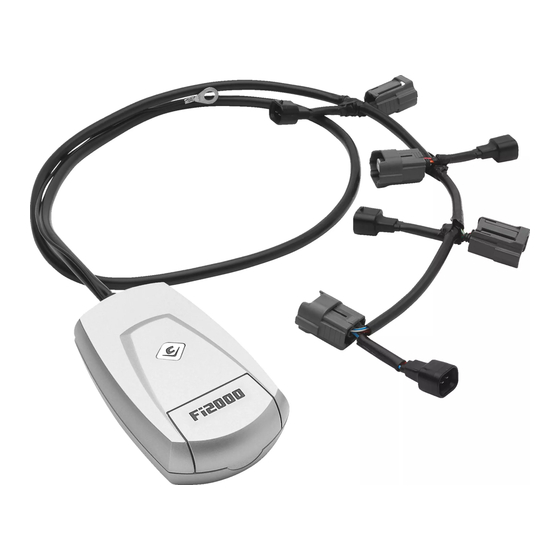
Items Supplied >
1 – Fi2000R Fuel Injection Module
5 – Zip Ties 6"
2 – Velcro Strips
Instruction Manual >
Read all instructions carefully and completely before installing your new Fi2000R module.
It is recommended that a qualified mechanic or technician install this product.
Remove the seat and left side cover, (first pull top of cover outward, then bottom of cover upward to
1.
release from mounting tabs). Remove the bolt at the rear of the fuel tank and prop the tank up as
high as possible without striking the front of it on triple clamp to gain access to fuel injectors.
Locate the factory connector on each fuel injector. And by squeezing on both sides pull them away
2.
from the injectors.
Disconnect the main fuse block located on the battery hold down strap and then Velcro the Fi2000
3.
module to the battery hold down strap so that the module housing is no higher than the top of the
battery. Now use the extra Velcro pad to re attach the main fuse block, see Figure 1.
Feed the Fi2000 wire harness up along the left side of the frame, resting in the plastic main harness
4.
guide so the connectors end up in the injector area. The fuel injectors can rotate on their base,
rotate them towards the left side, (towards the horn), as far as they will go to allow Fi2000 connector
to fit on injector. Do not force them any further then they will rotate.
Using the longer Fi2000 injector harness, mate the Fi2000 female connector onto the front fuel
5.
injection connector, (it will look a little different then the stock female Harley connector.) Plug the
male Fi2000 connector into the original female Harley connector. Repeat using the shorter harness
for the rear injector. Make sure to keep the correct orientation for the front and rear injectors and
connector harnesses, see Figure 2.
It is now time to install the oxygen sensor harnesses. Locate the rear O
6.
behind the rear cylinder on the right hand side. Slide it downwards until it releases then unplug it.
Plug the corresponding Fi2000 connectors from the shorter harness into the Harley connectors and
clip the Harley female connector back onto its original mounting spot. See Figure 3.
Now route the longer O
7.
harness in 3 places. The connectors will end up at the front O
connection and again plug the corresponding Fi2000 connectors into the matching Harley connectors.
Use one ziptie and the factory U-clip to hold the connections to the frame down tube.
Attach the ground wire to the ground lug on the backside of the primary chain case area.
8.
* Cobra recommends you always wear a helmet while riding. Please never operate your motorcycle while under
the influence of alcohol and/or drugs. Enjoy the new look of your motorcycle and please ride safely.
DOCUMENT NO. 0017
REV. A
11/08
23801 E. La Palma Ave., Yorba Linda, Ca 92887 Ph. 714.692.8180, Fax. 714.692.5016
harness down and forward along the left side bottom frame rail. Ziptie the
2
Application(s) >
HARLEY SPORTSTER 07-09
692-1620CL
2
connection. Unplug the factory
2
1
www.fi2000r.com
Page 1 of 3
connector that is directly
Advertisement

Related Manuals for Cobra P259643


Summary of Contents for Cobra P259643
- Page 1 Attach the ground wire to the ground lug on the backside of the primary chain case area. * Cobra recommends you always wear a helmet while riding. Please never operate your motorcycle while under the influence of alcohol and/or drugs. Enjoy the new look of your motorcycle and please ride safely.
- Page 2 10. Re-install the seat and left side cover. ADVANCED TUNING Your Cobra Fi2000 fuel injection module has been tested and preset for best function and rideabilty on a motorcycle in stock form. The Fi2000 does however, have 3 important adjustments that allow you to tune the module for optimum performance, especially if you have performed other changes to your motorcycle.
- Page 3 23801 E. La Palma Ave., Yorba Linda, Ca 92887 Ph. 714.692.8180, Fax. 714.692.5016 www.fi2000r.com Instruction Manual > Page 3 of 3 692-1620CL Fi2000 HARNESS ROUTED TO FUEL INJECTORS Fi2000 MODULE FRONT HARNESS ROUTED TO BOTTOM LEFT FRAME RAIL AND FRONT O SENSOR CONNECTOR REAR O...
Need help?
Do you have a question about the P259643 and is the answer not in the manual?
Questions and answers