Table of Contents
Advertisement
Quick Links
LONMPM 8DI/8DO
Operating and installation instructions
General information
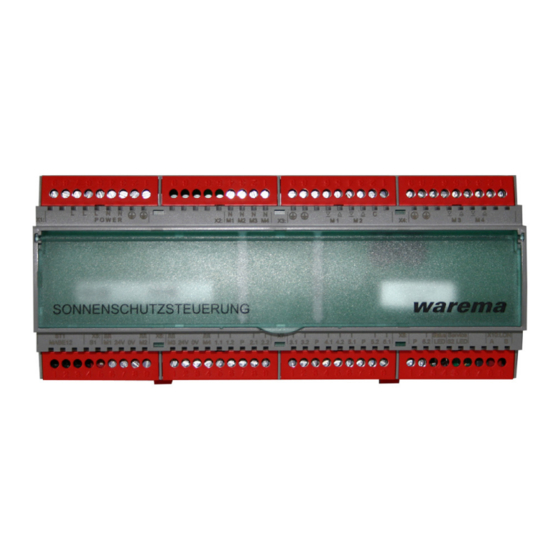
Fig. 1
LONMPM 8DI/8DO
The LONMPM 8DI/8DO actuator is a multifunctional mod-
ule for various control tasks. It can read in 8 floating switch-
es, push buttons or other contacts. Eight floating make
contacts are available at the control outputs. Depending on
the software in use, this module can be used for control-
ling lighting systems, monitoring window contacts and oth-
er control tasks.
Intended use
The LONMPM 8DI/8DO actuator was developed for the con-
trol of lighting, heating, cooling and ventilation units. The ap-
proval of the manufacturer must be obtained for uses out-
side of the purposes listed in these instructions.
Safety instructions
WARNING
The electrical installation (assembly)/dis-
mantling must be performed by a certified
electrician in accordance with the electri-
cal installation regulations published by
the Association of German Electrical En-
gineers (VDE 0100) or the standards and
regulations of the country in which the
device is being installed. The specialist
must observe the installation instructions
included with the electrical device.
WARNING
If hazard-free operation cannot be as-
sumed, the device may not be started or
must be deactivated. This assumption is
justified
I f the housing or the supply lines show signs
of damage,
The device is no longer working.
warema_890416_alhb_en_v2•2022-10-01
WARNING
It is important to comply with the following
points of instruction in the interest of per-
sonal safety.
Children may not play with the operating elements of
the control unit or the remote control. Store the remote
controls out of reach of children.
Make sure that no persons or objects are in the range
of movement of the driven parts (blinds, external vene-
tian blinds, etc.).
Disconnect the device from the supply voltage if clean-
ing or other maintenance work must be performed.
Information on the electrical installation
An on-site overload current disconnecting and isolating
switch to switch off the entire system must be provided.
Installation
The motor control unit is, depending on the selected meth-
od of installation, designed for surface mounting (AP) or for
installation in a distributor (REG).
There are two ID labels (Fig. 2) inside the device. If you are
setting up a complex unit, pull off one of the labels and af-
fix it to your wiring diagram. This measure ensures that the
device can be identified without any mistake in the event of
a later integration.
8
3
Fig. 2
LONMPM 8DI/8DO Inside view with barcode labels
1 4-fold encoding switch
2 8-fold encoding switch
3 Power LED
4 Service push button
5 Service LED
6 Status LED
7 LEDs: channel 1...8 + manual
8 ID label
We reserve the right to make technical modifications
Valid as of
1 October 2022
Keep for future use.
6
5
2
1
4
7
1
Advertisement
Table of Contents

Related Manuals for WAREMA LONMPM 8DI


Summary of Contents for WAREMA LONMPM 8DI
- Page 1 Intended use fix it to your wiring diagram. This measure ensures that the The LONMPM 8DI/8DO actuator was developed for the con- device can be identified without any mistake in the event of trol of lighting, heating, cooling and ventilation units. The ap- a later integration.
- Page 2 Surface-mounted housing Insert a slotted screwdriver (recommendation: 3.0 - 4.0 mm blade) into the respective cover opening (see Fig. 6) and carefully pry the folding cover open. Repeat the procedure for the second opening of the cover. The cover can be raised when both catches have been released.
- Page 3 AP/REG housing IP30 Used batteries and accumulators that are not enclosed Article numbers in the old device, as well as lamps/bulbs that can be LONMPM 8DI/8DO REG 1002816 removed from the old device without breaking, must be LONMPM 8DI/8DO AP 1002817 disposed of separately.
- Page 4 JY (St) Y 2x2x0,8 mm ø* max. 200 m JY(St)Y 2x2x0,8 mm ø* Output to next *Use twisted pair lines for interference-proof routing. Input from previous component component Fig. 8 LONMPM 8DI/8DO wiring diagram We reserve the right to make technical modifications warema_890416_alhb_en_v2•2022-10-01...
Need help?
Do you have a question about the LONMPM 8DI and is the answer not in the manual?
Questions and answers