
Related Manuals for Mark MB 10 PRO A DSP MKII


Summary of Contents for Mark MB 10 PRO A DSP MKII
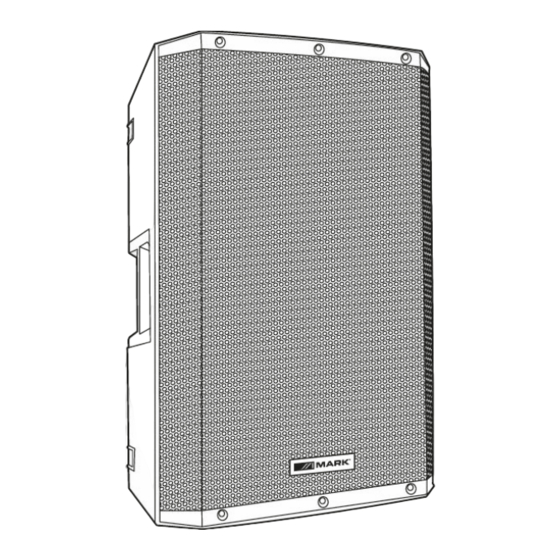
- Page 1 MB 10 PRO A DSP MKII MB 12 PRO A DSP MKII MB 15 PRO A DSP MKII User Manual – Version 1.0...
-
Page 2: Safety Instructions
8. Protect the power cord from being walked on or pinched, particularly at plugs, convenience receptacles, and the point where they exit from the apparatus. 9. Only use attachments/accessories specified by MARK. 10. Unplug this device during lightning storms or when unused for long periods of time. - Page 3 The loudspeakers are made of high resistance plastic and metal grille. It has a handle with great firmness on the side, top and bottom, making transportation comfortable. Technical Data: MB 10 PRO A DSP MKII MB 12 PRO A DSP MKII MB 15 PRO A DSP MKII Woofer Diameter 10”...
-
Page 4: Controls And Functions
CONTROLS & FUNCTIONS MB 10 MB 12 / MB 15 1. MIC 1 / LINE 1 (Combo connector for MB 12 & 15) (Jack ¼” & XLR3 for MB 10) When LINE / MIC switch work at mic status, this input is used to plug in microphone cable to get signal from dynamic microphone;... - Page 5 3. CH1 - LINE/MIC VOL This knob is used to adjust the volume of channel 1. 4. MIC 2 / LINE 2 (Combo connector for MB 12 & 15) (RCA & XLR3 for MB 10) When LINE / MIC switch works at mic status, this input is used to plug in microphone cable to get signal from dynamic microphone;...
- Page 6 13. Power switch Turn on / off the device 14. AC Socket Plug in power cable to get AC power supply from 100V to 240V DSP & FUNCTIONS SETUP OPERATION (Only for MB 12 & MB 15) Turn the encoder (9) to navigate between menu and press it to select. Once selected, turn the encoder again to select the desired value and press again to confirm.
-
Page 7: Troubleshooting
This short guide is meant to help and try to solve simple problems. If they continue and the device cannot operate, please, don’t try to repair it by yourself, return the device to your MARK dealer. If a problem occurs, carry out the following steps in sequence until find the problem solved. -
Page 8: Indicaciones De Seguridad
8. Proteja el cable de alimentación para no ser pisado o manipulado, particularmente en los conectores (mural y de entrada a la unidad). 9. Utilice únicamente accesorios especificados por MARK. 10. Desconecte el dispositivo si no va a ser utilizado durante largos periodos de tiempo. -
Page 9: Descripción General
Ambas cajas acústicas están fabricadas en plástico de alta resistencia y rejilla metálica. Dispone de asa de gran firmeza en el lateral y en las parte superior e inferior, haciendo que el transporte sea cómodo. Datos Técnicos: MB 10 PRO A DSP MKII MB 12 PRO A DSP MKII MB 15 PRO A DSP MKII Diámetro del altavoz... -
Page 10: Controles Y Funciones
CONTROLES Y FUNCIONES MB 10 MB 12 / MB 15 1. MIC 1 / LINE 1 (conector Combo para MCB 12 y MB 15), (Jack ¼” y XLR3 para MB 10) Cuando el interruptor LINE / MIC funciona en la posición MIC, esta entrada se usa para conectar el cable del micrófono para obtener la señal del micrófono dinámico;... - Page 11 3. CH1 VOL Este mando se utiliza para ajustar el volumen del canal 1 4. MIC 2 / LINE 2 (conector Combo para MCB 12 y MB 15), (RCA y XLR3 para MB 10) Cuando el interruptor LINE / MIC funciona en la posición MIC, esta entrada se usa para conectar el cable del micrófono para obtener la señal del micrófono dinámico;...
- Page 12 13. Interruptor Enciende/ apaga el dispositivo 14. Toma AC Conecte el cable a una toma adecuada de alimentación de 100V a 240V DSP y CONFIGURACIÓN DE FUNCIONES (Sólo para MB 12 y MB 15) Gire el encoder (9) para navegar entre los menús y púlselo para seleccionar. Una vez seleccionado, gire el codificador nuevamente para seleccionar el valor deseado y presione nuevamente para confirmar.
- Page 13 3- Si todo parece estar correcto, vuelva a enchufarla. 4- Si no puede determinar la causa del malfuncionamiento del aparato, no intente desmontar la unidad y arreglarla ya que puede agravar el problema además de eliminar la garantía. 5- Devuelva el dispositivo a su distribuidor MARK más cercano.
Need help?
Do you have a question about the MB 10 PRO A DSP MKII and is the answer not in the manual?
Questions and answers