Advertisement
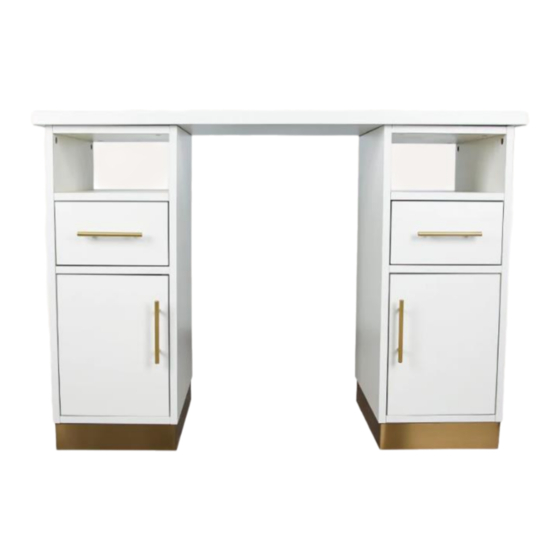
K5200 Assembly Instructions
Items Required for Assembly:
•
K5200 Boxes: K5200-1, K5200-2 and K5200-3
•
Tools Needed: Phillips Head Screwdriver
Note: Assembly can be done with just one person, but is recommended to have
another for assistance in some parts of assembly.
Questions? Call 1-800-578-8772 M-F, 9-3PM EST
Advertisement
Table of Contents

Related Manuals for Keller K5200


Summary of Contents for Keller K5200
- Page 1 K5200 Assembly Instructions Items Required for Assembly: • K5200 Boxes: K5200-1, K5200-2 and K5200-3 • Tools Needed: Phillips Head Screwdriver Note: Assembly can be done with just one person, but is recommended to have another for assistance in some parts of assembly.
- Page 2 • Cam Lock Nuts (Qty. 4) • Cam Lock Screws (Qty. 4) **Note: Parts bags are in the drawers of boxes K5200-1 and K5200-2. You should have 2 bags of parts totaling to 8 pieces per item. Questions? Call 1-800-578-8772 M-F, 9-3PM EST...
- Page 3 1) Unscrew the drawer and cabinet handles that are positioned on the inside and position them on the outside. 2) Using a Phillips Head Screwdriver, screw in the Cam Lock Screws into the top and bottom row of the table top and place the Wooden Dowels in the middle rows of the table top.
- Page 4 3) Take the Cam Lock Nuts and insert them into the holes with the open section facing upward into each hole located in the open spaced shelf of each lower section. 4) Take the top and insert the Cam Lock Screws and Wooden Dowels that are sticking out of the top into the top holes of each lower section.
- Page 5 Manicure Table. Note: Keller International does NOT claim any responsibility for damages due to modifications done to the unit or damages due to negligence and any damages from improper setup to the unit.
Need help?
Do you have a question about the K5200 and is the answer not in the manual?
Questions and answers