Table of Contents
Advertisement
Henley
Stoves
PLEASE READ ALL THESE INSTRUCTIONS CAREFULLY!
For safety reasons it is essential that your stove is correctly installed and operated.
Henley Stoves cannot accept responsibility for any fault or consequential problems
arising through incorrect installation or operation.
Important: – This product must be installed by a suitably qualified installer.
The Heating Specialists
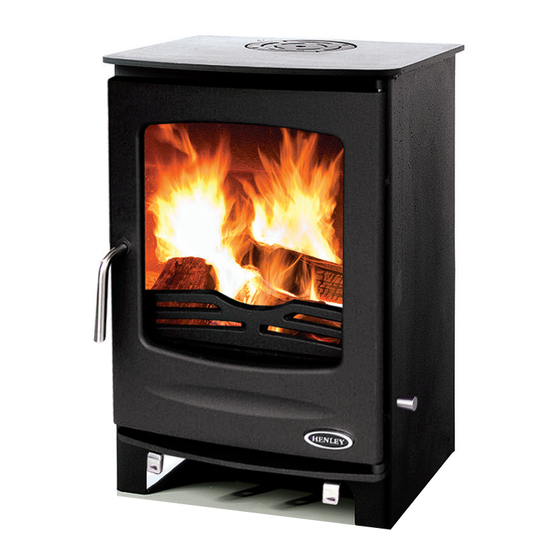
Sherwood 5kW, 8kW & 12kW
Installation and Operating Manual
"Every Home Deserves A Henley"
Advertisement
Table of Contents

Related Manuals for Henley Stoves Sherwood 5kW


Summary of Contents for Henley Stoves Sherwood 5kW
- Page 1 PLEASE READ ALL THESE INSTRUCTIONS CAREFULLY! For safety reasons it is essential that your stove is correctly installed and operated. Henley Stoves cannot accept responsibility for any fault or consequential problems arising through incorrect installation or operation. Important: – This product must be installed by a suitably qualified installer.
-
Page 2: Technical Specification
This manual contains instructions on how to install and maintain your Henley Stove. For both your comfort and safety please take the time to read through it carefully. Technical Specification Stove Commissioning Checklist Sherwood 5kW, 8kW, 12kW Installation Instructions Hearth Ventilation... -
Page 3: Stove Commissioning Checklist
Henley Henley The Heating Specialists The Heating Specialists Stoves Stoves “Every Home Deserves A Henley” “Every Home Deserves A Henley” Stove Commissioning Checklist Installation Instructions Please complete the form below as it will be of great assistance in the unlikely event that there is a problem with 1. -
Page 4: Flue Positions
Henley Henley The Heating Specialists The Heating Specialists Stoves Stoves “Every Home Deserves A Henley” “Every Home Deserves A Henley” Flue Positions Ventilation This appliance requires a constant supply of air to maintain proper combustion and effective flue performance. These positions are defined by Document J of the Building Regulations. Seek specialist advice if installing An inadequate air supply can result in poor combustion and smoke entering the room which is potentially in a dwelling with a thatched roof... -
Page 5: Height Over Roof
Henley Henley The Heating Specialists The Heating Specialists Stoves Stoves “Every Home Deserves A Henley” “Every Home Deserves A Henley” Height Over Roof Flue Options - Top Option 1 - Flue out the rear of stove Option 2 - Flue out the top of stove Place collar at rear of stove Place collar at top of stove Seal top outlet... -
Page 6: Combustible Materials
:700mm to rear & 500mm to the side on the Sherwood 5kW, 700mm to the rear & 600mm to the side on the Note: To eliminate unwanted smoke emission, after loading new logs on to the fire, open the air wash control up Sherwood 8kW &... - Page 7 Henley Henley The Heating Specialists The Heating Specialists Stoves Stoves “Every Home Deserves A Henley” “Every Home Deserves A Henley” Operation With Door Left Open Maintenance - Replacing The Fire Rope Around Your Stove Door Periodically visually check over the door rope seal for any Operation with the door open can cause excess smoke.
- Page 8 Air Controls Air Control Henley Stoves appliances have air systems providing cleaner burning, and greater efficiency and control, please Replacing the glass in your stove door see the diagram to view where the various air controls are located on your Henley Stove.
-
Page 9: Carbon Monoxide Alarm
• Leave to dry for 8 hours and refit the door glass etc. • Burn slowly for the first 4 hours, then build up heat gradually to cure the paint. Note: Use only genuine Henley Stoves spray paint as some paints interact and spoil the stove finish and invalidate the warranty. - Page 10 Some types of fire cement are caustic and should not be allowed to come into contact with the skin. In case of you are experiencing issues with draught in your chimney. Please note issues with flue draught is out of the control of Henley Stoves skin contact, wash immediately with plenty of water.
-
Page 11: Warranty Form
Please note for boiler stoves, please consult with a heating specailist to determine the correct BTU’s for your heating requirements. If you are experiencing an issue with the plumbing such as no hot water being pushed to the radiators, Henley Stoves can only offer advice. We can recommend an independent service engineer to determine if there is an issue with the stove or the plumbing. - Page 12 Henley Henley Notes Notes Stoves Stoves 22 | www.henleystoves.com www.henleystoves.com | 23...
- Page 13 Henley Stoves The Heating Specialists “Every Home Deserves A Henley” Henley Stoves, Curraheen, Tralee, Co. Kerry, Ireland Tel: 066 7119788 | Fax: 066 7124200 | Email: info@henleystoves.com | www.henleystoves.com...
Need help?
Do you have a question about the Sherwood 5kW and is the answer not in the manual?
Questions and answers