Advertisement
- 1 UNPACKING INSTRUCTIONS
- 2 DEVICE ASSEMBLY
- 3 Connecting the Lint and Bristle Brush Attachments (if model comes with accessories)
- 4 Removing the Unit Hose
- 5 OPERATING INSTRUCTIONS
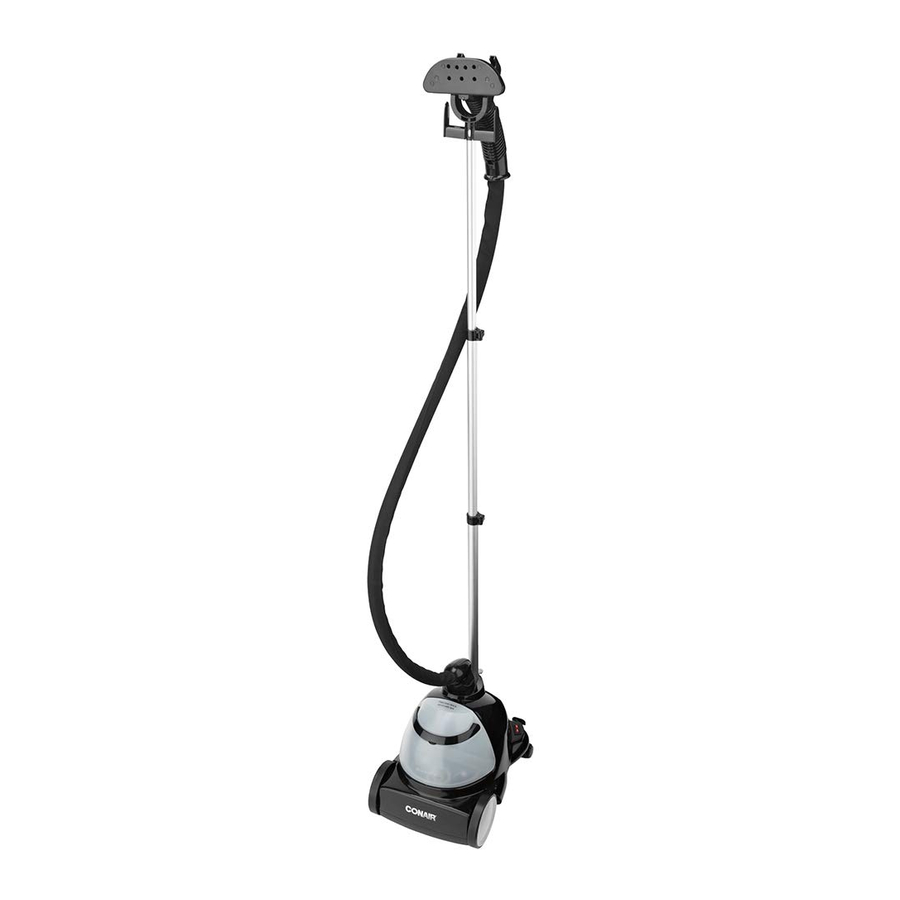
- 6 GETTING TO KNOW YOUR DEVICE
- 7 OPERATING THE UNIT
- 8 CLEANING AND STORING
- 9 OTHER IMPORTANT NOTES
- 10 DECALCIFICATION
- 11 HOW TO STEAM
- 12 TROUBLESHOOTING
- 13 Documents / Resources
UNPACKING INSTRUCTIONS
Place the box on a large, sturdy flat surface. Carefully remove the appliance from the packing material. Keep all plastic bags away from children.
DEVICE ASSEMBLY
Assembling the Support Rod
- The telescopic support rod comes in one part: 1 collapsed pole (with plastic connectors on it) with one T-nozzle cradle.

Insert the larger metal bottom of the pole into the holder on the unit base (Fig. a). Twist the metal screw on the back of the unit base until it is tight.

Open the plastic connectors and extend the telescopic pole. Close the plastic connectors so the pole locks in place (Fig. b).

Slide the T-nozzle cradle onto pole (Fig. c).
Attaching the Unit Hose
Insert hose cap into steamer housing and twist clockwise to securely lock hose onto housing.
- Insert.

- Turn.

- Lock.


Connecting the Lint and Bristle Brush Attachments (if model comes with accessories)

Removing the Unit Hose
make sure unit has cooled
To remove, turn counterclockwise to release. Turn slowly.
- One quarter turn.

- Push down

- Continue to turn until hose is released.


Hose may be stiff upon removal from box. Hose will relax after initial use. T-handle will sit properly on pole support once hose is relaxed.
OPERATING INSTRUCTIONS
BEFORE FILLING THE WATER TANK
Turn the water tank upside down and inspect to make sure the valve and spring assembly are functioning. Place the tank in the reservoir and check that it is seated securely. If the tank has been stored with water inside, it may be necessary to remove the water and clean the tank. Follow the steps for care and cleaning.
FILLING THE WATER TANK
PRIOR TO PLUGGING IN THE APPLIANCE
Remove the water tank with the handle and turn upside down. Unscrew the valve cap in the center of the base. Fill tank by holding tank under a source of running cold water until the tank is filled to the desired level. Do not overfill. Screw the valve cap onto the water tank and return the tank to the upright position. Place the water tank onto the base and make certain it is seated properly in the cavity.
DO NOT FILL THE TANK WITH HOT WATER.
GETTING TO KNOW YOUR DEVICE

OPERATING THE UNIT
- Make sure the ON/OFF switch is in the OFF position.
- Make sure all hose connections are secure and tight.
- Make sure the rod is fully assembled and the hose is not twisted or kinked.
- Plug the steamer cord into a normal electrical outlet.
- Turn the ON/OFF switch to the ON position.
- The switch will light to indicate when power is on.
- Steam will be produced from the nozzle in about one minute.

Hose will be hot when in use. Avoid prolonged contact.
CLEANING AND STORING
- Turn the ON/OFF switch to the OFF position and unplug from the power source.
- Wait for the steamer to cool completely (at least 30 minutes).
- Unplug power cord and gently wrap around built-in cord wrap.
- Remove the steamer hose.
- Remove the water tank from unit, unscrew valve cap and empty unused contents. Allow to air dry.
- Remove excess water from the reservoir by lifting the unit and pouring into a sink.
- Replace water tank.
- Store the unit.
OTHER IMPORTANT NOTES
During operation, the steamer hose may gurgle. This is a normal result of condensation collecting inside the hose. Simply lift the T-handle upward until the hose is extended to its full height. The gurgling will disappear when the excess moisture inside the hose has had a chance to drain back into the base.

DECALCIFICATION
If the appliance begins to produce steam more slowly than usual, if the steamer stops producing steam and then starts again, or if the low-water indicator lamp illuminates even with water tank full, you may need to decalcify your steamer. Decalcification refers to removing the calcium deposits that form over time on the metal parts of the steamer.
For best performance from your Conair Fabric Steamer, decalcify the unit from time to time. The frequency depends upon the hardness of your tap water and how often you use the steamer.
To decalcify, use a solution of 1/3 white vinegar and 2/3 water in the water tank. Replace the water tank in the unit. Plug the unit into electrical outlet. Turn to the ON position and run until half the amount has steamed (1 liter). Turn the unit to the OFF position, unplug from electrical outlet, and allow to sit for 30 minutes. Remove water tank.
Remove excess water from the reservoir by lifting the unit, inverting and pouring the water into a sink, allowing it to drain from internal reservoir. Repeat the above procedure as many times as necessary until a normal steam rate returns, usually 2–3 times. With each repeated cycle, use a fresh solution of vinegar and water. Run one cycle of fresh, cold water through the unit at the completion of decalcification before using the unit again to steam garments.

HOW TO STEAM
Grasp the T-handle steam nozzle with the steam jets facing away from you. Begin at the bottom of the fabric to allow the steam to rise inside and outside, removing wrinkles. Slowly move the nozzle from the bottom to the top of the fabric. Remove the nozzle from the garment and smooth the fabric with your free hand. Some fabrics are best steamed on the underside of the material. This will allow the fibers of the fabric to relax, eliminating wrinkles.
NOTE: Test fabric for color fastness in an inconspicuous spot. Drape linens, towels, handkerchiefs and napkins over a rod or place on a towel rack.
Heavier fabrics may require repeated steaming. Repeat as necessary.
With practice, you will gain speed and efficiency. You will soon learn which fabrics require multiple steam applications.
Do not directly touch velvet or silk with the steam head.
Always steam with hose in upright position, so any condensation is free to flow back into the steamer.
If you steam with hose not upright, condensation will collect inside the hose. This will cause gurgling and some water droplets to form near the steam jets on the T-handle. To avoid this, frequently lift the steam handle upward until the hose is extended to its full height.
TO STEAM DRAPES
Wash and dry drapes as directed according to fabric type. Re-hang drapes and steam drapes when in place.
TROUBLESHOOTING
-
Steamer fails to heat
CAUSE - Steamer not plugged in
SOLUTION - Plug into electrical outlet
-
No steam
CAUSE - Water level is low
SOLUTION - Turn ON/OFF switch off and refill water tank
-
Water drips from nozzle
CAUSE - Condensation in hose
SOLUTION - Hold the hose vertically and allow water to drain back into unit
-
Nozzle gurgles
CAUSE - Condensation in hose
SOLUTION - Hold the hose vertically and allow water to drain back into unit
-
Poor steam performance
CAUSE - Sediment in tank
SOLUTION - Decalcify reservoir and water tank
Note: Minerals in water will vary in different areas. To ensure continued operation of the steamer, never store without cleaning and removing excess water from the reservoir and water tank.

Documents / ResourcesDownload manual
Here you can download full pdf version of manual, it may contain additional safety instructions, warranty information, FCC rules, etc.
Advertisement


Need help?
Do you have a question about the GS7 and is the answer not in the manual?
Questions and answers