Dirt Devil PD20005 - Steam Handheld Steamer Manual
- Instruction manual (2 pages)
Advertisement
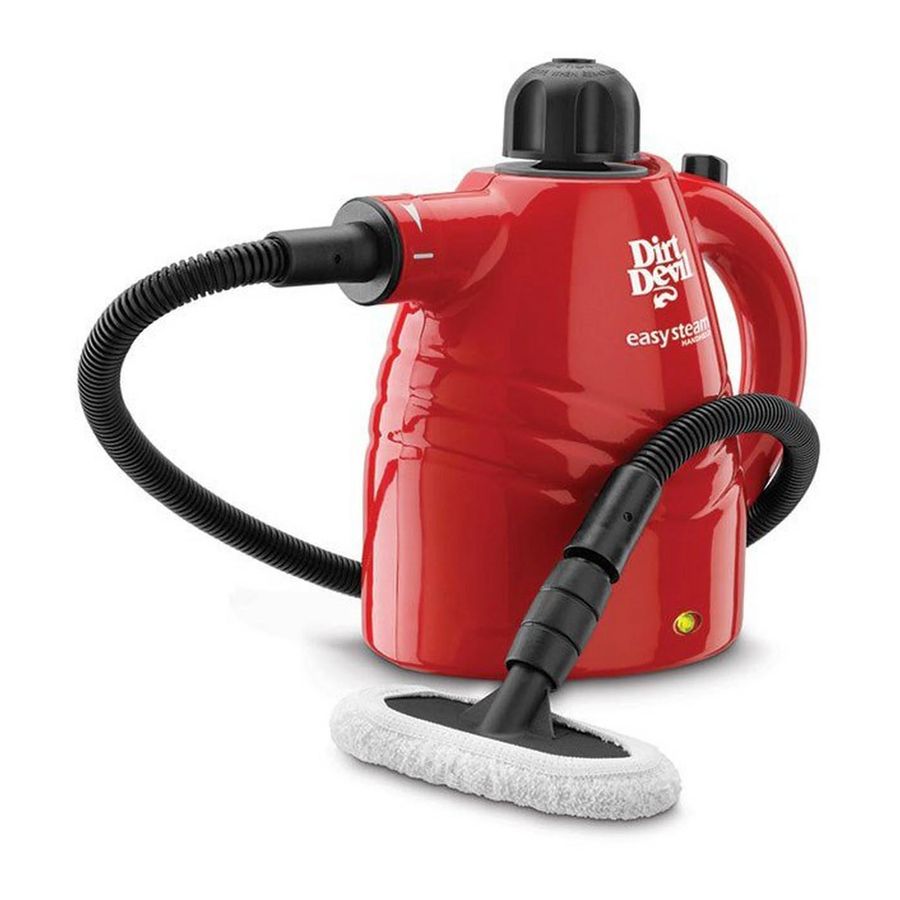
FEATURES

- Hand Steam Unit
- Nozzle
- Safety Cap
- Steam Button
- Handle
- Power Cord
- Power Indicator Light
- Hose
- Measuring Cup
- Funnel
- Window Squeegee
- Angle Adaptor
- Grout Brush
- Soft Cloth
- Steam Diffuser
- Concentrator nozzle
HOW TO ASSEMBLE
UNPLUG BEFORE SERVICING OR FILLING TANK.

USE CAUTION WHEN INSTALLING, USING OR REMOVING ACCESSORIES. ALWAYS HAVE THE NOZZLES POINTED AWAY FROM YOU AND OTHERS WHEN INSTALLING OR REMOVING ACCESSORIES.
- Unpack the product, check the accessories and documents supplied with the product and make sure that the product and accessories are not damaged.
![]()
- Before use, please read the User Manual carefully. The product is only for use in households.
- First, place the product on a level platform, unscrew the safety cap counterclockwise (A), and then install the funnel.
- Fill measuring cup to maximum fill line with clean water and add the water into the tank. (Max. capacity of the tank is 250ml. Do not overfill the tank and some space must be left in the tank). Re-install the safety cap and tighten it in position.
- Check the power supply and socket, and confirm they comply with the requirements given in the User Manual. Then turn on the power supply.
- About 4 minutes after power supply is turned on light will turn green and steam is ready. At this time lightly press the steam button and check whether steam is sprayed out of the nozzle. (Do not aim the spray nozzle at other persons or objects).
- If there is steam sprayed out, please install suitable accessories according to your needs after you release the button.
- Press down the steam button again in order to carry out the operations required by you.

INSTALLATION OF ACCESSORIES
USE CAUTION WHEN INSTALLING ACCESSORIES.

HOT STEAM
DO NOT PULL OR TWIST HOSE WHILE IN USE.
- INSTALLATION OF CONCENTRATOR NOZZLE OR HOSE. Align tab of accessory to opening on the Body of the hand Steam Unit. Rotate till the tab of accessory is aligned with the locked position on the hand steam unit. To remove rotate the opposite way. Then gently pull the accessory away from the hand steam unit.
![]()
- INSTALLATION OF THE STEAM DIFFUSER, ANGLE ADAPTOR OR GROUT BRUSH. These accessories can be firmly pushed onto the concentrator nozzle or hose.
![]()
- INSTALLATION OF THE WINDOW SQUEEGEE. Line-up tabs (A) on window squeegee with slots in steam diffuser. Slide together so steam outlets can be see through opening on squeegee. Press diffusser firmly onto hose or concentrator nozzle.
![]()


REFILL WATER DURING OPERATION
- Unplug the power cord and disconnect the power supply.
- To purge tank press down the steam button to release the pressure until all steam is injected out.
- Slowly unscrew the safety cap but do not remove it, and residual steam will be discharged slowly until all steam comes out. Then place the machine in a cool place to cool it down for about five minutes. Finally, completely remove the safety cap.
- Use the funnel and measuring cup to refill a suitable quantity of cold or hot water into the tank.
- Re-install the safety cap onto the machine body and tighten it in position.
CARE & CLEANING
- After the product is used, unplug the power cord and disconnect the power supply.
- Press down the steam button to release the pressure until no steam is injected out.
- Slowly unscrew the safety cap but do not remove it, and residual steam will be discharged slowly until no steam comes out. Then place the product in a cool place to cool it down for about five minutes. Finally, completely remove the safety cap.
- Empty the residual water in the tank and clean the external surface with a piece of clean, dry cloth.
- Re-install the safety cap onto the product body and tighten it in position.
Notes: Re-install the safety cap onto the machine body and tighten it in position.
GENERAL MAINTENANCE
This product requires little maintenance. It contains no user serviceable parts. Do not try to repair it yourself. Any servicing that requires disassembly other than cleaning must be performed by a qualified appliance repair technician. ANY OTHER SERVICING SHOULD BE DONE BY AN AUTHORIZED SERVICE REPRESENTATIVE. CUSTOMER SERVICE: (1-800-321-1134)
STORAGE
- Unplug the power cord and disconnect the power supply.
- To purge tank press down the steam button to release the pressure until all steam is injected out.
- Slowly unscrew the safety cap but do not remove it, and residual steam will be discharged slowly until all steam comes out. Then place the machine in a cool place to cool it down for about five minutes. Finally, completely remove the safety cap.
- Empty water from the water tank before storing.
- Store upright in a protected, dry area. Keep water funnel and measuring cup for future use.
TROUBLESHOOTING GUIDE
| PROBLEM | POSSIBLE REASON | POSSIBLE SOLUTION |
| Reduced steam or no steam |
|
|
|
| |
| Product worked intermittently and then stopped |
|
|
| The indicator light is on |
|
|
ANY OTHER SERVICING SHOULD BE DONE BY AN AUTHORIZED SERVICE REPRESENTATIVE
CUSTOMER SERVICE
In the event that further assistance is required, see your Yellow Pages for an authorized Royal® Dealer. Costs of any transportation to and from any place of repair are to be paid by the owner. The service parts used in this unit are easily replaced and readily available from an authorized Royal® Dealer or retailer. Always identify your cleaner by the model number and manufacturing code when requesting information or ordering replacement parts. (The model number appears on the bottom of the cleaner.)
1-800-321-1134 (USA & Canada)
website: www.dirtdevil.com

Documents / Resources
References
Download manual
Here you can download full pdf version of manual, it may contain additional safety instructions, warranty information, FCC rules, etc.
Advertisement


Need help?
Do you have a question about the PD20005 and is the answer not in the manual?
Questions and answers