Sign In
Upload
Download
Add to my manuals
Delete from my manuals
Share
URL of this page:
HTML Link:
Bookmark this page
Add
Manual will be automatically added to "My Manuals"
Print this page
×
Bookmark added
×
Added to my manuals
Manuals
Brands
Sartorius Manuals
Water Filtration Systems
Arium Advance RO
Operating instructions manual
Sartorius Arium Advance RO Operating Instructions Manual
Water purification device
Hide thumbs
1
2
3
4
5
6
7
8
9
10
11
12
13
14
15
16
17
18
19
20
21
22
23
24
25
26
27
28
29
30
31
32
33
34
35
36
37
38
39
40
41
42
43
44
45
46
47
48
49
50
51
52
53
54
55
56
57
58
59
60
61
62
63
64
65
66
67
page
of
67
Go
/
67
Bookmarks
Advertisement
Quick Links
Download this manual
Operating Instructions
Original Operating Instructions
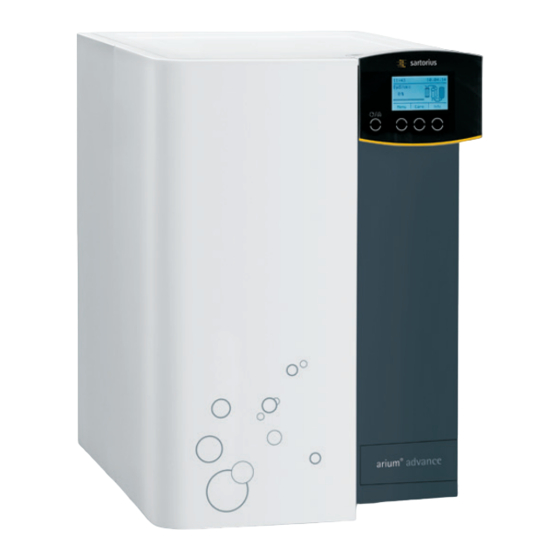
Arium
Advance RO | EDI
®
Water Purification Device
1000025326
Previous
Page
Next
Page
1
2
3
4
5
Advertisement
Need help?
Do you have a question about the Arium Advance RO and is the answer not in the manual?
Ask a question
Questions and answers
Related Manuals for Sartorius Arium Advance RO
Water Filtration Systems Sartorius arium pro Operating Manual
Water purification system (52 pages)
Water Filtration Systems Sartorius arium bagtank 50 Installation Instructions Manual
Sartorius arium bagtank (33 pages)
Water Filtration Systems Sartorius arium mini plus Operating Instructions Manual
Ultrapure water system (97 pages)
Water Filtration Systems Sartorius Arium Advance EDI Operating Instructions Manual
Water purification device (67 pages)
Water Filtration Systems Sartorius Arium Comfort I H2O-I Series Operating Instructions Manual
(100 pages)
Water Filtration Systems Sartorius arium 611VF Installation And Operation Manual
Water purification system (36 pages)
Water Filtration Systems Sartorius Sartoclear Caps Instructions For Use
(2 pages)
Water Filtration Systems Sartorius Sartoclear 29XDL10-FCFFF Directions For Use
Depth filter 0.08 m2 midscale cassette (2 pages)
Water Filtration Systems Sartorius Minisart RC Quick Start Manual
Syringe filter (8 pages)
Water Filtration Systems Sartorius Sartolab RF 150 Sartolab BT 150 Quick Start Manual
2000 vacuum filtration units 1000 bottle top filters (2 pages)
Water Filtration Systems Sartorius Sartolab RF 50 Instructions For Use Manual
Filtration unit for vacuum filtration (23 pages)
This manual is also suitable for:
Arium advance edi
H2o-edi-1-t
H2o-edi-1-b
H2o-edi-2-t
H2o-edi-2-b
Print
Rename the bookmark
Delete bookmark?
Delete from my manuals?
Login
Sign In
OR
Sign in with Facebook
Sign in with Google
Upload manual
Upload from disk
Upload from URL


Need help?
Do you have a question about the Arium Advance RO and is the answer not in the manual?
Questions and answers