Advertisement
Quick Links
This Unit Is Intended For Installation In Vehicles With
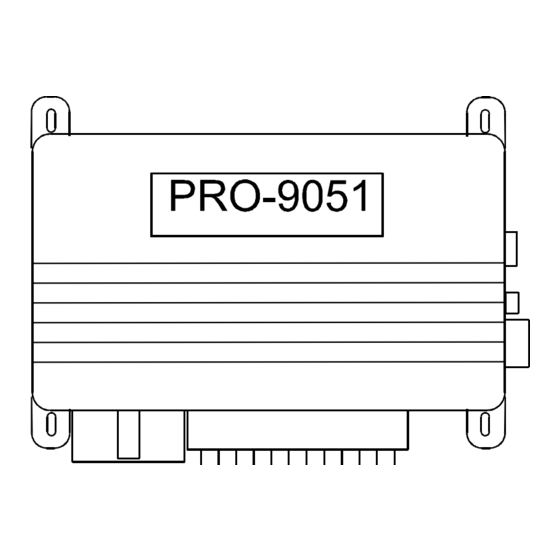
(1) - Control Module
(2) - 1 Button High Frequency Transmitters
(1) - 1 Channel Code Learning Receiver
(1) - Multi Pin Input/Output Harness
(1) - Six Pin Power Harness
(1) - Four Pin Accessory Output
(1) - Control Switch
(1) - Push-Button Programming Switch
(1) - Ring Terminal
(4) - 1/2" Long Screws
(1) - Pin Switch
(1) - Remote Start Warning Label
(1) - Literature Package
From AS9050 Released: 6/16/06
Add Feature #9 BS Output w/TX operation
Remote Start System
Installation Instructions
12 Volt Negative Ground Electrical Systems,
Gasoline or Diesel With True Tach Reference
And Automatic Transmissions Only.
Kit Contents
(Pulse Before & After Start, During Crank & After Shut Down)
Model PRO9051
Installation Manual
1
128-8212
1 of 16
Advertisement

Related Manuals for Audiovox PurSuit PRO9051


Summary of Contents for Audiovox PurSuit PRO9051
- Page 1 Model PRO9051 Installation Manual Remote Start System Installation Instructions This Unit Is Intended For Installation In Vehicles With 12 Volt Negative Ground Electrical Systems, Gasoline or Diesel With True Tach Reference And Automatic Transmissions Only. Kit Contents (1) - Control Module (2) - 1 Button High Frequency Transmitters (1) - 1 Channel Code Learning Receiver (1) - Multi Pin Input/Output Harness...
- Page 2 This Remote Start System is designed for use with Automatic Transmission Vehicles Only! The unit provides wait to start input for glow plug pre-heat which will be used for all diesel applications. If this wire is not connected, then the unit will remain in the Gasoline mode setting, which will crank the car when the RF signal is received with no delay.
- Page 3 THE RECEIVER/ANTENNA ASSEMBLY: The Superheterodyne Receiver Antenna Assembly provided with this unit allows routing from below the dashboard for maximum operating range. Choose a location above the belt line (dashboard) of the vehicle for best reception. Special considerations must be made for windshield glass as some newer vehicles utilize a metallic shielded window glass that will inhibit or restrict RF reception.
- Page 4 NOTE: This wire must be connected to the vehicle side of the starter cut relay (when used). For the electrical neutral switch configuration, this connection must be made between the starter inhibit relay, (when used) and the neutral safety switch as shown in the following diagram. Failure to connect this wire to the ignition switch side of the neutral safety switch can result in personal injury and property damage.
- Page 5 NOTE: See programming information concerning this wire to allow output during the "START" mode. VIOLET WIRE: Accessory Output Connect this wire to the Accessory wire from the ignition switch. This wire will show + 12 volts when the ignition switch is turned to the "ACCESSORY" or "ON" and "RUN" positions and will show 0 volts when the key is turned to the "OFF"...
- Page 6 BROWN w/ BLACK Tracer Wire: Positive Inhibit Input 2 Any time + 12 Volts is applied to the Brown w/ Black tracer wire, the Remote Starter will stop operating, even if the signal is received from the transmitter. If the brake light switch in the vehicle switches + 12 Volts to the brake light circuit, connect the Brown w/ Black trace wire to the output of the brake light switch.
- Page 7 5. Connect the previously selected resistor from terminal #87 to the second (#2) wire (as shown). NOTE: The above information and following diagram is for the GM VATS system only. For GM PASS LOCK System you will require the Audiovox AS-PASS II Module. General Motors VATS By-Pass Diagram...
- Page 8 DARK GREEN Wire: Tach Sensor Input This wire will continually monitor the engine tach rate while the unit is under power of the Remote Start module. This wire will be routed to the vehicle ECM tach input or through the firewall into the engine compartment and connect to the negative side of the ignition coil.
- Page 9 NOTE: The outputs above are low current outputs and must be used with a relay if the circuit's requirement is more than 300 mA. 2 Pin Blue Connector : Push-Button Programming Switch Route the gray and black wires in the 2 pin connector from the previously installed push-button programming switch to the control module and plug it into the mating blue connector on the side of the module.
- Page 10 3. Connect the Yellow wire to a +12 volt ignition 1 source. This wire will have +12 volts with the ignition in the on and start position and have 0 volts with the ignition in the off position. 4. Connect the Green wire to the (Green) or (Orange/Green) tach input of the Audiovox remote start unit. TESTING YOUR INSTALLATION:...
- Page 11 3. Raise the hood and confirm that the remote start unit shuts down. If the unit fails this test, recheck your pin switch connection to the Gray/Black wire of the Audiovox Remote Start Unit. W A R N I N G ! ! DO NOT RELEASE THIS VEHICLE TO THE CONSUMER UNTIL YOU CONFIRM THE OPERATION OF THE HOOD PIN SAFETY SHUT DOWN FEATURE.
- Page 12 The installation required for this application (shown below), indicates the slight reconfiguration of the control switch wiring and the addition of a 4000 series diode. Shown is a typical GM Park/Neutral ECM input circuit. To connect the Audiovox remote start unit to the GM Park / Neutral ECM input: 1.
- Page 13 E. Connect the cathode (striped) side of a 4002 series diode to this same wire, and connect the (non striped) side to the negative shut down safety wire (Gray / Black) of the Audiovox Remote Start Unit. F. Connect terminal #86 of the relay to a fused +12 volt constant battery source.
- Page 14 Retest by following the steps outlined in the NEUTRAL START SAFETY TEST shown in this manual. COMPLETING THE INSTALLATION: After you have confirmed the operation of the Audiovox Remote Start unit and tested all the safety features of the system: 1.
- Page 15 128-8212 15 of 16...
- Page 16 © 2007 Audiovox Electronics Corp., Hauppauge, NY 11788 128-8212 128-8212 16 of 16...
Need help?
Do you have a question about the PurSuit PRO9051 and is the answer not in the manual?
Questions and answers