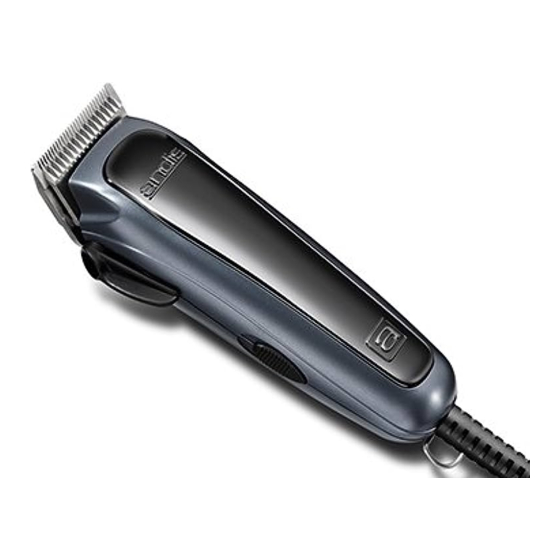
Andis RACA - Hair Clipper Manual
- Use & care instructions manual (9 pages) ,
- Use and care (2 pages) ,
- Use and care (2 pages)
Advertisement
OPERATING INSTRUCTIONS
Please read the following instructions before using your new Andis clipper. Give it the care that a fine precision built instrument deserves and it will give you years of service.
This appliance is not intended for use by persons (including children) with reduced physical, sensory or mental capabilities, or lack of experience and knowledge, unless they have been given supervision or instruction concerning use of the appliance by a person responsible for their safety.
- Children should be supervised to ensure that they do not play with the appliance.
UNIVERSAL AC/DC POWER ADAPTER
The unit is equipped with a universal AC/DC power adapter. Three interchangeable input plugs are included for use in most countries around the world (Diagram A).

Removing input plug:
- Unplug AC/DC power adapter from wall outlet.
- Apply pressure in direction shown until it releases from power adapter (Diagram B).


Replacing input plug:
- To replace input plug, align pins and brackets on the AC/DC power adapter with plug (Diagram B).
- Gently push input plug into power adapter until it snaps into place.
CLIPPER BLADE ADJUSTMENT
The clipper blade set is easy to adjust. From coarse to fine cuts, all that's needed is a flick of the adjustment lever with your thumb. In the upright position, blades are set for the finest, or shortest cuts (Diagram C).

ATTACHING THE CLIPPER COMBS
(Attachment comb sizes will vary in each kit)
You can set the blades for a coarser cut by attaching any of the snap-on blade attachment combs made for your Andis clipper. The blade attachments mount easily. To use a blade attachment, slip the cutter blade teeth into blade attachment. Snap the blade attachment down; it will snap on and off easily. Combs help guide hair to cutting blades and give you precise control of hair lengths. Each comb allows a different length of cut which is indicated on the combs: 1/16", 1/8", 1/4", 3/8", 1/2", 5/8", 3/4", 7/8" and 1".

Use the following chart to find the approximate lengths of cut. Different blade angles in relation to the skin, thickness and texture of the hair will vary the cutting length.
CLIPPING GUIDE
| Description | Clipping Direction | Approx. Length of Cut | |
| Fine | Coarse | ||
| Standard Andis Blade | With hair grain Against hair grain | 1/16" (1.6 mm) 1/32" (0.8 mm) | 3/16" (4.8 mm) 1/8" (3.2 mm) |
| 1/16" Blade Attachment | With hair grain Against hair grain | 3/16" (4.8 mm) 3/32" (2.4 mm) | 5/16" (7.9 mm) 5/32" (3.9 mm) |
| 1/8" Blade Attachment | With hair grain Against hair grain | 1/4" (6.4 mm) 1/8" (3.2 mm) | 3/8" (9.5 mm) 1/4" (6.4 mm) |
| 1/4" Blade Attachment | With hair grain Against hair grain | 3/8" (9.5 mm) 1/4" (6.4 mm | 1/2" (12.7 mm) 3/8" (9.5 mm) |
| 3/8" Blade Attachment | With hair grain Against hair grain | 1/2" (12.7 mm) 3/8" (9.5 mm) | 5/8" (15.9 mm) 1/2" (12.7 mm) |
| 1/2" Blade Attachment | With hair grain Against hair grain | 5/8" (15.9 mm) 1/2" (12.7 mm) | 7/8" (22.2 mm) 5/8" (15.9 mm) |
| 5/8" Blade Attachment | With hair grain Against hair grain | 3/4" (19 mm) 5/8" (16 mm) | 1" (25.4 mm) 7/8" (22mm) |
| 3/4" Blade Attachment | With hair grain Against hair grain | 7/8" (22.2 mm) 3/4" (19.0 mm) | 1-1/8" (28.6 mm) 1" (25.4 mm) |
| 7/8" Blade Attachment | With hair grain Against hair grain | 1" (25.4 mm) 7/8" (22 mm) | 1-1/4" (32 mm) 1-1/8" (28.5 mm) |
| 1" Blade Attachment | With hair grain Against hair grain | 1-1/8" (28.6 mm) 1" (25.4 mm) | 1-3/8" (34.9 mm) 1-1/4" (31.8 mm) |
THE PRELIMINARIES
- To make cutting smoother and easier, always start with a clean head of hair. Wash the hair with your favorite shampoo. Rinse. Repeat. We also recommend using a hair conditioner to untangle snarls and leave hair soft and easy to manage.
- When drying the hair, just use a towel so as not to dry it too thoroughly. Leaving it damp makes the hair easier to work with.
USER MAINTENANCE
The internal mechanism of your clipper has been permanently lubricated at the factory. Other than the recommended maintenance described in this manual, no other maintenance should be performed, except by Andis Company or an Andis Authorized Service Station.
REPLACEMENT (REMOVAL) OF BLADE SET
To remove the blades, first unplug the clipper from the electrical outlet. Turn the clipper upside down, so that the blade teeth are pointing down. You may want to place the clipper on a flat surface to do this. Unscrew the screws on the blade (Diagram D). Remove the blade. To replace the blade, put the blade back into position while aligning the yoke of the upper blade with the cam and tension spring of the clipper (Diagram G). Line up the screw holes in the bottom blade with the two holes in the blade bracket, and replace screws. Do not over tighten screws.
 OF BLADE SET - Step 1")
 OF BLADE SET - Step 2")
BLADE TEMPERATURE
Due to the high speed nature of Andis clippers, please check for blade heat often, especially on close cutting blades. If blades are too hot, dip the blades only into Andis Blade Care Plus or apply Andis Cool Care Plus and then Andis Clipper Oil. If you have a detachable blade unit, you can change your blade in order to maintain a comfortable temperature; using multiple blades of the same size is popular among groomers.
CARE AND SERVICING OF YOUR ANDIS CLIPPER BLADES
(Clipper shown in diagrams may vary from the one that you have)
The blades should be oiled before, during, and after each use. If your clipper blades leave streaks or slow down, it's a sure sign that the blades need oil. The clipper should be held in a position shown in Diagram E to prevent oil from getting into the motor. Place a few drops of Andis Clipper Oil on the front and side of the cutter blades (Diagram F). Wipe excess oil off the blades with a soft dry cloth. Spray lubricants contain insufficient oil for good lubrication, but are an excellent clipper coolant. Always replace broken or nicked blades to prevent injury. You can clean the excess hair from your blades by using a small brush or old toothbrush. To clean the blades we suggest immersing the blades only into a shallow pan of Andis Clipper Oil, while the clipper is running. Any excess hair and dirt that has accumulated between the blades should come out. After cleaning, turn your clipper off, dry the blades with a dry cloth and start clipping or trimming again.

FACTORY REPAIR SERVICE
When the blades of your Andis clipper become dull after repeated use, it is advised to purchase a new set of blades available through your Andis Supplier or through an Andis Authorized Service Station.

Documents / ResourcesDownload manual
Here you can download full pdf version of manual, it may contain additional safety instructions, warranty information, FCC rules, etc.
Advertisement


Need help?
Do you have a question about the RACA and is the answer not in the manual?
Questions and answers