Table of Contents
Advertisement
Advertisement
Table of Contents

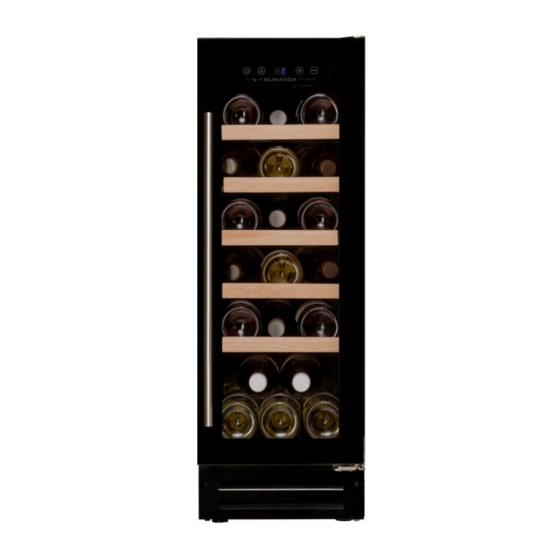
Summary of Contents for Dunavox DAUF-19.58B
- Page 1 WINE CABINET INSTRUCTION MANUAL 2020.V.1. Model: One sections models: DAUF-19.58B, SS, W DAUF-40.138B, SS DX-194.490B, SSK DX-143.468B, SS Two sections models: DX-94.270DBK, SDSK DX-166.428DBK, SDSK DX-181.490DBK, SDSK DAUF-17.58DB, DSS, DW Three section models: DX-170.490TBK, STSK...
-
Page 2: Important Safeguards
Please read this manual carefully before installing and starting up, and store it in a safe place. If you pass on the product to another person hand over this instruction manual along with it. IMPORTANT SAFEGUARDS • The use of attachments not recommended by the manufacturer may be hazardous. -
Page 3: Product Features
• WARNING: Do not damage the refrigerant SAVE THESE INSTRUCTIONS circuit. Never use an appliance with a damaged If you are experiencing problems, check the circuit. Troubleshooting Guide at the back of this manual. It lists causes of minor operating problems that you can •... -
Page 4: Before Using Your Appliance
Temperature can be set from 5° to 18°C or 20°C • The door on this appliance can be opened from (40° to 64°F or 68°F) for either compartment and either the left or the right side. The unit is delivered can be displayed in either Fahrenheit or Celsius. - Page 5 BUILT-UNDER INSTRUCTIONS Have the receptacle and the circuit checked by a qualified electrician to ensure that the socket is Make sure your installation does not block the front grounded correctly. ventilation grille. The unit is designed to fit under worktops between 820 and 890mm in height. Remove Note: In locations where there is frequent lightning, the adjustable ventilation grille screws and slide it to it is advisable to use surge protectors.
-
Page 6: Reversing The Door Hinge
Pop out the cover caps on the left side of ○ Remove the door gasket on the side you cabinet and use them to cover the screw holes wish to install the handle - you can see two on the right hand side. designated holes for handle installation. -
Page 7: Operating Your Appliance
DESIGN 3 – For tall models OPERATING YOUR APPLIANCE This appliance is designed for operation at certain ambient temperatures. The climate class is specified on the rating plate. The appliance may not work properly if it is left for a long period at a temperature outside the specified range. - Page 8 For Dual Zone temperature, and it will change to be the real temperature of the inside cabinet after 10 seconds When the temperature probe is out of order, the display will show “HH” or “LL” instead of a digital figure while continuous buzz sound will be heard.
-
Page 9: Temperature Setting
TEMPERATURE SETTING For Single Zone For Single Zone Touch the marks with 2 fingers at the same time and hold for 5 seconds, you can interchange the The default temperature setting range is E: +5 to +20 Fahrenheit and Celsius display. ºC (41-68 ºF). -
Page 10: General Information
The Indicator 1 will stay on when the compressor remaining water is collected within the unit for starts to work. humidity purposes. The Indicator 2 will flash every 3 seconds when the This system enables the creation of the correct heating function of lower zone starts to work. -
Page 11: Power Failure
Fill the small plastic reservoir (humidity box) ¾ full Wash the outside cabinet with warm water and mild with water, and fit onto the runners found on the top liquid detergent. Rinse well and wipe dry with a clean shelf of the appliance. Check the water level regularly soft cloth. -
Page 12: Problems With Your Appliance
The appliance should be installed in the coolest area Only open the door for as long as necessary and for of the room, away from heat producing appliances, as short a time as possible. and out of the direct sunlight. Store the content in an organised way. -
Page 13: Warranty
• The appliance is not properly level. • Level the appliance with the adjustable feet. • The door was reversed and not properly installed. • Check the door hinge and The door will not reassemble correctly. • The gasket is dirty. close properly. - Page 14 10. Any spoilage or damage to wines or any other contents incidental or consequential to possible defects of the unit. NOTE: The warranty clauses and specifications are subject to change without notice.


Need help?
Do you have a question about the DAUF-19.58B and is the answer not in the manual?
Questions and answers