Table of Contents
Advertisement
Quick Links
Advertisement
Table of Contents

Subscribe to Our Youtube Channel
Related Manuals for Triplett SL600-KIT


Summary of Contents for Triplett SL600-KIT
- Page 1 User Manual SL600-KIT Datalogging Sound Level Meter and Calibrator Kit...
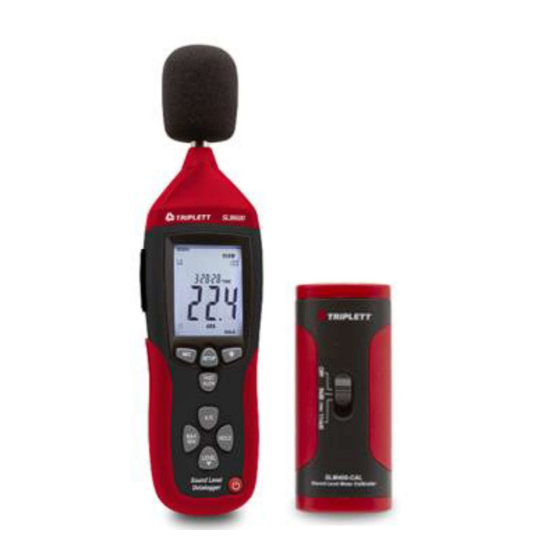
- Page 2 Introduction Congratulations on your purchase of the Triplett SL600 Digital Sound Level Meter.This meter measures and displays sound pressure levels in dB (decibels) from 30 to 130dB in three measurement ranges. In addition to the LCD numerical displays, a bargraph is included for quick and easy viewing of sound level changes.
-
Page 3: Side Panel
Meter Description 1. Windscreen 2. LCD Display 3. Setup-button: 4. Record button 5. A/C weighting 6. Max/Min display 7. Range button 8. Microphone 9. Backlight 10. Fast/Slow response 11. HOLD 12. ON/OFF NOTE: Battery Compartment and Tripod Mount are at the rear SIDE PANEL 13. - Page 4 DISPLAY Symbol Function Maximum hold Minimum hold OVER Over range UNDER Under range FAST Fast response SLOW Slow response A-Weighting C-Weighting Recording data AUTO Auto range selection FULL Memory full HOLD Data hold Auto Power Off enabled Low battery indicate Initial Setup Battery Installation/AC Adaptor The meter can be powered by one 9V battery or by an AC power adaptor.
- Page 5 Press the SETUP button to enter the “minutes” adjustment screen. Press the LEVEL button to adjust the minutes to the current time. Press the SETUP button to enter the “hour” adjustment screen. Press the LEVEL button to adjust the hour to the current time.
-
Page 6: Measurement Considerations
Press the SETUP button to enter the time/date reset screen. NOTE: If the HOLD button is pressed with this screen displayed the time and date will be reset to default values. Measurements MEASUREMENT CONSIDERATIONS Wind blowing across the microphone increases the noise measurement. - Page 7 LEVEL The LEVEL button is used to select the measurement range. Press this button to step through the ranges as indicated on the display (30 to 80, 50 to 100, 80 to 130, or 30 to 130 autoranging) A/C FREQUENCY WEIGHTING Press the A/C button to select ‘A’...
-
Page 8: Recording Data
RECORDING DATA The meter can store up to 20,000 readings at an interval rate of 1 to 59 seconds. Each recording session is saved as a data set and each record is saved with a date and time stamp. This data can be downloaded using the supplied software. - Page 9 ANALOG OUTPUTS The meter is equipped with an analog output feature. The analog output jack is located on the meter’s side panel and requires a 3.5mm stereo phono plug. (1- AC Output, 2-DC Output, 3- Ground) AC analog output The AC output is a retransmitted representation of the meter’s measurement (note that the output factors in the meter’s frequency weighting selection ‘A’...
-
Page 10: Software Installation
Battery Replacement battery icon will appear on the display when the battery needs replacing. Turn the meter OFF and slide the rear battery cover off. Install the 9V battery and replace the cover. Never dispose of used batteries or rechargeable batteries in household waste. -
Page 11: Specifications
Specifications Applicable IEC61672-1: 2002 Class 2; IEC60651: 1979 Type Standards 2; ANSI S1.4:1983 Type 2, Accuracy ±1.4dB (under reference conditions) Frequency Range 31.5Hz to 8kHz Dynamic Range 50dB Frequency Weighting A and C Time response Fast (125ms) and Slow (1 second) Measurement 30 to 80dB, 50 to 100dB, 80 to 130dB and Ranges... - Page 12 Triplett / Jewell Instruments extends the following warranty to the original purchaser of these goods for use. Triplett warrants to the original purchaser for use that the products sold by it will be free from defects in workmanship and material for a period of (1) one year from the date of purchase.
Need help?
Do you have a question about the SL600-KIT and is the answer not in the manual?
Questions and answers