Kanto sub8 - Sealed Powered Subwoofer Manual
- User manual (12 pages) ,
- User manual (12 pages)
Advertisement
Introduction
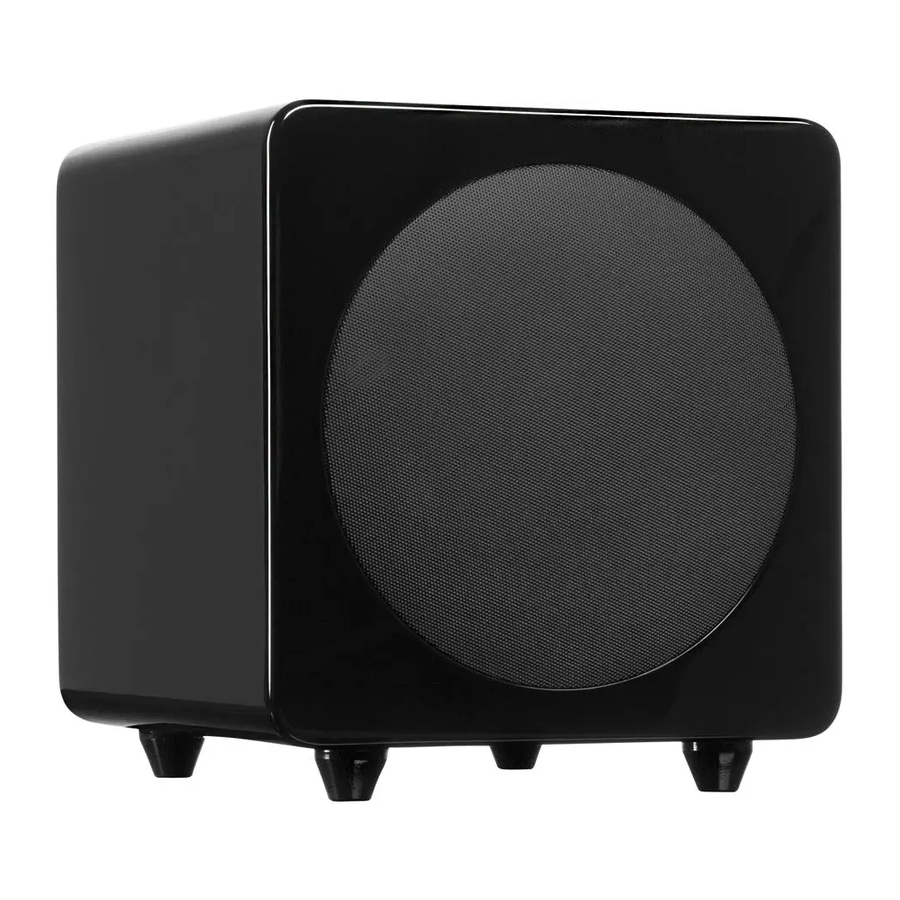
Thank you for choosing the sub8 sealed powered subwoofer. sub8 was designed to augment the bass performance of your speakers in a stereo setup or in a home theater installation.
Adding a subwoofer to your system extends the bass response produced by your existing speakers and improves their midrange clarity. In a home theater application, the subwoofer takes care of reproducing signals from the low frequency effects channel. In a stereo system, the subwoofer helps reduce the low-frequency demands on the main speakers.
We recommend you read all instructions carefully before using the sub8 and keep them for future reference. Kanto cannot be liable for damage or injury caused by incorrect setup or use of this product.
This powered subwoofer was carefully tested and inspected during production, and before packaging and shipping. After unpacking, please check for any damage. It is rare that a unit is damaged during shipping, but if this happens contact your retailer immediately. You can also contact Kanto directly:
Email: support@kantoliving.com
Toll Free: 1-888-848-2643
What's In the Box?

Front & Rear Panels
FRONT PANEL
- 8" Paper Cone Driver


REAR PANEL

- Volume Knob
- Low-Pass Filter Frequency Control
- Standby Power
- Phase Switch
- Line Level Input
- ON / OFF Switch
- AC Input Connection (100 V - 240 V)
Setting Up and Connecting your Subwoofer
Ensure that the ON/OFF Switch is in the OFF position before connecting any component.
To some degree, positioning the subwoofer is less critical because it produces only nondirectional low-frequency sounds. However, best results are obtained if the subwoofer is placed either between the left and right speakers or in the vicinity of either the left channel or right channel speaker.
As with all speakers, moving the sub8 very close to room boundaries will enhance the bass frequencies but will tend to muddy the sound. Room characteristics and positioning have a profound effect on the performance of the subwoofer, so time and effort devoted to achieving the optimum operating position will be rewarded.
In a typical full range application using one subwoofer like the sub8 thru a single wire connection, you can connect to either the Left or Right Line Level Input. Connect your stereo component such as powered speakers with subwoofer output (e.g. YU, YU2, YU4, YU6), power or integrated amplifiers with preamplifier output, or multi-channel home theater receivers with subwoofer output. If your components are equipped with both L/R subwoofer outputs or L/R preamplifier outputs, we recommend connecting the component to the sub8 by using both Left and Right Line Level Input channels.
The Low-Pass Filter Control is used to set the upper limit of the frequencies that sub8 will reproduce, typically within the range of 40Hz-120Hz. Refer to your manufacturer's information for the cut-off frequency of your main speakers.
The Phase Switch is normally set to 0°. If the sub8 is positioned significantly farther from the main speakers or if the subwoofer is used in a stereo setup where the amplifier driving the main speakers inverts the phase signal, the 180° setting may be desirable. Listen with the switch in both positions and select the setting that gives the fullest sound. If in doubt, or if there is little difference, leave the switch set to 0°.
Follow the instructions on the following page to connect your components to sub8. The examples are not meant to be exhaustive - just examples.

 ATTENTION
When connecting audio cables the ON/OFF Switch must be turned OFF. After connecting all cables, the unit can be turned ON.

Audio Troubleshooting Guide
Frequently asked questions about Kanto's sub8.
- None of the lights on the rear of the subwoofer are illuminated.
- Ensure the power cable is connected to the subwoofer and power outlet.
- Ensure that the power outlet is providing power.
- Verify that the power switch on the rear of the subwoofer is in the "On" position.
- Check the fuse on the rear panel of the subwoofer to ensure it's intact.
- The green light on the rear of the subwoofer is illuminated but there's no audio playing.
- Ensure audio source is playing audio.
- Check that the audio cable connected to the source is firmly connected. Test another audio cable if available.
- Verify that the volume of the subwoofer is not at it's minimum level.
- You are experiencing poor audio quality
- Set the source of the volume to a higher level and reduce the volume of the subwoofer. Low source volume can negatively affect dynamic range.
- Test a different song or source to isolate the issue.
- Adjust crossover to match the rest of the system.
- Subwoofer is going into standby while listening to audio.
- Set the volume of the source to its highest level. Low source volume can inadvertently trigger standby mode.
- There's no audio coming from an attached subwoofer.
- Check that the RCA cable connected to and from the subwoofer is firmly seated. Try a different cable or source to isolate the issue.
- Make sure the subwoofer is connected to a power outlet and is set to "On" or "Auto".
- Increase the volume of the subwoofer.
- You are experiencing buzzing, hissing or distortion.
- Ensure you are using an RCA to RCA subwoofer cable.
- Verify if the noise is coming from the source by removing the source from the subwoofer.
- Make sure it is not a power issue by trying a power outlet that is on a different circuit.
- Check that the audio cable connected to and from the source is firmly seated. Try a different cable or source to isolate the issue.
Specifications
| Woofer | 8" paper cone |
| Amplifier Type | Class D |
| Power Output | 300 W peak power (150 W total RMS) |
| Frequency Response | 35 Hz – 175 Hz |
| Low-Pass Filter | 40 Hz - 120 Hz |
| Phase Switch | 0º and 180º |
| Inputs | 1 x RCA (L/R) |
| Input Voltage / Frequency | AC 100 V - 240 V 50/60 Hz |
| Standby Power Consumption | < 0.5 W |
| Dimensions | 11" W x 11" D x 11.9" H (28 x 28 x 30.3 cm) |
| Net Weight | 18.3 lb (8.3 kg) |
| Gross Weight (boxed) | 22.5 lb (10.2 kg) |
| Shipping Box Dimmensions | 15.2" W x 15.2" D x 15.9" H (38.5 x 38.5 x 40.5 cm) |
 NOTICE:
This appliance is labeled in accordance with European Directive 2002/96/EC concerning waste electrical and electronic equipment (WEEE). This label indicates that this product should not be disposed of with household waste.
It should be deposited at an appropriate facility to enable recovery and recycling.


 kantoaudio.com kantoaudio.com |  Kanto Audio Kanto Audio |  @kantoaudio @kantoaudio |
 kantoaudio kantoaudio |  Kanto Audio Kanto Audio |  Kanto Living Kanto Living |

Documents / Resources
References
Download manual
Here you can download full pdf version of manual, it may contain additional safety instructions, warranty information, FCC rules, etc.
Advertisement


Need help?
Do you have a question about the sub8 and is the answer not in the manual?
Questions and answers