Advertisement
Advertisement
Table of Contents

Related Manuals for Rinnai RH-S319-PBR-T


Summary of Contents for Rinnai RH-S319-PBR-T
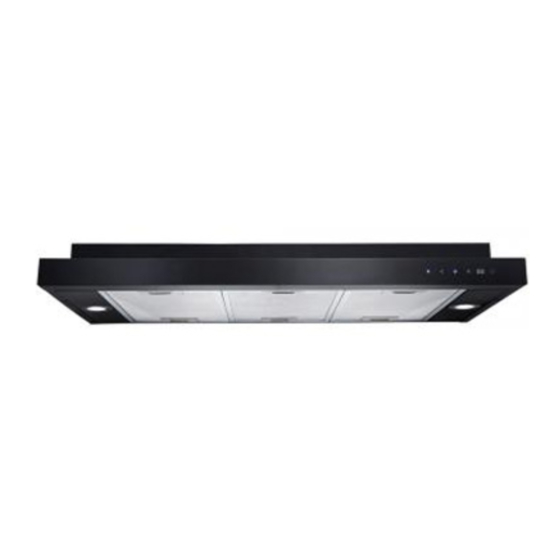
- Page 1 Operation / Installation Manual Slim Line Hood RH-S319-PBR-T Rinnai Corporation...
- Page 2 TABLE OF CONTENTS English Page 1 - 7 Version: 2015. 08...
-
Page 3: Table Of Contents
IMPORTANT To register your product warranty, please paste the serial numbers stickers enclosed with the packaging on your warranty card. Please contact your local Rinnai Customer Care Centre should you require further assistance. SAFETY WARNINGS Please read this user manual thoroughly before attempting to use this appliance for the first time. This manual contains important information on safe installation, use and care of the appliance. - Page 4 Do not flambé or grill with an open flame directly under the extractor hood. Flames could be drawn up into the hood by the suction and the grease filters may catch fire. Monitor cooking continuously as overheated oil increases the risk of self-ignition.
-
Page 5: Specifications & Components
SPECIFICATIONS Model RH-S319-PBR-T Voltage 220V - 240V / 50Hz Power of Motor 3 x 85W Power of Lamps 2 x 1W (LED) Cable Length 1.5m Appliance Dimension (W x D x H): Fig. 2 90cm model 900 x 420 x 120mm Note: The manufacturer reserves the right to effect any technological improvement or modification without prior notice. -
Page 6: Installation
INSTALLATION This appliance can only be installed in recirculation mode . Installation must be performed by qualified personnel only. The manufacturer declines all responsibility for improper installation and does not accept responsibility for appliance warranty in the event of damage caused by incorrect installation. -
Page 7: Operation
OPERATION To achieve better air extraction, we recommend you to switch on the blower a few minutes before starting to cook. Leave it on for approximately 15 minutes after cooking or till all cooking smell is completely removed. TIMER LIGHT LIGHT: Press to turn the light on/off. -
Page 8: Maintenance And Care
Brush the filters, rinse thoroughly and leave it to dry Replace a new set of light assembly. Note: For purchase of before refitting. spare part, please check with your local Rinnai Rinnai If by dishwasher, select an appropriate wash Customer Care Centre for assistance. -
Page 9: Troubleshoot
Replace the damaged lamps Lamps are loose Tighten the lamps If problem persists after the above checks, please contact Rinnai Customer Care Centre for assistance. Please quote the model number of your appliance as shown on the rating plate attached to your equipment (Fig. 11). - Page 10 URL : www.rinnai.co.id ประเทศไทย Macau |澳門 Thailand | Rinnai Appliance Service Center Rinnai (Thailand) Co., Ltd. / Lucky Flame Co., Ltd. Edificio Industrial, 3 andar F.A da Zona Macau 61/1 Soi Kingkaew 9, Kingkaew Rd. 林內爐具服務中心 Racha Thewa, Bangphli, Samutprakarn 10540, Thailand 澳門青洲跨境工業大廈3樓F座...
Need help?
Do you have a question about the RH-S319-PBR-T and is the answer not in the manual?
Questions and answers