Table of Contents
Advertisement
Quick Links
Advertisement
Table of Contents

Subscribe to Our Youtube Channel
Related Manuals for Amica EMW 13181 E


Summary of Contents for Amica EMW 13181 E
- Page 1 EMW 13181 E OPERATING INSTRUCTIONS...
-
Page 2: Table Of Contents
INSTALLING THE APPLIANCE OPERATION TROUBLESHOOTING CLEANING WARRANTY AND AFTER SALES SERVICE MOUNTING SPECIFICATION Model EMW 13181 E Power supply 230V~ / 50Hz Operating frequency [MHz] 2450 Noise level [dB(A) re 1pW] Power Consumption [W] 1250 Nominal output power of microwaves [W]... -
Page 3: Precautions
PRECAUTIONS TO AVOID POSSIBLE OVER-EXPOSURE TO MICRO- WAVE ENERGY Do not attempt to operate the oven with the door open, because it may cause harmful exposure to microwave energy. Do not disable the safety interlocks, or attempt to circumvent them. Do not place anything between the front surface of the oven and the door or allow dirt or detergent residue to gather on sealing surfaces. -
Page 4: Safety Instructions For Use
SAFETY INSTRUCTIONS FOR USE READ CAREFULLY AND KEEP FOR FUTURE REF- ERENCE To reduce the risk of fire, injury to people or exposure to excessive microwave energy when using the appliance, please observe the following basic safety rules: Read the Operating Instructions before using the appli- ance. - Page 5 SAFETY INSTRUCTIONS FOR USE If you see smoke or fire, turn off the appliance or unplug it from power and keep the door closed until the flames are smothered; Microwave heating of beverages can cause delayed boiling, therefore care should be taken when handling the container;...
- Page 6 SAFETY INSTRUCTIONS FOR USE Do not operate the oven when empty. Operating the oven without food or dish with very low water content may result in fire, carbonization, arcing and damage to the internal chamber shell. Do not cook food directly on the turntable. Excessive local heating of turntable may cause its rupture.
-
Page 7: Installing The Protective Circuit
SAFETY INSTRUCTIONS FOR USE This appliance is not intended for use by persons (in- cluding children) with physical, mental or sensory hand- icaps, or by persons inexperienced or unfamiliar with the appliance, unless under supervision or in accord- ance with the instructions as communicated to them by persons responsible for their safety. - Page 8 SAFETY INSTRUCTIONS FOR USE Do not store or use the oven outdoors. Do not use the microwave oven near water, near the kitchen sink, in a damp room or near a swimming pool. Do not immerse the power cord or plug in water. Keep cord away from heated surfaces.
- Page 9 INSTALLING THE PROTECTIVE CIRCUIT DANGER electrician or service technician. If you must use an extension cord, use only a three- Danger of electric shock when touched, some inter- wire extension with an earthing connector. nal components may cause serious injury or death. The manufacturer shall not be liable for damage Do not disassemble this appliance.
-
Page 10: Cookware
COOKWARE WARNING Risk of injury. Tightly closed containers may explode. Closed containers must be opened and plastic bags pierced before cooking. Materials that can be used and materials to be avoided in the microwave oven. The use of some non-metallic cookware may not be safe in the microwave oven. If in doubt, you can check the cookware following this procedure. - Page 11 COOKWARE Bags for microwave cooking Observe the manufacturer’s instructions. Do not seal with metal clamps. Paper plates and cups Cut through to allow the steam to escape. Use only for short cook- ing / heating. Do not leave the oven unattended while cooking. Paper towels Use to cover food to be heated to absorb fat.
-
Page 12: Setting Up Your Microwave Oven
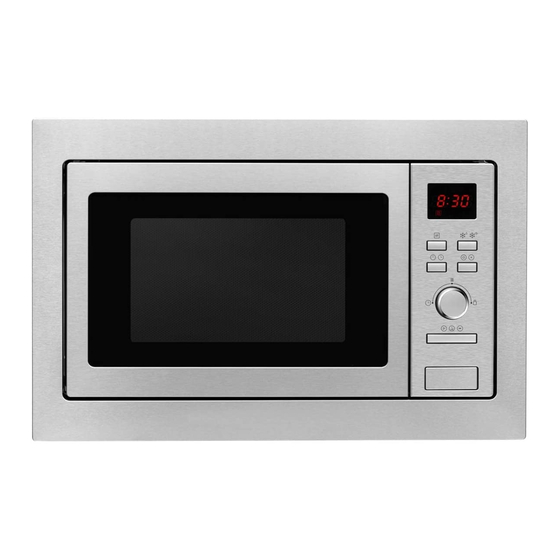
SETTING UP YOUR MICROWAVE OVEN Microwave oven accessories Remove all packaging, both inside and outside the oven, before using the oven. The oven comes with the following accessories: Turntable Rotating trolley Operating Instructions Grilling rack A) Control Panel B) System security lock - disconnects power to the oven when the door is opened during opera- tion. -
Page 13: Installing The Appliance
INSTALLING THE APPLIANCE - Remove all packaging materials and components. - Check the oven for damage such as dents or door misalignment or breakage. - Remove any protective film from the surface of the cabinet. - Do not install the oven if it is damaged. Do not remove the light brown mica cover bolted into the recess in order to shield the micro- wave magnetron. -
Page 14: Operation
OPERATION Operation Instructions 1. Clock Setting When the microwave oven is electrified, the LED will display „0:00”, buzzer will ring once. 1) Press [Kitchen Timer/Clock] twice to select clock function, the hour figures will flash. 2) Turn [ ] to adjust the hour figures, the input time should be within 0-23. 3) Press [Kitchen Timer/Clock] the minute figures will flash. - Page 15 OPERATION Note: the step quantities for the adjustment time of the coding switch are as follow: 0 - 1 min : 5 seconds 1 - 5 min : 10 seconds 5 - 10 min : 30 seconds 10 - 30 min : 1 minute 30 - 95 min : 5 min...
- Page 16 OPERATION 7. Auto Menu 1) Turn [ ] right to choose the menu, and “A-1” to “A-8” will display, which means pizza, meat, vegetable, pasta, potato,fish, beverage and popcorn. 2) Press [Start/+30Sec./Confirm] to confirm. 3) Turn [ ] to choose the default weight as the menu chart. 4) Press [Start/+30Sec./Confirm] to start cooking.
- Page 17 OPERATION 9. Inquiring Function 1) In states of microwave, press [Microwave] , the current power will be displayed for 3 seconds. After 3 seconds, the oven will turn back to the former state; 2) In cooking state, press [Kitchen Timer/Clock] to inquire the time and the time will display for 3 seconds.
-
Page 18: Troubleshooting
TROUBLESHOOTING Television and radio reception may be disrupted when the microwave oven is operating. Microwave oven interferes with the TV reception The same applies to small household appliances such as a blender, vacuum cleaner and electric fan. This is normal. When cooking with low microwave power, oven Dimmed oven lighting. -
Page 19: Warranty And After Sales Service
WARRANTY AND AFTER SALES SERVICE Warranty Warranty service as stated on the warranty card The manufacturer shall not be held liable for any damage caused by improper use of the product. -
Page 20: Mounting
MOUNTING Please Read the Manual Carefully Before Installation Do not trap or bend the power cable... - Page 21 MOUNTING The bracket and bottom cabinet template are needed when installing in both installations.
- Page 22 MOUNTING B.Prepare the cabinet 1. Read the instruction on the BOTTOM CABINET TEMPLATE, put the template on the bottom plane of cabinet. 2. Make the marks on the bottom plane of cabinet according to marks ”a” of of the template 3.
- Page 23 MOUNTING C .Install the oven 4. Install the oven to the cabinet - Make sure the back of the oven is locked by bracket. - Do not trap or kink the power cord. 5. Open the door, fix the oven to the cabinet with Screw B, at the installation hole. Then fix the Trim-kit plastic cover to the installation hole.
- Page 24 IO-MWS-0156 (11.2015)
Need help?
Do you have a question about the EMW 13181 E and is the answer not in the manual?
Questions and answers