
Subscribe to Our Youtube Channel
Related Manuals for Tosot KSWA-04S63Dg


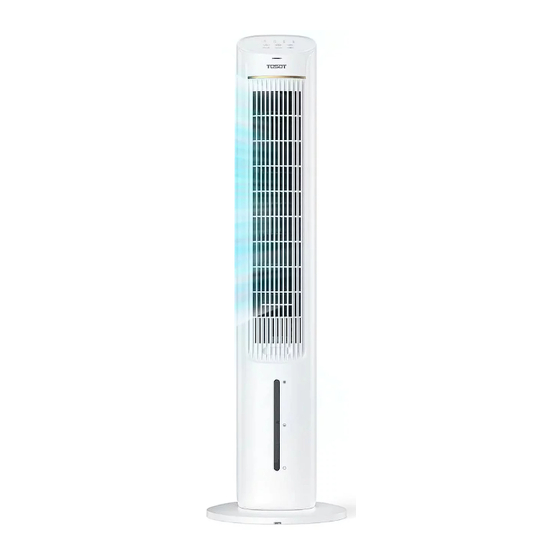
Summary of Contents for Tosot KSWA-04S63Dg
- Page 1 User Manual Evaporative Air Cooler Before using your TOSOT Evaporative Air Cooler, please read this user manual in its entirety. MODEL NUMBER KSWA-04S63Dg...
- Page 2 Welcome to the TOSOT Direct Family! We're extremely happy to welcome you as a new member of our family! Please read the tips below before using your product. Tips Keep the original packaging material including packing foam, carton and printed material until you decide to keep the unit.
-
Page 3: Table Of Contents
Table of Contents Important Safety Instructions -------------------------------------- Installation and Setup -------------------------------------------- Electrical Safety Warning --------------------------------------- -------------------------------------------------------- Specifications --------------------------------------------------------------- Parts List ------------------------------------------------------------ Installation Features ---------------------------------------------------------------- ------------------------------------------------- Using the Ice Pack Using the Aromatherapy Box ------------------------------------ ---------------------------------------------------- Half-Light Display ---------------------------------------------------- Memory Function ---------------------------------------------------------- Auto Standby Operation... -
Page 4: Important Safety Instructions
Safety and Instructions Your safety and the safety of others are very important to us. Please read the following safety precautions before use and installation. A digital version can be obtained from customer support. Installation and Setup This appliance is not intended for use by persons (including children) with reduced physical, sensory, or mental capabilities or lack of experience and knowledge unless they have been given supervision or instruction concerning the use of the appliance by a person responsible for their safety. -
Page 5: Electrical Safety Warning
Electrical Safety Warning Always plug into a fixed 120V 60 Hz AC outlet. To prevent overload, do not use a multi-plug power strip. The capacity of the power socket should be the same as that of the plug of electric appliances. The plug must be inserted into the socket tightly. -
Page 6: Specifications
User Servicing Instructions a) Grasp plug and remove it from the receptacle or other outlet device. Do not unplug by pulling on the cord. b) Open the fuse cover. Slide open fuse access cover on top of attachment plug towards blades. c) Remove the fuse carefully. -
Page 7: Parts List
Parts List Remote Control Control Panel Front Case Cooling Pad and Grill Air Outlet Water Tank Aromatherapy Box Base... -
Page 8: Installation
Installation Please assemble the base according to the following installation method. Do not use it if not assembled properly. 1. Take the two parts of the base and the unit body out of the box. Rotate the two part of the base along the semicircular positioning slot until they are at the same level as the bottom surface and the clasps at the two sides are locked. - Page 9 Long Base Slot Long Clasp Power Cord Long Clasp Long Base Slot Cable Clasp of Base Note: 1. When you hear a “click” sound while rotating the base, it indicates that the base is assembled. Do not rotate it forcibly to avoid damaging the oscillation function.
-
Page 10: Features
Features Using the Ice Pack You can also choose to use it or not based on the temperature.The ice pack can be frozen repeatedly and reused. Note: 1. Before placing or taking out the ice pack, make sure to turn off the unit and remove the power cord from the power outlet. -
Page 11: Using The Aromatherapy Box
Using the Aromatherapy Box Pull out the aromatherapy box from the fan and take out one piece of the cotton inside. Drop 1-2 drops of essential oil onto the cotton and put the aromatherapy box back into the fan. Note: Do not let the aromatherapy oil contact other parts except the aromatherapy box (such as the air louver, body, etc.) to prevent damage. -
Page 12: Operation
Operation Adding water Before pulling out the water tank, please be sure to turn off the power. Add water but do not exceed the highest water level. Don't exert too much force when removing or inserting the water tank to avoid damaging the components. -
Page 13: Control Panel
Control Panel Mode Button Water Alert Indicator Power Button Humidification Button Fan Speed Button Oscillation Button Timer Button Water Alert Indicator Flashes to indicate there is not enough water in the water tank. Please add water according to the “Adding water” section and press the humidification button to restart the function. - Page 14 Humidification Button Press this button to turn on/off the humidification function and the humidification indicator will be on. Before starting the humidification function, please check the water level inside the water tank. If the water level is close to or below the lowest water level mark, please add water.
-
Page 15: Remote Control
Remote Control +/- Button TIMERP OSC. RESET Oscillation Button Mode Button MODE HUM. Timer Button Power Button Humidification Button Button Press this button to increase/decrease the fan speed. Oscillation Button Press this button to turn on/off the oscillation function. Mode Button Press this button to choose among 3 modes: general wind, natural wind, and sleeping wind. -
Page 16: Maintenance
Maintenance Please be sure to cut off the power before maintenance. Use a wet cloth to wipe the surface of the unit. Do not wash the unit with water. Do not use a corrosive detergent to clean the unit. Place your thumb in the pressing groove of the water tank, and squeeze the clasp of the water tank upward with the remaining four fingers to pull out the water tank completely. -
Page 17: Troubleshooting
Troubleshooting Issues Self check Possible solutions Power cord is not Make sure it is well connected connected or connected The unit can't poorly operate Internal wiring is loose Contact our support team No water in the water Disconnect the power and tank, or water quantity is add water, make sure the below than the lowest... -
Page 18: Warranty&Customer Support
Warranty & Customer Support Warranty Information 1. 1-Year warranty: TOSOT Evaporative Air Cooler comes with a 1-year warranty from the date of purchase. This warranty covers manufacturing and material defects. Please visit https://tosotdirect.com/warranty for more details. 2. Additional 6-Month warranty extension: You can get a 6-month warranty extension by registering your new product at www.tosotdirect.com/extend.
Need help?
Do you have a question about the KSWA-04S63Dg and is the answer not in the manual?
Questions and answers