Sign In
Upload
Download
Add to my manuals
Delete from my manuals
Share
URL of this page:
HTML Link:
Bookmark this page
Add
Manual will be automatically added to "My Manuals"
Print this page
×
Bookmark added
×
Added to my manuals
Manuals
Brands
Tosot Manuals
Air Conditioner
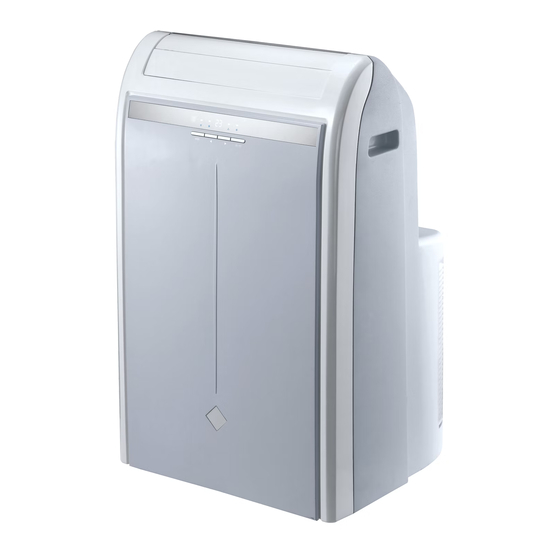
GPC12AF-K3NNA7A
Service manual
Tosot GPC12AF-K3NNA7A Service Manual
Easy cool serie
Hide thumbs
1
2
3
4
5
6
7
8
9
10
11
12
13
14
15
16
17
18
19
20
21
22
23
24
25
26
27
28
29
30
31
32
33
34
35
36
37
38
39
40
41
42
43
44
45
46
47
48
49
50
51
52
53
54
55
56
page
of
56
Go
/
56
Bookmarks
Advertisement
Quick Links
Download this manual
Service Manual
Easy Cool Serie
Please be aware that all product codes beginning with GPC are
to bee seen as the TOSOT units beginning with TPC.
TOSOT unit in this manual:
T
B
Table of
Contents
Previous
Page
Next
Page
1
2
3
4
5
Advertisement
Need help?
Do you have a question about the GPC12AF-K3NNA7A and is the answer not in the manual?
Ask a question
Questions and answers
Related Manuals for Tosot GPC12AF-K3NNA7A
Air Conditioner Tosot GPC05AK-A3NNA1C User Manual
(32 pages)
Air Conditioner Tosot GPC06AK-A3NNA1C User Manual
(32 pages)
Air Conditioner Tosot GPC05AP-A3NNA1A User Manual
Portable air conditioner (30 pages)
Air Conditioner Tosot GPC06AP-A3NNA1A User Manual
Portable air conditioner (30 pages)
Air Conditioner Tosot GPC08AO-A3NNA1A User Manual
(31 pages)
Air Conditioner Tosot PAT Series Owner's Manual
(26 pages)
Air Conditioner Tosot PAT Series Owner's Manual
(28 pages)
Air Conditioner Tosot GPC05AP-A6NNA1A Owner's Manual
(28 pages)
Air Conditioner Tosot GPH10ARC-A6NNA1A User Manual
(46 pages)
Air Conditioner Tosot GPC08ASB-A6NNA1A User Manual
(46 pages)
Air Conditioner Tosot ORBIS Series Owner's Manual
(104 pages)
Air Conditioner TOSOT TWH09UB-K3DNA2E Service Manual
U-grace series, indoor / outdoor units / remote control (106 pages)
Air Conditioner TOSOT GWH09AAB-K6DNA5A/I Owner's Manual
(32 pages)
Air Conditioner TOSOT GWH12QB-K3DNB4D/I Owner's Manual
(36 pages)
Air Conditioner Tosot GJC08BU-A6NRNJ2A User Manual
Window air conditioner (25 pages)
Air Conditioner Tosot SMART INVERTER Series Owner's Manual
(70 pages)
This manual is also suitable for:
Gpe12af-k3nna7a
Gph12af-k3nna7a
Yb1f2
Print
Rename the bookmark
Delete bookmark?
Delete from my manuals?
Login
Sign In
OR
Sign in with Facebook
Sign in with Google
Upload manual
Upload from disk
Upload from URL


Need help?
Do you have a question about the GPC12AF-K3NNA7A and is the answer not in the manual?
Questions and answers