Sign In
Upload
Download
Table of Contents
Contents
Add to my manuals
Delete from my manuals
Share
URL of this page:
HTML Link:
Bookmark this page
Add
Manual will be automatically added to "My Manuals"
Print this page
×
Bookmark added
×
Added to my manuals
Manuals
Brands
Omega Manuals
Dishwasher
ODW700B
Instruction manual
Omega ODW700B Instruction Manual
Hide thumbs
1
2
Table Of Contents
3
4
5
6
7
8
9
10
11
12
13
14
15
16
17
18
19
20
21
22
23
24
25
26
27
28
29
30
31
32
page
of
32
Go
/
32
Contents
Table of Contents
Troubleshooting
Bookmarks
Table of Contents
Table of Contents
Important Safety Warnings
Product Details
Installation Instructions
Important Safety Warnings
Appliance Details
Quick Operating Quide
Installation
Product Details
Operating Instructions
Operating Instructions
Operating Instructions
Cooking Guidelines
Cleaning and Maintenance
Maintenance and Cleaning
How to Keep Your Dishwasher in Shape
Failure Codes
Troubleshooting
Australian & New Zealand Product Warranty Statements of Standard Warranty Conditions
Cleaning and Maintenance
Advertisement
Quick Links
1
Operating Instructions
2
Troubleshooting
Download this manual
Instruction Manual
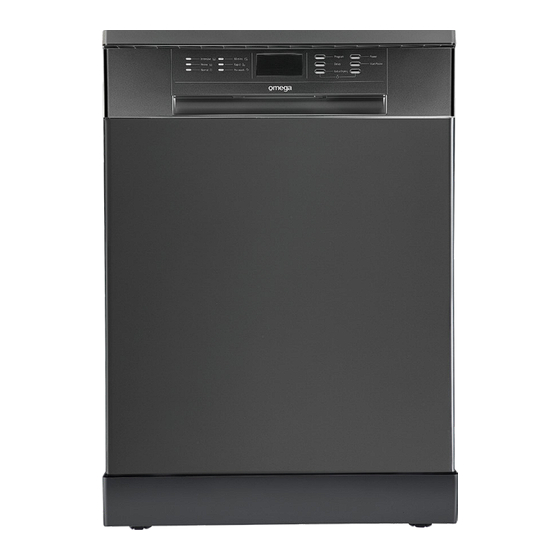
Dishwasher
ODW700B / ODW700W / ODW700X
Table of
Contents
Previous
Page
Next
Page
1
2
3
4
5
Advertisement
Table of Contents
Need help?
Do you have a question about the ODW700B and is the answer not in the manual?
Ask a question
Questions and answers
Related Manuals for Omega ODW700B
Dishwasher Omega ODW707XB Instruction Manual
(23 pages)
Dishwasher Omega ODW707WB Instruction Manual
(23 pages)
Dishwasher Omega ODW717WB Instruction Manual
(23 pages)
Dishwasher Omega ODW717XB Instruction Manual
(23 pages)
Dishwasher Omega ODW701BX Instruction Manual
(26 pages)
Dishwasher Omega ODW702X Instruction Manual
(24 pages)
Dishwasher Omega ODW702W Instruction Manual
(23 pages)
Dishwasher Omega ODW707X Instruction Manual
(23 pages)
Dishwasher Omega ODW717X Instruction Manual
(22 pages)
Dishwasher Omega ODW717W Instruction Manual
(22 pages)
Dishwasher Omega ODW700X Instruction Manual
(32 pages)
Dishwasher Omega ODW715X Instruction Manual
(31 pages)
Dishwasher Omega ODW702WB Instruction Manual
(24 pages)
Dishwasher Omega ODW702XB Instruction Manual
(24 pages)
Dishwasher Omega ODWIS6015X User Manual
Semi-integrated dishwasher (32 pages)
Dishwasher Omega ODWF6015X User Manual
60cm freestanding dishwasher (32 pages)
This manual is also suitable for:
Odw700w
Odw700x
Table of Contents
Print
Rename the bookmark
Delete bookmark?
Delete from my manuals?
Login
Sign In
OR
Sign in with Facebook
Sign in with Google
Upload manual
Upload from disk
Upload from URL


Need help?
Do you have a question about the ODW700B and is the answer not in the manual?
Questions and answers