
Subscribe to Our Youtube Channel
Related Manuals for Presenza QR025


Summary of Contents for Presenza QR025
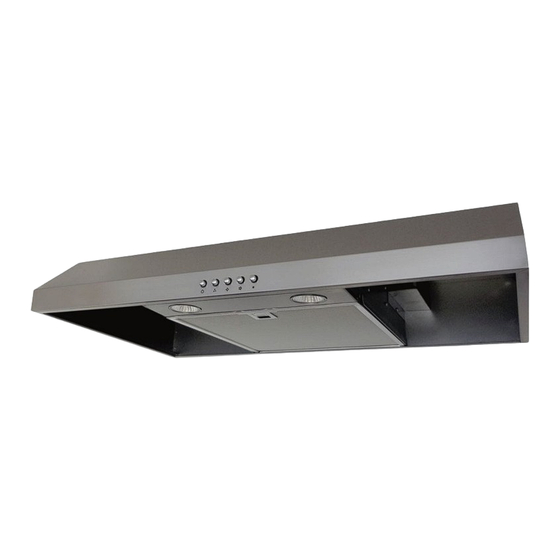
- Page 1 UNDER CABINET RANGE HOOD INSTALLATION GUIDE AND USER MANUAL Item # QR025 654OVSN016STS...
-
Page 2: Table Of Contents
Table of Contents Table of Contents . . . . . . . . . . . . . . . . . . . . . . . . . . . . . . . . . . . 2 Operation . - Page 3 Safety Information (continued) 6. Ducted fans should always be vented to the outdoors. Never WARNING: To reduce the risk of fire, use only metal duct vent exhaust air into spaces within walls or ceilings, attics, work. Never use plastic duct work. crawl spaces, or garages.
-
Page 4: Warranty
Warranty ONE-YEAR MANUFACTURER DEFECT WARRANTY This range hood is warranted to the original purchaser to be free of defects in material and workmanship for one (1) year from the date of purchase. Our obligation shall be limited to the repair or replacement of a unit (at our discretion) that may prove, by our sole examination, to be defective under normal use and service during the warranty period. -
Page 5: Pre-Installation
Pre-Installation TOOLS REQUIRED Measuring tape Level Utility knife Adjustable Pencil Tape wrench Flathead Needle nose Phillips screwdriver screwdriver pliers Hammer Electric drill Safety goggles Safety gloves HARDWARE INCLUDED NOTE: Hardware shown to actual size. Part Description Quantity Long tapping screw Short tapping screw CONGLOMKB.COM Please contact 1-877-333-0098 for further assistance. -
Page 6: Package Contents
Pre-Installation (continued) PaCkaGe COnTenTS Part description quantity Range hood Charcoal filter (located inside the hood) Damper (located inside the hood) SPeCIfICaTIOnS dimensions Volts Hertz fan CfM Speeds light Bulb Wattage Stainless Steel Grade 757 mm (29 .8 in .) W High 458 mm (18 in .) D Medium... -
Page 7: Planning Installation
Pre-Installation (continued) PLANNING INSTALLATION WARNING: Always wear safety goggles and gloves Number of people required: 2 or more during installation. Carefully check the range hood for damage and for missing parts prior to installation. If there is any damage or if you are missing parts, do not proceed with the installation. - Page 8 Pre-Installation (continued) For back venting: Horizontal Wall Venting Vertical Roof Venting □ Cut one square hole (10) with a width of 260 mm (10 .24 in .) and a depth of 100 mm (3 .94 in .) in the back wall .
-
Page 9: Installation
Installation Removing the electrical Removing the venting hole knock-out hole □ Choose the venting hole to remove for your installation WARNING: Always wear safety goggles and gloves type. Use the top hole (3) for a top venting installation and the back hole (4) for a back venting installation. during installation. - Page 10 Installation (continued) Installing the damper Installing the charcoal filter NOTICE: Only install the damper if you are using a venting NOTICE: The charcoal filter should only be installed if you system that does not already have a damper . If using the are not using a venting system .
- Page 11 Installation (continued) Placing the range hood DANGER: Turn off the power circuit breaker or the power switch on the junction box before installing this unit. Touching circuitry inside the range hood while it is energized will result in death or serious injury. DANGER: If installing this unit over a gas range, turn off the gas at the source before installing or serving this unit.
-
Page 12: Operation
Operation Turning on the range hood Turning off the range hood □ To turn on the fan, press the appropriate speed control NOTICE: The fan and lights operate independently switch [Low Speed (2), Medium Speed (3), High Speed(4)] of each other . to select the desired level of power . -
Page 13: Maintenance
Maintenance FILTERS DANGER: Turn off the power circuit breaker or the power switch on the junction box before performing maintenance. When filters wear out, replace them with similar aluminum or Touching circuitry inside the range hood while it is charcoal filters that have stainless steel clips. Also replace filters energized will result in death or serious injury. -
Page 14: Care & Cleaning
Care and Cleaning WARNING: Failure to maintain basic standards of care and cleaning of the range hood will increase the risk of fire . ranGe HOOd The range hood should be cleaned regularly internally and externally to preserve its appearance and performance . do not: □... -
Page 15: Filters
Care and Cleaning (continued) FILTERS The filters fitted by the factory are intended to filter out residue and grease from cooking. You do not need to replace them on a regular basis, but you should keep them clean. Do Not: □... - Page 16 Troubleshooting (continued) □ The thermal protection system detects if the motor is too hot The lights work, but the fan is not spinning, is stuck, or is rattling. to operate and shuts the motor down. In this case, the motor will function properly after the thermal protection system cools down (after approximately 10 min.).
-
Page 17: Wiring Diagram
Troubleshooting (continued) WIRING DIAGRAM Motor 35W/JDR 16 Gu10 Light Capacitor 5uf 370V AC Black White EXTERNAL DIAGRAM BOTTOM 706 mm (27.75 in.) 250 mm (9.81 in.) 22 mm 28 mm (0.88 in.) D (1.1 in.) 39 mm 22 mm 250 mm 21 mm 9 mm (1.5 in.) -
Page 18: Service Parts
Service Parts UNDER CABINET RANGE HOOD If you are missing parts or if you require replacement parts, please call our customer service team at 1-877-333-0098 (Monday–Friday, 8:30 a.m.–5 p.m., EST). Identify the required part(s) and have the part description(s) ready. Part Description Code Quantity... - Page 19 HOMEDEPOT .COM Please contact 1-800-459-4409 for further assistance .
- Page 20 Imported by: St-Laurent, Québec, H4S 2C3 1-877-333-0098 www.conglomkb.com Made en Chine Retain this manual for future use.
Need help?
Do you have a question about the QR025 and is the answer not in the manual?
Questions and answers
Do you have a filter QR025
Yes, the Presenza QR025 range hood uses aluminum or charcoal filters with stainless steel clips, which should be replaced when worn out or damaged.
This answer is automatically generated