Advertisement
INSTRUCTIONS
Age: 2 years and over
Please read and keep these instructions for future reference before use.
The car requires 4 1.5V AA alkaline batteries and the remote control requires 3 1.5V AAA alkaline batteries. Batteries not included.
- Transmission frequency: 2420-2461 MHz
- Maximum power transmission: 10 mW
WARNINGS
For your child's safety

Before use, remove and dispose of any plastic bags and any other packaging (e.g. fasteners, fixing ties etc.) and keep them out of reach of children. Suffocation hazard. Regularly inspect the toy for signs of wear and any damage. Should any part be visibly damaged, do not use the toy and keep it out of children's reach.
- Do not touch the vehicle's wheels during operation.
- Do not use the toy on the road.
- Do not use the toy on wet, sandy or dusty surfaces.
- Do not leave the car or remote control near sources of heat or under direct sunlight for long periods of time.
- Keep hair at a safe distance from moving wheels. Entanglement risk.
- Do not use this toy in any way other than those illustrated in the manual.
- This toy should only be used under the supervision of an adult.
- It is not safe to use the toy on raised surfaces that are not perfectly level: e.g. a table, chair, etc.
Toy operation may be altered due to radio frequency interference caused by: use of two cars operating on the same frequency at the same time; high-voltage lines; high-voltage transformers; certain types of buildings or walls; electromagnetic pollution; presence of radio signals emitted by other devices.
The remote control has a maximum radius of operation of about 7 metres (this distance may be significantly reduced depending on environmental conditions).
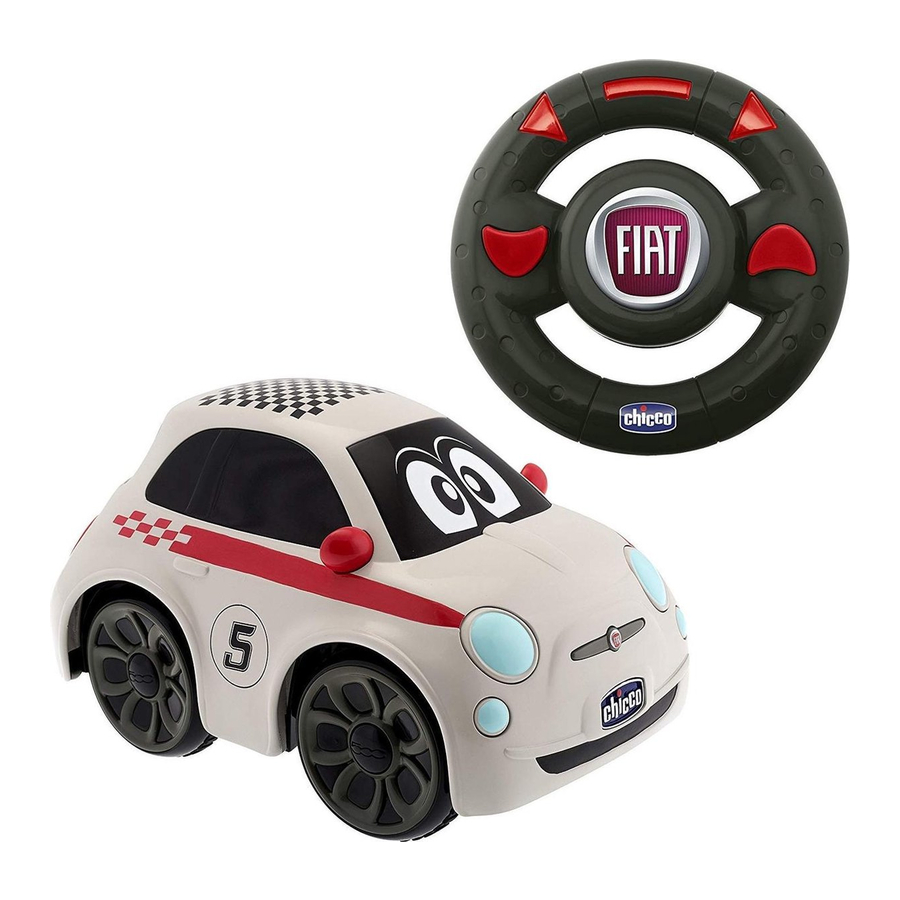
INTRODUCTION TO THE TOY
Car
(Fig. A)

- ON/OFF switch (I / O)
- battery compartment cover
- driving alignment selector
Remote control
(Fig. B)

- forward gear button
- horn button
- reverse gear button
Fig. C

- ON/OFF switch (I / O)
- battery compartment cover
This toy is a remote-controlled car that moves in different directions: straight forward, straight reverse, left forward and right forward, left reverse and right reverse. The simplicity and user-friendliness of this driving system makes the toy suitable for use by children aged 2 years and over. At this age, children start to use the remote control simply pressing the forward and reverse buttons and watching the car move. This is an extremely important exercise because it helps broaden the field of vision and improve the coordination skill of the hand's movements. In addition, the possibility of driving the car simply by turning the remote control as if it were a real steering wheel makes playing with the toy more intuitive and fun.
Starting from 3 years of age, children learn to associate the direction on the remote control with the effect it produces (corresponding to the car's movement): they first start to drive the car until it reaches an obstacle; then they start to learn to precisely coordinate the action on the remote control with the desired route.
HOW TO USE THE TOY
- Turn the car on by moving the on/off lever switch (fig. A-1) placed under the car to position I.
- Switch the remote control on by pushing the ON/OFF lever switch under the car (fig. C-7) to I.
- Operate the car pressing the remote control buttons: forward (fig. B-4), reverse (fig. B-6).
- To turn the car right or left just "steer" the remote control left or right.
- Pressing the button at the centre of the remote control (fig. B-5) blows the horn.
- When you have finished playing, always switch off the car (fig. A-1) and remote control (fig. C-7), by switching to O on both.
Adjusting driving alignment
If the car does not drive straight when you press the straight forward button (fig. B-4), you can fix the direction by shifting the selector (fig. A-3) under the car one notch at a time.
FITTING AND/OR REPLACING BATTERIES
- Non-rechargeable batteries must only be replaced by an adult.
- To replace the non-rechargeable batteries: loosen the screw on the battery compartment cover (fig. A-2 for the car and fig. C-8 for the remote control) with a screwdriver and open the cover. Then remove the dead batteries and fit new ones, ensuring that they have been fitted with correct polarity (as shown on the product), close the battery cover, and tighten the screw.
- Always keep batteries and tools out of the reach of children.
- Only use alkaline batteries of the same type or equivalent to the type recommended for a correct product functioning.
- Never mix alkaline, standard (zinc-carbon) or rechargeable batteries.
- Do not mix old and new batteries.
- Do not short-circuit the power terminals.
- Always remove discharged batteries from the product to avoid any possible liquid leaks that may damage it.
- Always remove the batteries if the product will not be used for a long period of time
- Remove the batteries from the toy and remote control before disposal.
- Do not throw dead batteries in fire or leave them in the environment; they must be disposed of through waste sorting.
- Do not attempt to recharge non-rechargeable batteries: they may explode.
- If the batteries are leaking liquid, replace them immediately, making sure to clean the battery compartment; thoroughly wash your hands in the case of contact with the liquid.
- Do not use rechargeable batteries.
- This product is not designed to be used with replaceable lithium batteries. WARN- ING: improper use may create hazardous conditions.
- Rechargeable batteries are only to be charged under adult supervision.
- Rechargeable batteries are to be removed from the toy before being charged.

This product complies with the Directive 2012/19/EU.
The crossed bin symbol on the appliance indicates that the product, at the end of its life, must be disposed of separately from domestic waste, either by taking it to a separate waste disposal site for electric and electronic appliances or by returning it to your dealer when you buy another similar appliance. The user is responsible for taking the appliance to a special waste disposal site at the end of its life. If the disused appliance is collected correctly as separate waste, it can be recycled, treated and disposed of ecologically; this avoids a negative impact on both the environment and health, and contributes towards the recycling of the product's materials. For further information regarding the waste disposal services available, contact your local waste disposal agency or the shop where you bought the appliance.
CLEANING AND MAINTENANCE
- The toy should be cleaned using a soft, dry or moistened fabric or microfibre cloth to avoid damaging the electric circuit. Do not clean the toy using detergents or solvents. When not in use, store the product in a place protected against sources of heat, dust and humidity.
- Protect the toy from collisions, heat, dust, sand, humidity and water.
ARTSANA S.p. A. reserves the right to change information provided in this manual at any time and without notice. The reproduction, transmission, copying, as well as the translation into another language, of any part of these instructions, are absolutely forbidden without the previous written authorization by ARTSANA.
LEGEND:
 WARNING!
 Complies with relevant EC directives as amended
DECLARATION OF COMPLIANCE
Hereby, Artsana S.p. A. declares that the radio equipment type MOD.07275 is in compliance with Directive 2014/53/EU. The full text of the EU declaration of conformity is available at the following internet address:
www.chicco.com/declarations.
In accordance with European Commission Decision No. 2000/299/EC dated 06/04/2000, the frequency band used by this product has been harmonised for all EU countries and this is therefore a Class 1 product which can be used in all European Union countries.
"Fiat Official Licensed Product"
Produced under license of Fiat Group Automobiles S.p. A.
FIAT and 500, all associated logos and distinctive designs are property of the Fiat Group Companies.
The body design of the Fiat 500 car is protected as Fiat Group Automobiles S.p. A. property.
Artsana S.p. A. - Via Saldarini Catelli, 1 - Grandate (CO) - Italy - www.chicco.com

Documents / Resources
References
Download manual
Here you can download full pdf version of manual, it may contain additional safety instructions, warranty information, FCC rules, etc.
Advertisement


Need help?
Do you have a question about the Fiat 500 Remote Control and is the answer not in the manual?
Questions and answers