Sign In
Upload
Download
Table of Contents
Contents
Add to my manuals
Delete from my manuals
Share
URL of this page:
HTML Link:
Bookmark this page
Add
Manual will be automatically added to "My Manuals"
Print this page
×
Bookmark added
×
Added to my manuals
Manuals
Brands
True Fitness Manuals
Treadmill
PERFORMANCE 100
Owner's manual
True Fitness PERFORMANCE 100 Owner's Manual
Hide thumbs
1
2
3
Table Of Contents
4
5
6
7
8
9
10
11
12
13
14
15
16
17
18
19
20
21
22
23
24
25
26
27
28
29
30
31
32
33
34
35
36
37
38
39
40
41
42
43
44
45
46
47
48
49
50
51
52
53
54
55
56
page
of
56
Go
/
56
Contents
Table of Contents
Troubleshooting
Bookmarks
Table of Contents
Table of Contents
Safety Instructions
Space Requirements
Use of Safety Key
Grounding Instructions
Power Requirements
Compliances
Warning Decals
Chapter 2: Assembly Guide
Safety Instructions
Pre-Assembly Checklist
Treadmill Assembly Steps
Treadmill Overview
Heart Rate Monitoring
Heart Rate Control
Program Descriptions
Console Overview
Console Navigation
User Profiles
Creating and Managing a Workout
Utility Functions
Care & Maintenance
Cleaning the Equipment
Running Belt Alignment
Tensioning the Running Belt
Treadmill Lubrication
Leveling the Treadmill
Other Scheduled Preventive Maintenance
Long Term Storage
Chapter 6: Customer Service
Contacting Service
Contacting Sales
Reporting Freight Claims or Parts Damage
Troubleshooting Guide
Chapter 8: Warranty Information
Warranty Registration
The Wahoo Runfit App
Advertisement
Quick Links
1
Table of Contents
2
Treadmill Assembly Steps
3
Treadmill Overview
4
Utility Functions
5
Care & Maintenance
6
Troubleshooting Guide
Download this manual
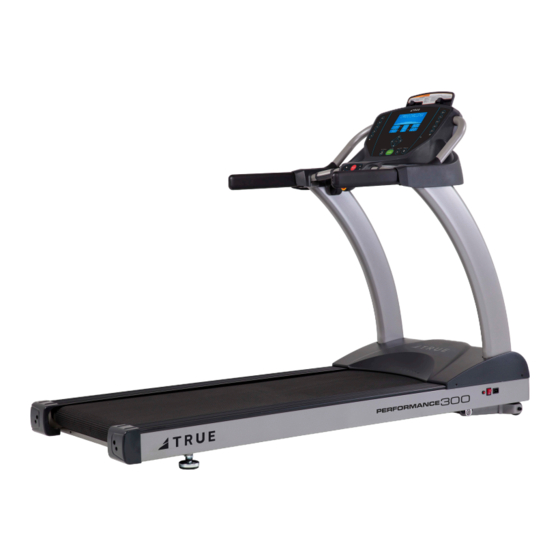
PERFORMANCE
100/300 TREADMILL
OWNER'S
MANUAL
Model # TPS100-19, TPS300-19
Version 122618
Table of
Contents
Previous
Page
Next
Page
1
2
3
4
5
Advertisement
Table of Contents
Need help?
Do you have a question about the PERFORMANCE 100 and is the answer not in the manual?
Ask a question
Questions and answers
Related Manuals for True Fitness PERFORMANCE 100
Treadmill True Fitness PERFORMANCE 300 Owner's Manual
(56 pages)
Treadmill True Fitness PS1100 Owner's Manual
True fitness treadmill owner's guide (43 pages)
Treadmill True Fitness 600 Series Owner's Manual
Commercial treadmill (35 pages)
Treadmill True Fitness GRAVITY TC3-AA-35 Owner's Manual And Assembly Manual
(42 pages)
Treadmill True Fitness 350-750 Service Manual
True fitness treadmills service manual (84 pages)
Treadmill True Fitness PS75 Owner's Manual
True fitness owner's guide treadmill ps75 (40 pages)
Treadmill True Fitness 540 Owner's Manual
True fitness residential treadmill owner's manual (36 pages)
Treadmill True Fitness 450 SERIES Owner's Manual
Residential treadmill (40 pages)
Treadmill True Fitness Treadmill PS600 Owner's Manual
True fitness treadmill service manual (40 pages)
Treadmill True Fitness PS100 Owner's Manual
Performance series (46 pages)
Treadmill True Fitness 400 Series Owner's Manual
Residential treadmill manual/pre-program/heart rate control (41 pages)
Treadmill True Fitness Z5.4 Owner's Manual
True treadmill owner's manual (60 pages)
Treadmill True Fitness Z5 Series Owner's Manual
True fitness technology o w n e r ' s g u i d e treadmill z5 series (110 pages)
Treadmill True Fitness TPS1001-35 Owner's Manual
Performance treadmills (40 pages)
Treadmill True Fitness Excel Series Owner's Manual
True fitness owner's guide treadmill excel series (69 pages)
Treadmill True Fitness LAUNCH TC3-DA-35 Owner's Manual And Assembly Manual
(42 pages)
This manual is also suitable for:
Performance 300
Tps100-19
Tps300-19
Table of Contents
Print
Rename the bookmark
Delete bookmark?
Delete from my manuals?
Login
Sign In
OR
Sign in with Facebook
Sign in with Google
Upload manual
Upload from disk
Upload from URL


Need help?
Do you have a question about the PERFORMANCE 100 and is the answer not in the manual?
Questions and answers