3Com 8500 Quick Start Manual
Hide thumbs
Also See for 8500:
- User manual (64 pages) ,
- Quick start manual (10 pages) ,
- Datasheet (4 pages)
Table of Contents
Advertisement
Quick Links
Wireless LAN Access Points
8250/8500/8750
3CRWE825075A
3CRWE850075A
3CRWE875075A
The 3Com Wireless LAN Access Points 8250, 8500, and 8750 offer enterprise network standard based security
and complete centralized management, with flexible and expansive connectivity and scalability. They extend
networks and boost productivity for centrally managed enterprises requiring scalable security solutions.
NOTE: This product must be installed by a professional technician/installer.
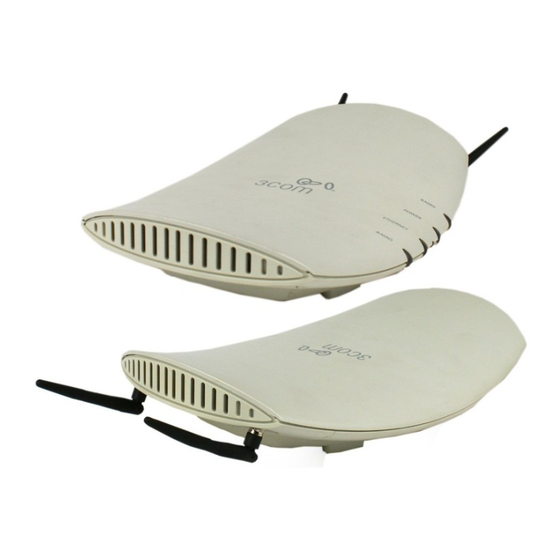
Access Point 8500
Caution: Do not connect a telephone cable into the Console port; doing so can cause serious
damage to the access point.
Access Point 8250/8750
Quick Start Guide
Reset
button
LEDs
Console port
Ethernet port
Advertisement
Table of Contents

Related Manuals for 3Com 8500


Summary of Contents for 3Com 8500
- Page 1 3CRWE850075A 3CRWE875075A The 3Com Wireless LAN Access Points 8250, 8500, and 8750 offer enterprise network standard based security and complete centralized management, with flexible and expansive connectivity and scalability. They extend networks and boost productivity for centrally managed enterprises requiring scalable security solutions.
- Page 2 Observe the following power requirements: The access point complies with the IEEE 802.3af power-over-Ethernet standard. It receives power over category 5 straight cable. Installation requires the use of either the 3Com power supply provided or IEEE 802.3af compliant power supply equipment (output power rated 48 V DC @ 350 mA maximum).
- Page 3 5 straight (8-wire) Ethernet cable. There are two ways to supply power to the access point (refer to the illustration below): Use the supplied 3Com Integrated Power-over-Ethernet power supply. In this case, you need to supply a second Ethernet cable to connect to the wired LAN.
- Page 4 If your LAN equipment complies with the IEEE 802.3af power-over-Ethernet standard, you can connect the access point directly to a LAN port. For example, the illustration above right shows a connection through a ® 3Com Ethernet Power Supply to a 3Com SuperStack Switch. Check the LEDs When power is connected, the access point LEDs light.
- Page 5 Allow for a clearance of at least 25 cm (10 Inches) between the ceiling and the top of the mounting plate. Make sure that “UP” or “A” is oriented toward the top of the bracket, and align the mounting plate screw holes vertically. For installation on a wall stud, install the top screw into the stud, as shown at left in the illustration, and then vertically align the mounting plate before installing the bottom screw.
- Page 6 IP devices, including 3Com wireless access points. It is not required for access point management. 3Com Site Survey Tool. This utility assists in selecting the best location for your access point before installing the device permanently. Use the Site Survey Tool to determine if the intended mounting locations will provide adequate coverage with good signal strength and quality.
- Page 7 Configuration Notes For a new access point installation, the default WLAN Service Area (ESSID) is 3Com and no security is set. Unless it detects a DHCP server on the network, the access point uses Auto IP to assign an IP address of the form 169.254.2.1.
- Page 8 Copyright © 2004 3Com Corporation. All rights reserved. 3Com, the 3Com logo, and are registered trademarks of 3Com Corporation. All other company and product names may be trademarks of the respective companies with which they are associated. DQA82507 Rev 5AAA01...
Need help?
Do you have a question about the 8500 and is the answer not in the manual?
Questions and answers