Table of Contents
Advertisement
Quick Links
1
Unbox TDR Soil Moisture
Meter. Pull the clear battery
transport tab out of the display.
For all Meters, locate the TDR
rods and screw them into the
sensor block and tighten.
4
Press MENU/SELECT button for
the settings menu.
Press the DOWN arrow to
navigate to Rod Length, then
press SELECT
until the
correct
rod length
is displayed.
7
For the TDR250, download
data by inserting a FAT32
formatted flash drive into the
USB port on the meter.
Press MENU/SELECT button for
settings menu. Scroll to Save to
USB and press MENU/SELECT
button again.
It will save stored data as a comma
separated text file (csv).
1
For TDR150 &
TDR350,
download the
FieldScout App.
Login to SpecConnect
if you have an
account or use
FieldScout Basic
without signing in.
Quick Start Guide
TDR Soil Moisture Meters
(TDR150, TDR250, TDR350)
2
For TDR350, remove the thumb
screw. Grip and extend the
lower shaft to its new
position, re-insert the thumb
screw and hand tighten.
5
Similarly, select Soil Type,
Moisture Type, Temp Source
and Moisture Type.
Enable GNSS and Bluetooth for
TDR150 & TDR350 meters that
will use the FieldScout App.
Adjust the Current Date, Time
and Time Zone as needed.
2
For the app interfacing TDR150
& TDR350, if geo-referencing
data, wait for the GNSS icon
to fully darken before taking
a reading. This ensures the
meter has located at least 10
satellites.
3
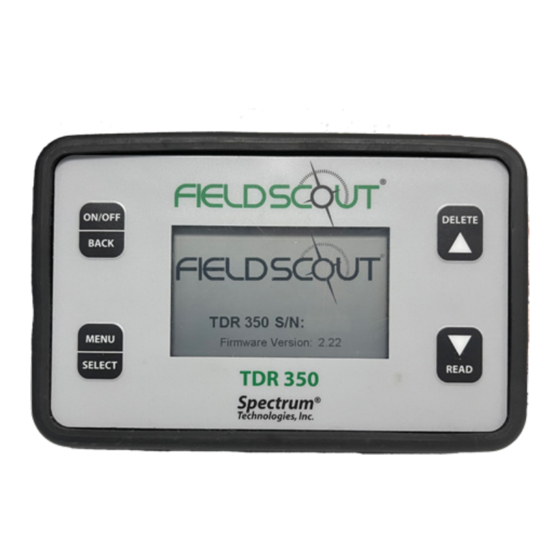
Press the ON/OFF button to
turn the unit on. Model #,
Serial # and FirmWare Version
are viewable.
6
To take a measurement,
fully insert the
rods into the soil
and then press the
Read
button.
The results
will display
on the screen.
3
Open the
FieldScout
App, select
Settings from
the Home
Menu and
choose
the App Mode:
Golf or Farm.
Advertisement
Table of Contents

Summary of Contents for Spectrum Technologies FIELDSCOUT TDR Series
- Page 1 Quick Start Guide TDR Soil Moisture Meters (TDR150, TDR250, TDR350) For TDR350, remove the thumb Press the ON/OFF button to Unbox TDR Soil Moisture Meter. Pull the clear battery screw. Grip and extend the turn the unit on. Model #, transport tab out of the display.
- Page 2 TDR350, FieldScout Mobile TDR250 and App user manual TDR150 meters for additional and to download details on using their detailed product manuals. the app. 800.248.8873 815.436.4440 specmeters.com Spectrum and FieldScout are registered trademarks of Spectrum Technologies, Inc. Form 117 (23-101)


Need help?
Do you have a question about the FIELDSCOUT TDR Series and is the answer not in the manual?
Questions and answers