Advertisement
Quick Links
Pottery Barn – Pottery Barn Teen – Pottery Barn Kids – Williams Sonoma Home – West Elm – Rejuvenation – Mark and Graham
14-Jan-2023
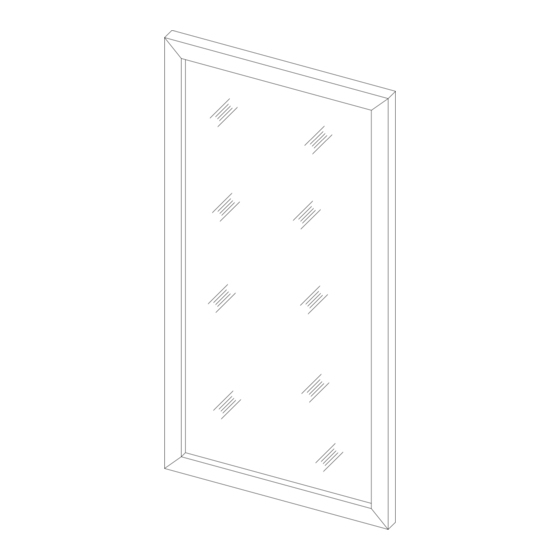
CLAYTON CHUNKY WOOD FRAME MIRROR
2550 N.W. Nicolai Street, Portland Oregon 97210 Customer Service: 888 401-1900 rejuvenation.com
© 2023 Williams-Sonoma, Inc.
Williams-Sonoma Inc.
OPTION-1
OPTION 1
OPCIÓN 1
Instructions d'assemblage
Instrucciones de Ensamblaje
OPTION-2
OPTION 2
OPCIÓN 2
Assembly Instructions
1/11
UK – A– NS
Advertisement

Subscribe to Our Youtube Channel
Related Manuals for Williams-Sonoma CLAYTON CHUNKY OPTION-2


Summary of Contents for Williams-Sonoma CLAYTON CHUNKY OPTION-2
- Page 1 Pottery Barn – Pottery Barn Teen – Pottery Barn Kids – Williams Sonoma Home – West Elm – Rejuvenation – Mark and Graham 14-Jan-2023 1/11 OPTION-1 OPTION-2 OPTION 1 OPTION 2 OPCIÓN 1 OPCIÓN 2 CLAYTON CHUNKY WOOD FRAME MIRROR 2550 N.W. Nicolai Street, Portland Oregon 97210 Customer Service: 888 401-1900 rejuvenation.com UK – A– NS © 2023 Williams-Sonoma, Inc.
- Page 2 Recomendamos no usar limpiadores químicos, abrasivos o lustramuebles sobre el acabado barnizado. • Las piezas de ferretería pueden aflojarse con el tiempo. Controlar periódicamente que estén bien ajustadas.Si es necesario, volver a ajustarlas. UK – A– NS © 2023 Williams-Sonoma, Inc.
- Page 3 Pottery Barn – Pottery Barn Teen – Pottery Barn Kids – Williams Sonoma Home – West Elm – Rejuvenation – Mark and Graham 14-Jan-2023 3/11 NOT INCLUDED / NON INCLUS / NO INCLUIDAS UK – A– NS © 2023 Williams-Sonoma, Inc.
- Page 4 Pottery Barn – Pottery Barn Teen – Pottery Barn Kids – Williams Sonoma Home – West Elm – Rejuvenation – Mark and Graham 14-Jan-2023 4/11 Anti-tip kit / ⚫ Dispositifanti-bas ⚫ M4x35mm culement/ Kit anti-volcada ⚫ UK – A– NS © 2023 Williams-Sonoma, Inc.
- Page 5 Level the Z clip with the help of water leveler, and then mark Z clip holes in the wall. Placer l’attache Z sur le mur où monter l’étagère. S’assurer que l’attache Z est bien droite à l’aide du niveau, puis marquer les trous dans le mur. UK – A– NS © 2023 Williams-Sonoma, Inc.
- Page 6 à l’aide de la perceuse. Quitar el sujetador Z de la pared y luego hacer orificios en las marcas realizadas, luego insertar el perno de fiador (B) en el orificio con la ayuda del taladro. UK – A– NS © 2023 Williams-Sonoma, Inc.
- Page 7 Ahora colocar el sujetador Z en la pared y alinear los orificios del sujetador Z con los orificios de la pared, insertar el tornillo (C) y ajustar con la ayuda de un taladro, como se muestra en la figura. UK – A– NS © 2023 Williams-Sonoma, Inc.
- Page 8 Dibujar una línea recta en la pared donde se quiere montar el espejo en la misma distancia que se midió y controlar que la línea esté derecha con la ayuda de un nivel de agua. UK – A– NS © 2023 Williams-Sonoma, Inc.
- Page 9 Hacer orificios en los puntos de los extremos de la línea con la ayuda de un taladro, luego insertar los tarugos B en los orificios con la ayuda de un taladro. A continuación colocar el tornillo C e insertarlo en el tarugo B como se muestra en la figura. UK – A– NS © 2023 Williams-Sonoma, Inc.
- Page 10 Place the D ring in the screw, as shown in figure. Placer l’anneau en forme de D dans la vis, comme illustré. Colocar el anillo D en el tornillo, como se muestra en la figura. UK – A– NS © 2023 Williams-Sonoma, Inc.
- Page 11 Instrucciones de Ensamblaje Pottery Barn – Pottery Barn Teen – Pottery Barn Kids – Williams Sonoma Home – West Elm – Rejuvenation – Mark and Graham 14-Jan-2023 11/11 OPTION-1 OPTION 1 OPCIÓN 1 OPTION-2 OPTION 2 OPCIÓN 2 © 2023 Williams-Sonoma, Inc.
Need help?
Do you have a question about the CLAYTON CHUNKY OPTION-2 and is the answer not in the manual?
Questions and answers