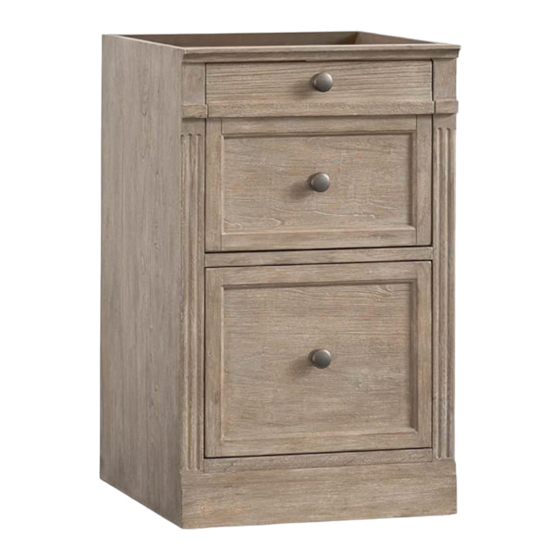
Summary of Contents for Williams-Sonoma LIVINGSTON
- Page 1 Assembly Instructions Williams-Sonoma Inc. Instructions d’assemblage Instrucciones de Ensamblaje Pottery Barn – Pottery Barn Teen – Pottery Barn Kids – Williams Sonoma Home – West Elm – Rejuvenation – Mark and Graham 12-Oct-2020 LIVINGSTON A-Lvt-24...
- Page 2 Assembly Instructions Williams-Sonoma Inc. Instructions d’assemblage Instrucciones de Ensamblaje Pottery Barn – Pottery Barn Teen – Pottery Barn Kids – Williams Sonoma Home – West Elm – Rejuvenation – Mark and Graham 12-Oct-2020 30’ ENGLISH Do not dispose of any packaging or contents of the shipping carton until assembly is completed to avoid accidentally discarding small parts or hardware.
- Page 3 Assembly Instructions Williams-Sonoma Inc. Instructions d’assemblage Instrucciones de Ensamblaje Pottery Barn – Pottery Barn Teen – Pottery Barn Kids – Williams Sonoma Home – West Elm – Rejuvenation – Mark and Graham 12-Oct-2020 NOT INCLUDED / NON INCLUS / NO INCLUIDAS...
- Page 4 Assembly Instructions Williams-Sonoma Inc. Instructions d’assemblage Instrucciones de Ensamblaje Pottery Barn – Pottery Barn Teen – Pottery Barn Kids – Williams Sonoma Home – West Elm – Rejuvenation – Mark and Graham 12-Oct-2020 Allen Key M4 (1x) Allen Bolts 1/4" x 1-1/2" (8x)
- Page 5 Assembly Instructions Williams-Sonoma Inc. Instructions d’assemblage Instrucciones de Ensamblaje Pottery Barn – Pottery Barn Teen – Pottery Barn Kids – Williams Sonoma Home – West Elm – Rejuvenation – Mark and Graham 12-Oct-2020 100% 100% © 2019 Williams-Sonoma, Inc. A-Lvt-24...
- Page 6 LIVINGSTON SINGLE BOOKCASE HUTCH Date : 30-March-16 www.potterybarn.com Rev : - Page 1 of 5...
- Page 7 Use only vendor supplied hardware to assemble. Using unauthorized hardware could jeopardize the structural integrity of the item. The Livingston Single Bookcase Hutch is designed for use with Livingston Single Drawer Pedestal or Single Glass Door. Pre-assembly: ...
- Page 8 1. Carefully lay the one Side Panel (B) on a flat, scratch-free or carpeted surface. Attach the Fixed Shelf (E) by inserting dowels on the fixed shelf into the holes on the Side Panel (B) shown in fig. 1. 2. Insert the Allen Bolts (I) through the holes on the cleat of the Fixed Shelf (E) into the inserts on the Side Panel (B), tighten with the Allen Key (N) as shown in fig.
- Page 9 IIllustration. 7 Assembly Instructions: Livingston Single Hutch with Livingston Single Drawer Pedestal and Single Top (G) or Livingston Single Glass Door and Single Top (H) : 1. Lay Single Hutch on the Single Drawer Pedestal (G) or Single Glass Door (H) as shown in fig. 7.
- Page 10 Livingston Single Hutch, Single Drawer Pedestal and Single Top with Livingston Double Hutch, Double Lateral File and Double Top. Position Livingston Modular items at the desired location. Use Drill Bit (S) to penetrate the pre-drilled holes on the side panels of the furniture that will be connected together as shown in fig.
- Page 11 LIVINGSTON SINGLE TOP Date : 25-March-16 www.potterybarn.com Rev : - Page 1 of 4...
- Page 12 Use only vendor supplied hardware to assemble. Using unauthorized hardware could jeopardize the structural integrity of the item. The Livingston Single Top is designed for use with Livingston Single Drawer Pedestal & Single Glass Door. Pre-assembly: Remove all parts and hardware from the box and lay out on a clear carpeted or scratch-free work surface, as this will avoid damaging parts during assembly.
- Page 13 Livingston Single Top (A) and Livingston Single Drawer Pedestal File (B) 1. Open upper drawer of Livingston Single Drawer Pedestal File (B). Attach the Single Top (A) on the top of the Pedestal File (B). Insert the Allen Bolts (D) through the holes on top frame of the Pedestal File (B) into the inserts on the Single Top (A).
- Page 14 Livingston Single Top (A) and Livingston Single Glass Door (C) 1. Release upper drawer from the cabinet by fully extend the drawer case. Locate the release tabs on the right and left-hand slides as shown on fig. 1. Simultaneously press the release tabs up and down while pulling out the drawer as shown in fig.
- Page 15 LIVINGSTON SINGLE DRAWER PEDESTAL LIVINGSTON DOUBLE LATERAL FILE Date : 30-March-16 www.potterybarn.com Rev : - Page 1 of 4...
- Page 16 Use only vendor supplied hardware to assemble. Using unauthorized hardware could jeopardize the structural integrity of the item. The Livingston Single Drawer Pedestal, Double Lateral File is designed for use with Livingston Single Top, Single Glass Door and Double Glass Door Cabinet. Pre-assembly: ...
- Page 17 Top (C) or Double Top (D). To install the Livingston Drawer Pedestal (A) or Double Lateral File (B) with the Tops (C and D), please follow the assembly instruction which is come with the Livingston Single or Double Top (C and D).
- Page 18 5. Attach top panel onto the cabinets (Single Drawer Pedestal/Double Lateral File) following the assembly instruction of the Livingston Single Top / Livingston Double Top as shown in fig. 5. 6. The file bars in the drawer-file have been installed for legal sized files.


Need help?
Do you have a question about the LIVINGSTON and is the answer not in the manual?
Questions and answers