Advertisement
Quick Links
CoaguChek
Vantus System
®
Quick Reference Guide
3
Inserting the batteries
1
Turn the meter over.
2
Gently press the tab on the battery compartment cover
towards the top of the meter and lift off the cover.
3
Insert the four batteries into the battery compartment as
indicated. Pay attention to the positions of "+" (top of
battery) and "–" (flat end).
4
Re-attach the cover. Close the battery compartment by
pushing the cover down until the tab snaps into place.
6
The meter now displays the screen for setting the time format.
10
Use the up/down arrows button
to select the time
format for the display (24 hour or 12 hour am/pm). The
newly selected format is highlighted (blue).
11
Press the Enter button
to confirm the selection, which is
now indicated by the green dot.
12
Press the Enter button
again to save the setting. The
screen for setting time and date follows next.
1
This guide helps you to set up your system for the first time as
well as to prepare and perform a test. It does not replace the
CoaguChek Vantus User's Manual. The User's Manual contains
important handling instructions and additional information,
including how to use the Bluetooth
Overview
A
Display
B
Back button
C
Up/down arrows button
D
Enter button (Power on)
E
Test strip guide cover
F
Test strip guide
G
Battery compartment cover
H
Code chip slot
I
USB port
J
Test strip container
K
Code chip
4
Inserting the code chip
5
Slide the code chip, contained in each box of test strips,
into the slot on the left side of the meter as shown until you
feel it snap into place.
Powering on the meter
6
Press the Enter button
7
Time & Date
12 hr Format
24 hr Format
Next
13
Use the up/down arrows button
14
Press the Enter button
input field (minutes) will be highlighted.
15
Proceed with setting the remaining fields (year, month,
day). The Enter button
highlights the subsequent field, if available), the Back
button
Read this first
functionality.
®
1
to power the meter on.
Time & Date
Time & Date
01
:
45
01
:
45
PM
2019
Sep
17
2019
Sep
Next
to set the current hour.
to confirm the hour. The next
always confirms a setting (and
allows you to go back to the previous field.
2
A
B
E
G
I
5
Initial setup
When you power on the meter for the very first time, the meter
automatically displays the
indicates which language is currently active.
7
Use the up/down arrows button
preferred language. The newly selected language is
highlighted (blue).
8
Press the Enter button
now indicated by the green dot.
9
Press the Enter button
language.
8
PM
17
Next
The initial setup is now finished, the meter displays the
Menu. For a complete overview of setup options (including
those which are not part of the initial setup) see the User's
Manual.
You are now ready to perform a test.
The Bluetooth
word mark and logos are registered
1
®
trademarks owned by Bluetooth SIG, Inc., and any use of such
marks by Roche Diagnostics is under license.
J
K
C
D
F
H
Language
English
Español
Save
Language
screen. A green dot
to select your
to confirm the selection, which is
again to save the selected
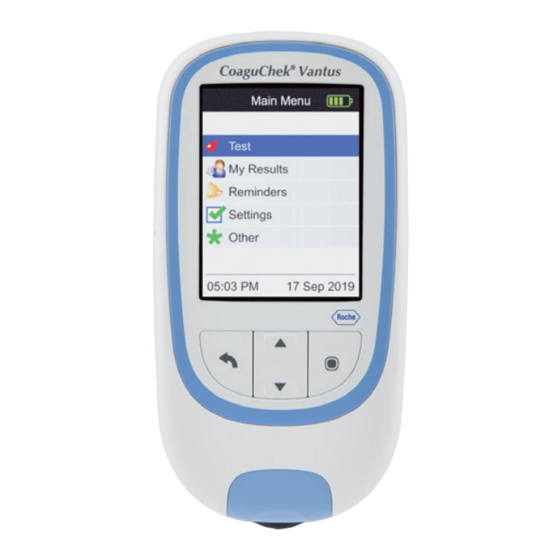
Main Menu
Test
My Results
Reminders
Settings
Other
05:03 PM
17 Sep 2019
Sep
Main
Advertisement

Summary of Contents for Roche CoaguChek Vantus System
- Page 1 The screen for setting time and date follows next. The Bluetooth word mark and logos are registered ® trademarks owned by Bluetooth SIG, Inc., and any use of such marks by Roche Diagnostics is under license.
- Page 2 The result is displayed and automatically saved to memory. selected option message Other icon Information message The test is now completed. COAGUCHEK, COAGUCHEK VANTUS, and SOFTCLIX are trademarks of Roche. Medication icon ©2018-2019 Roche Diagnostics GmbH Roche Diagnostics GmbH Manufactured for and distributed Sandhofer Strasse 116 in the U.S.A.


Need help?
Do you have a question about the CoaguChek Vantus System and is the answer not in the manual?
Questions and answers